
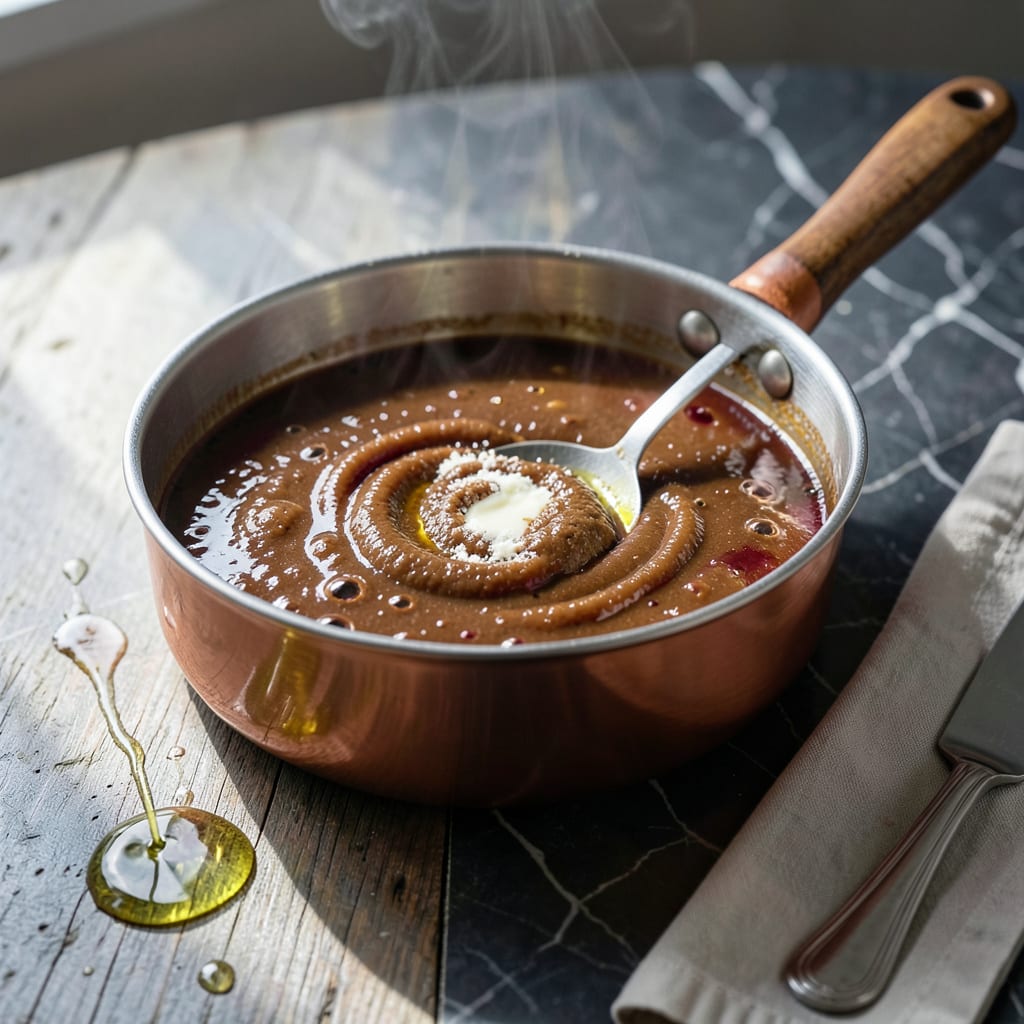
This professional method turns ordinary pan drippings into a rich, flavorful gravy that elevates any meal. The technique builds depth through careful reduction and balancing of flavors without complicated steps.
With simple ingredients and precise timing, you’ll achieve a velvety sauce that complements roasts perfectly. The process ensures every drop of flavor from the pan gets incorporated into a smooth, restaurant-quality gravy.
Ingredients for Jamie Oliver Gravy
Transform humble pan drippings into a restaurant-quality sauce with these essential components.
| Ingredient | Amount | Notes |
|---|---|---|
| Pan Drippings 🍖 | 1 ½ cups | From roasted meat, fat skimmed |
| All-Purpose Flour 🌾 | 2 tbsp | For thickening roux |
| Unsalted Butter 🧈 | 2 tbsp | Cold, cubed for roux |
| Beef Stock 🥩 | 2 cups | Low-sodium preferred |
| Red Wine 🍷 | ½ cup | Dry variety for depth |
| Worcestershire Sauce 💧 | 1 tsp | Adds umami complexity |
| Fresh Thyme Leaves 🌿 | 1 tbsp | Stems discarded, chopped |
| Garlic Cloves 🧄 | 2 cloves | Minced for aromatic base |
| Dijon Mustard 🟡 | 1 tsp | Smooth, sharp flavor |
The pan drippings form the soul of this gravy—use drippings from a well-browned roast for maximum flavor. Homemade beef stock elevates it further, but Better Than Bouillon works in a pinch. Unsalted butter ensures you control the seasoning precisely. For the wine, a Cabernet Sauvignon or Merlot adds depth without overpowering. Skim excess fat but leave those flavorful browned bits.
No red wine? Substitute beef stock with 1 tsp balsamic vinegar. Fresh thyme can be swapped for rosemary at half the quantity. For a gluten-free version, use cornstarch slurry instead of flour. The Worcestershire sauce is key—Annie’s or Lea & Perrins are reliable brands. If avoiding alcohol, extra stock plus a dash of soy sauce mimics the complexity.
Gravy thickens as it cools. Store in an airtight container in the fridge for up to 3 days or freeze for 3 months. Reheat gently on the stove, adding a splash of stock to thin if needed. Always whisk before serving to reincorporate any separated fat.
Why You’ll Love This Recipe
- One Pan Magic: I just use the drippings from the roast, stir in flour and butter, and it comes together in minutes.
- Deep, Rich Flavor: The red wine and beef stock create this incredible depth that makes every bite feel special.
- Sunday Roast Hero: Honestly, it’s the star of my weekend dinners, but works just as well with weeknight meals.
- Budget Friendly: Between us, it costs almost nothing since it uses what’s already in the pan.
Step-by-Step Instructions for Rich Pan Juice Gravy
Master the technique of transforming pan drippings into a velvety, restaurant-quality sauce with these precise steps.
Step 1: Create a Flour-Butter Roux Base
Place a medium saucepan over medium heat and add the 2 tbsp Unsalted Butter. As it melts, whisk in the 2 tbsp All-Purpose Flour to form a smooth paste. This roux will serve as the thickening foundation for your gravy.
Cook the mixture for 1-2 minutes, stirring constantly, until it reaches a light golden color and emits a subtle nutty aroma. Be careful not to let it darken too much or it will impart a bitter flavor to your finished sauce. The roux should bubble gently but not burn.
Step 2: Deglaze with Red Wine and Build Flavor
Gradually pour in the 0.5 cup Red Wine while whisking continuously to prevent lumps from forming. The mixture will thicken initially, then thin out as the liquid incorporates. Add the 2 cloves Garlic Cloves and 1 tbsp Fresh Thyme Leaves at this stage.
Simmer for 2-3 minutes until the wine reduces by about half and the raw alcohol smell dissipates. This step extracts maximum flavor from the aromatics and creates depth in your gravy. The liquid should look slightly syrupy when it’s ready for the next addition.
Step 3: Incorporate Pan Drippings and Stock
Slowly pour in the 1.5 cups Pan Drippings and 2 cups Beef Stock, whisking vigorously to maintain a smooth consistency. The pan drippings contain concentrated meat flavors that will make your gravy exceptionally rich.
Bring the mixture to a gentle simmer and cook for 5-7 minutes, stirring occasionally. You’ll notice the gravy beginning to thicken and coat the back of your spoon. This is the sign that the roux is properly activating and the liquids are reducing to the right consistency.
Step 4: Finish with Umami Enhancers
Reduce the heat to low and stir in the 1 tsp Worcestershire Sauce and 1 tsp Dijon Mustard. These ingredients add complexity and depth to the flavor profile without overpowering the natural meat essence.
Simmer for an additional 2 minutes to allow the flavors to meld completely. Taste and adjust seasoning if needed, though remember the pan drippings already contain salt from the roasting process. The gravy should have a rich, savory character with a velvety texture that clings beautifully to your serving spoon.
Step 5: Strain and Serve
Pour the gravy through a fine-mesh sieve into a clean saucepan or gravy boat to remove the thyme stems and garlic pieces. This creates a silky-smooth texture that’s perfect for drizzling over your roasted meats and sides.
Keep the gravy warm over low heat if not serving immediately. If it thickens too much upon standing, thin it with a small amount of warm beef stock. The finished gravy should be rich, glossy, and full-bodied, with a deep meaty flavor that complements your meal perfectly.
Pro Tips For Making Jamie Oliver Gravy
- Deglaze While Hot: Pour the red wine into the pan while it’s still screaming hot—this lifts all the flavorful browned bits from the bottom that would otherwise stick. I learned this the hard way after scraping burnt bits off a pan that had cooled.
- Use Cold Butter: Toss in cold, cubed unsalted butter at the end and whisk like your gravy depends on it—it thickens and adds a glossy finish without breaking. Sounds weird, but it works.
- Skip the Lumps: Whisk the flour into the drippings for a full minute before adding liquid to cook out the raw taste and prevent clumps. My first few gravies looked like wallpaper paste because I rushed this part.
- Reduce the Wine: Let the red wine simmer for 2-3 minutes before adding stock to cook off the alcohol and concentrate the flavor. After burning three batches, I finally figured out that raw wine taste ruins the gravy.
Make-Ahead Tips for This Dish
Prep Ahead Strategy
You can make the roux base with 2 tbsp Unsalted Butter and 2 tbsp All-Purpose Flour up to 2 days in advance. Store it covered in the fridge—this saves precious minutes on roasting day. 💡
Partial Cooking Method
Prepare the gravy through step 2 (after adding 0.5 cup Red Wine), then cool and refrigerate. On serving day, reheat gently, add 1.5 cups Pan Drippings and 2 cups Beef Stock, and finish with the umami boosters.
Freezer-Friendly Approach
Complete the gravy, cool it fully, then freeze in 1-cup portions for up to 3 months. I use silicone muffin molds for perfect single-serving portions. Thaw overnight in the fridge before reheating.
Reheating Tips
Warm gravy over low heat in a saucepan, adding 2-3 tbsp Beef Stock if it’s too thick. Avoid boiling, which can cause separation. Whisk frequently for that silky texture we all love.
Last-Minute Flavor Boost
If making ahead, under-season slightly. Just before serving, taste and adjust with Worcestershire Sauce or Dijon Mustard. Fresh thyme leaves added at the end brighten the flavors beautifully.
Storage Essentials
Cool gravy completely before storing. Use airtight containers and leave ½ inch headspace for expansion if freezing. Label with the date—you’ll thank yourself later! ❄️
Nutrition Facts
Frequently Asked Questions
Can I use cornstarch instead of flour?
Yes, mix 1 tbsp cornstarch with 1 tbsp cold water per 1 cup liquid. Add the slurry at the end and simmer for 1-2 minutes until thickened. This creates a gluten-free version with a slightly shinier finish.
How do I fix lumpy gravy?
Whisk vigorously to break up lumps, or strain through a fine-mesh sieve. For stubborn lumps, blend briefly with an immersion blender. Prevent lumps by adding liquid slowly while whisking constantly.
What if my gravy is too thin?
Make a quick slurry with equal parts flour and cold water, then whisk into simmering gravy. Cook for 2-3 minutes until thickened. Alternatively, reduce uncovered over medium heat to evaporate excess liquid.

- 6 Egg Cake Recipe with Oil: Light as Air With Buttery Moisture - October 4, 2026
- 4 Bean Casserole Recipe: One-Pan Heartiness With Smoky Paprika Depth - October 4, 2026
- 3-Ingredient Keto Mug Cake Recipe: Microwave Magic in 2 Minutes - October 4, 2026