
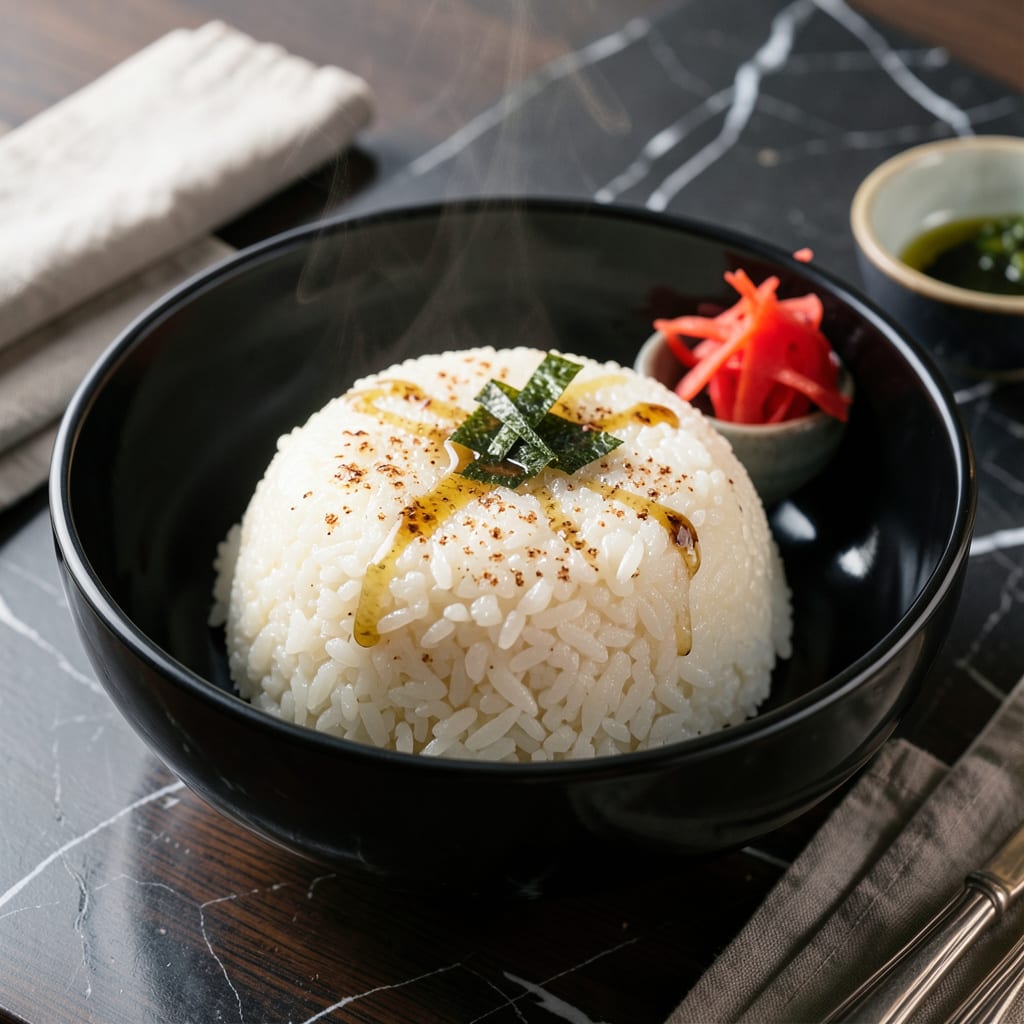
Achieving perfectly steamed Japanese rice requires precision in both water ratio and cooking method. This technique yields pillowy soft grains with a natural gloss that defines authentic Japanese rice.
With just a few simple ingredients and attention to soaking time, you’ll create rice that’s tender yet holds its shape. The result is a foundation for countless Japanese dishes, ready in 30 minutes.
Ingredients for Japanese Steamed Rice
Achieving authentic results starts with just eight simple components. Precision matters most.
| Ingredient | Amount | Notes |
|---|---|---|
| Japanese Short-Grain Rice 🍚 | 2 cups | Sushi rice or Calrose variety |
| Water 💧 | 2 ½ cups | Filtered or spring preferred |
| Rice Vinegar 🍶 | 2 tbsp | Seasoned or unseasoned variety |
| Granulated Sugar 🍚 | 1 tbsp | Dissolved in vinegar mixture |
| Sea Salt 🧂 | 1 tsp | Fine grain for even distribution |
| Saké 🍶 | 1 tbsp | Optional for depth of flavor |
| Kombu 🌿 | 1 piece | 2-inch square for umami |
| Mirin 🍶 | 1 tsp | Sweet rice wine for balance |
The rice is non-negotiable—Japanese short-grain (sushi rice or Calrose) delivers the signature stickiness. Nishiki or Koshihikari brands are widely available at Asian markets or the international aisle of larger supermarkets. Look for labels specifying ‘short-grain’ or ‘sushi rice’ to avoid the drier texture of long-grain varieties. The kombu adds subtle oceanic depth (remove before cooking).
No saké? Dry white wine at half the amount works, though the flavor profile shifts slightly. Missing mirin? 1/2 tsp sugar + 1/2 tsp water mimics the sweetness. For strict vegans, verify kombu isn’t processed with fish derivatives—Eden brand is reliably vegan. The vinegar mixture can be adjusted: reduce sugar by half if you prefer less sweetness.
Uncooked rice stores indefinitely in a cool, dark pantry. Cooked rice keeps 3-4 days refrigerated in an airtight container. For longer storage, freeze in portions for up to 1 month. Reheat with a splash of water to restore moisture.
Why You’ll Love This Recipe
- One Pot Wonder: I just rinse the rice, add water, and let the pot do the work—no stirring, no fuss.
- Sticky Perfection: The short-grain rice turns out tender and slightly sweet, with that signature chewy texture I crave.
- Pairs With Everything: Honestly, it’s my base for sushi, donburi, or even a simple fried egg on top for dinner.
- Budget Stretch: A pound of rice makes multiple meals, and the vinegar-sugar-salt trio keeps it interesting without breaking the bank.
Step-by-Step Instructions for Japanese Steamed Rice
Master these precise techniques to achieve perfectly tender grains with a subtle sheen every time.
Step 1: Rinse and Soak the Japanese Short-Grain Rice
Place the 2 cups Japanese Short-Grain Rice in a fine-mesh strainer and rinse under cold running water. I agitate the grains gently with my hand, watching as the water runs from milky white to nearly clear—this removes excess starch that would otherwise make the rice gummy.
Once rinsed, transfer the rice to your rice cooker pot or heavy-bottomed saucepan. Add the 2.5 cups Water and let it soak for 30 minutes. This soaking period allows the grains to absorb moisture evenly, which is crucial for achieving that characteristic pillowy texture.
Step 2: Infuse with Umami Flavor
While the rice soaks, prepare the umami-infused seasoning. In a small bowl, combine the 2 tbsp Rice Vinegar, 1 tbsp Granulated Sugar, 1 tsp Sea Salt, 1 tbsp Saké, and 1 tsp Mirin. Stir until the sugar and salt fully dissolve into the liquid.
Add the 1 piece Kombu to the rice and water mixture. The kombu should float on the surface, releasing its natural glutamates into the cooking liquid. Don’t stir the rice at this point—just let the kombu work its magic during the soaking and initial cooking phases.
Step 3: Cook with Precision
If using a rice cooker, simply select the standard white rice setting and let the machine work. For stovetop preparation, cover the pot with a tight-fitting lid and bring to a boil over medium-high heat. Once boiling, immediately reduce the heat to low and maintain a gentle simmer.
Cook undisturbed for 15 minutes. Resist the urge to peek or stir—the steam trapped inside is what transforms the rice into its ideal state. After 15 minutes, turn off the heat but keep the lid on. Let it steam for an additional 10 minutes to complete the cooking process.
Step 4: Finish and Rest
Remove the kombu piece from the rice (it can be saved for making dashi later). Gently fold the rice with a rice paddle or wooden spoon, being careful not to mash the grains. The rice should glisten slightly and the grains should cling together just enough to hold their shape when pressed lightly.
Drizzle the vinegar mixture evenly over the hot rice. Using a cutting motion with your paddle, fold the rice from the bottom up to distribute the seasoning without breaking the grains. Cover the pot and let it rest for 5 minutes to allow the flavors to meld completely.
Serve immediately while still warm. Each grain should be distinct yet tender, with a subtle sweetness from the mirin and a perfect balance of seasoning throughout.
Pro Tips For Making Japanese Steamed Rice
- Rinse Thoroughly: Wash the rice in 3-4 changes of cold water until it runs nearly clear—I learned this the hard way after ending up with gummy rice more than once.
- Soak 30 Minutes: Let the drained rice soak in water for a full 30 minutes before cooking; it guarantees even cooking and that perfect sticky texture.
- Use Less Water: Measure water at a 1:1.1 rice-to-water ratio by volume—any more and you’ll get mushy rice instead of fluffy, separate grains.
- Steam Undisturbed: Once the lid’s on, resist the urge to peek for at least 10 minutes; lifting it early releases steam and messes with the cooking process.
Make-Ahead Tips for This japanese steamed rice
Overnight Soaking
For even better texture, I soak the 2 cups Japanese Short-Grain Rice overnight in the fridge. This extended soak allows the grains to absorb water more thoroughly, resulting in rice that’s more uniform and tender. Just be sure to use cold water and adjust cooking time by reducing it to 12 minutes. 💡
Pre-Mixed Seasoning
Save time by preparing the vinegar mixture the night before. Combine 2 tbsp Rice Vinegar, 1 tbsp Granulated Sugar, and 1 tsp Sea Salt in a small jar. Store it in the fridge and shake well before using. The flavors meld overnight, enhancing the final dish.
Batch Cooking
I often cook a larger batch—up to 4 cups rice—using the same 1:1.25 rice-to-water ratio. Cook as usual, then spread the rice on a baking sheet to cool quickly. This prevents the grains from becoming mushy and makes portioning easier for meal prep.
Freezing Portions
Divide cooled rice into 1-cup portions and pack into airtight containers or freezer bags. I use Ziploc freezer bags and flatten them for space efficiency. Frozen rice keeps well for up to 1 month without losing texture or flavor. ❄️
Reheating Tips
To revive refrigerated or frozen rice, sprinkle 1-2 tsp water over each portion. Microwave covered with a damp paper towel for 1-2 minutes, or steam in a pot for 5 minutes. The added moisture restores that fresh-cooked pillowy softness.
Nutrition Facts
Frequently Asked Questions
Why rinse the rice before cooking?
Rinsing removes excess starch, preventing gummy or sticky results. Stop when the water runs nearly clear for best texture.
Can I use a regular pot instead of a rice cooker?
Yes! Use a heavy-bottomed pot with a tight lid. Cook on medium-high heat until boiling, then reduce to low for 15 minutes.
How do I fix undercooked rice?
Add 2-3 tbsp water, cover, and steam for 5 more minutes. Avoid stirring to keep grains intact.
What’s the ideal water-to-rice ratio?
Use 1.25 cups water per 1 cup rice. This ratio ensures perfect tenderness every time.

- 6 Egg Cake Recipe with Oil: Light as Air With Buttery Moisture - October 4, 2026
- 4 Bean Casserole Recipe: One-Pan Heartiness With Smoky Paprika Depth - October 4, 2026
- 3-Ingredient Keto Mug Cake Recipe: Microwave Magic in 2 Minutes - October 4, 2026