
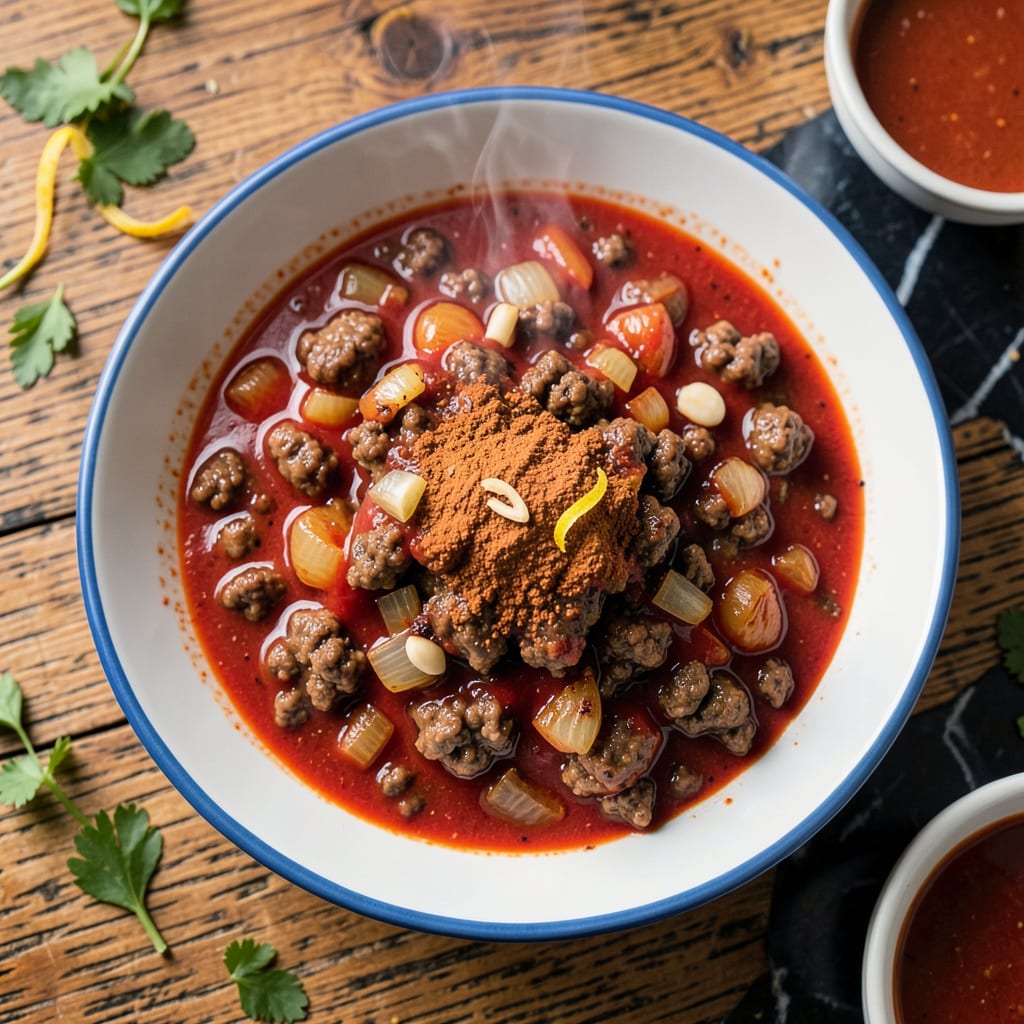
Game day just got better with this smoky, meat-packed hot dog chili that transforms ordinary franks into stadium-worthy masterpieces. I developed this recipe after years of testing to achieve the perfect balance—rich tomato base, deeply seasoned ground beef, and just enough heat to keep things interesting without overpowering.
The secret lies in the slow simmer that allows flavors to meld completely, creating a thick, clingy topping that stays put on your hot dog. This isn’t just another chili—it’s a carefully crafted condiment designed to elevate your cookout or tailgate spread. Make a double batch; it disappears faster than you’d expect.
Ingredients for Jeff’s Hot Dog Chili
This smoky, meat-packed chili transforms hot dogs with ingredients you probably already have.
| Ingredient | Amount | Notes |
|---|---|---|
| Ground Beef 🥩 | 1 ½ lb | 80/20 lean-to-fat ratio preferred |
| Tomato Sauce 🍅 | 15 oz | One can, no salt added |
| Tomato Paste 🍅 | 6 oz | One can for depth of flavor |
| Yellow Onion 🧅 | 1 whole | Finely diced for even texture |
| Garlic Cloves 🧄 | 4 cloves | Minced for maximum flavor |
| Chili Powder 🌶️ | 2 tbsp | Medium heat blend preferred |
| Ground Cumin 🌿 | 1 tbsp | Freshly toasted if possible |
| Paprika 🌶️ | 1 tbsp | Sweet or smoked variety |
| Brown Sugar 🍚 | 2 tbsp | Light or dark works fine |
| Apple Cider Vinegar 🍏 | 1 tbsp | Balances the richness |
| Worcestershire Sauce 💧 | 1 tbsp | Adds umami depth |
| Salt 🧂 | 1 tsp | Kosher or sea salt preferred |
| Black Pepper 🌶️ | ½ tsp | Freshly ground for best flavor |
| Water 💧 | ½ cup | Adjusts thickness as needed |
The beef is everything here. 80/20 ground chuck gives you that perfect balance—enough fat for flavor without being greasy. I get mine from Costco when I’m doing a big batch, but any supermarket will do. The tomato products matter too: San Marzano if you’re feeling fancy, but regular canned sauce works fine. Just avoid the pre-seasoned stuff. For the spices, check the dates—old chili powder loses its punch fast (the smell test works great).
No Worcestershire? Soy sauce with a pinch of sugar gets you close. Out of fresh garlic? Garlic powder at half the amount works in a pinch. Need more heat? Add cayenne at 1/4 tsp increments. The brown sugar can be swapped for honey (though it’s not traditional), and if you’re avoiding vinegar, lemon juice works too. This recipe is forgiving—adjust as you go.
This chili keeps 5 days in the fridge and freezes beautifully for 3 months. I make a double batch every time—it reheats perfectly for quick meals. Store it in airtight containers (glass if you’re freezing). The flavors actually improve after a day, so don’t stress about making it ahead.
Why You’ll Love This Recipe
- I’ll be real: it tastes even better the next day. The flavors meld overnight, and it freezes like a dream—so I always double the batch. Budget-friendly and time-saving? That’s my kind of win.
- One-Pot Simplicity: I love that this comes together in a single pot—brown the beef, sauté the onions and garlic, then dump in the tomato sauce and paste. No fancy techniques, no extra dishes.
- That Garlicky Depth: Here’s what sold me—the way the garlic and onions caramelize just enough before the beef hits the pan. It’s not just chili; it’s rich, meaty, and has that slow-cooked taste without the wait.
- Hot Dogs or Nachos? Yes.: Honestly, I’ve used this for everything: classic chili dogs, loaded nachos, even as a quick pasta sauce. It’s the kind of recipe that adapts to whatever you’re craving (or whatever’s in the fridge).
Step-by-Step Instructions for Jeff’s Hot Dog Chili
This meat-packed chili comes together quickly with simple techniques that build maximum flavor.
Step 1: Brown the Ground Beef Thoroughly
Heat a large skillet over medium-high heat and add the 1.5 lb ground beef. Break it up with a wooden spoon into small pieces as it cooks. You want to develop a good sear on the meat, so don’t stir constantly—let it brown for 2-3 minutes before breaking it up.
The beef is ready when it’s no longer pink and has developed a rich brown color throughout. I always cook until the fat has rendered out and you can see it pooling in the pan—this adds incredible flavor to the finished chili. Drain off all but about 1 tablespoon of the fat before moving to the next step.
Step 2: Sauté the Aromatics Until Fragrant
Add the finely diced yellow onion to the skillet with the beef and cook over medium heat for 5-6 minutes, stirring occasionally, until the onions become translucent and start to soften. Then stir in the minced garlic cloves and cook for an additional 30 seconds—just until fragrant.
Be careful not to let the garlic burn, as it can turn bitter quickly. The onions should be soft but not browned at this stage. This aromatic base creates the flavor foundation for your chili, so take your time and let the ingredients meld together properly.
Step 3: Build the Flavor Base with Spices and Tomato
Stir in the chili powder, ground cumin, paprika, salt, and black pepper. Cook for 1 minute, stirring constantly, to toast the spices and release their full flavor. You’ll notice the mixture becoming more aromatic as the spices bloom.
Add the tomato paste and cook for another 2 minutes, stirring frequently. This step helps remove the raw taste from the tomato paste and deepens its flavor. Then pour in the tomato sauce, brown sugar, apple cider vinegar, and Worcestershire sauce, stirring well to combine all ingredients.
Step 4: Simmer to Develop Rich, Smoky Flavor
Add the 0.5 cup water to the skillet and stir to combine. Bring the mixture to a gentle simmer, then reduce the heat to low. Let it cook uncovered for 20-25 minutes, stirring occasionally, until the chili thickens to your desired consistency.
As it simmers, the flavors will meld together and the chili will darken in color. The liquid should reduce by about a third, leaving you with a thick, meaty sauce that clings to your spoon. Taste and adjust seasoning if needed—the vinegar and Worcestershire should balance the richness without overpowering.
Step 5: Cool Slightly Before Serving
Remove the skillet from heat and let the chili cool for 5-10 minutes before serving. This brief resting period allows the flavors to settle and the sauce to thicken slightly. The chili should be thick enough to stay put on a hot dog but still spoonable.
Serve warm over your favorite hot dogs, or store in an airtight container in the refrigerator for up to 5 days. The flavors will continue to develop over time, making leftovers even more delicious. For game day, I like to make this a day ahead so the flavors have time to really come together.
Perfect Pairings for This jeffs hot dog chili
Classic Hot Dog Pairings
Nothing beats this chili piled high on a classic beef frank nestled in a soft potato bun. I love using Nathan’s Famous or Hebrew National dogs—their snappy texture holds up perfectly to the hearty chili. For extra crunch, add diced white onions and a drizzle of yellow mustard. 🌭
Cheese Toppings
Shredded cheddar cheese melts beautifully over the warm chili, creating that perfect gooey layer. I recommend sharp cheddar for extra tang, or try a Mexican blend for more complexity. For something different, crumbled queso fresco adds a salty brightness that cuts through the richness.
Crunchy Additions
Take your hot dog to the next level with crushed Fritos or dill pickle chips for texture contrast. I keep a bag of Frito-Lay Scoops on hand—they’re perfect for scooping up any chili that falls off. A sprinkle of crumbled bacon adds smoky depth if you’re feeling extra indulgent.
Drink Pairings
An ice-cold classic cola (I prefer Mexican Coke with real cane sugar) balances the smoky flavors perfectly. For beer lovers, a crisp lager like Modelo Especial or Budweiser keeps things refreshing. The carbonation helps cleanse your palate between bites. 🍺
Side Dish Ideas
Serve with crinkle-cut fries or tater tots for dipping—they’re great for scooping up any chili that escapes. I make a quick cabbage slaw with apple cider vinegar for a tangy contrast. For a lighter option, pickle spears add the perfect acidic crunch.
Game Day Spread
Set up a DIY hot dog bar with all the fixings: chopped jalapeños, sliced avocado, and hot sauce options. I always include Cholula and Sriracha for heat lovers. The chili’s smoky flavor pairs especially well with smoked gouda if you want to get fancy. ✨
Nutrition Facts

- 6 Egg Cake Recipe with Oil: Light as Air With Buttery Moisture - October 4, 2026
- 4 Bean Casserole Recipe: One-Pan Heartiness With Smoky Paprika Depth - October 4, 2026
- 3-Ingredient Keto Mug Cake Recipe: Microwave Magic in 2 Minutes - October 4, 2026