
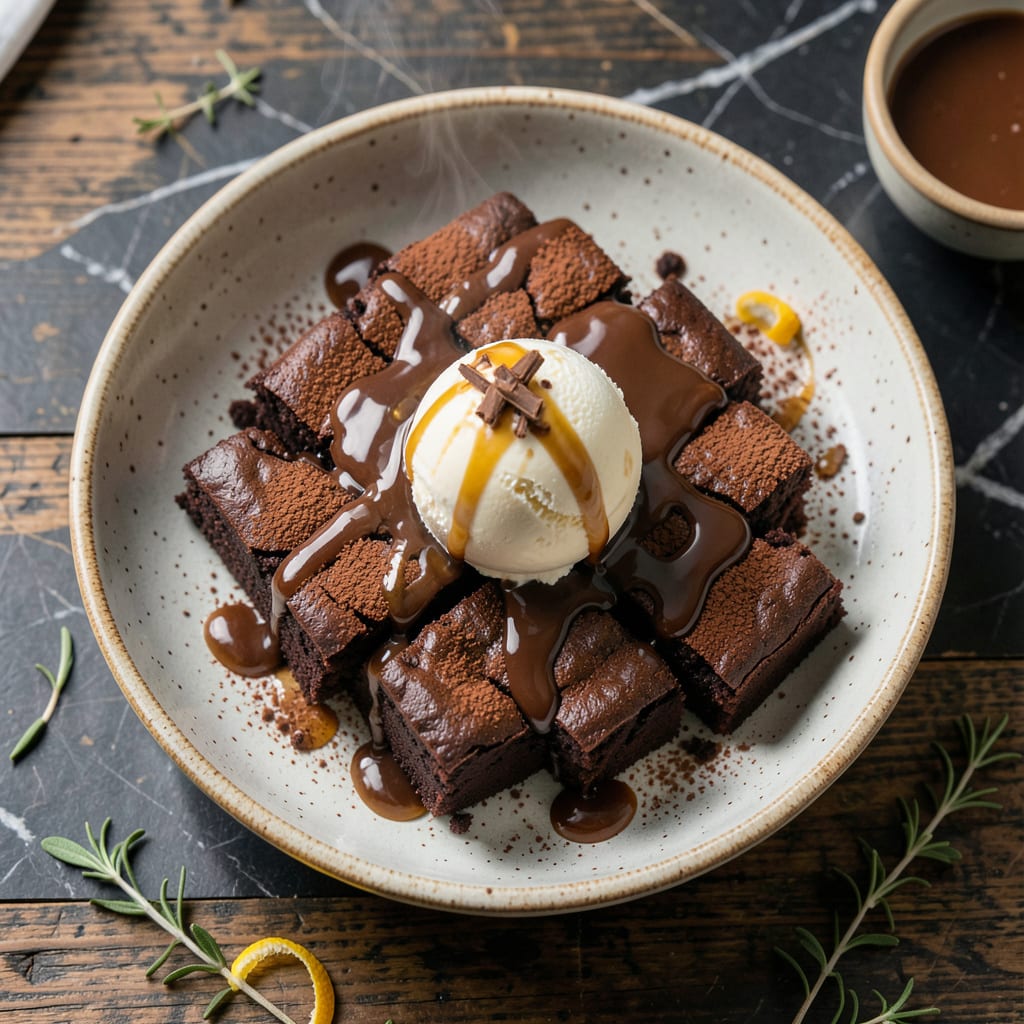
I’ve tested countless brownie recipes, and this one delivers the perfect balance of fudgy centers and crackly tops every time.
The secret lies in the precise combination of ingredients and a specific mixing method. You’ll achieve professional-quality results with a texture that’s dense, moist, and rich.
Ingredients for Joanna Gaines Brownie
Unsalted butter, sugar, eggs, and cocoa form the foundation of this decadent treat.
| Ingredient | Amount | Notes |
|---|---|---|
| Unsalted Butter 🧈 | 1 cup | Melted and cooled slightly |
| Granulated Sugar 🍚 | 2 cups | Fine white sugar preferred |
| Large Eggs 🥚 | 4 whole | Room temperature for best texture |
| Vanilla Extract 🌿 | 2 tsp | Pure vanilla, not imitation |
| All-Purpose Flour 🌾 | 1 cup | Spoon and level for accuracy |
| Unsweetened Cocoa Powder 🍫 | ¾ cup | Dutch-processed for richness |
| Salt 🧂 | ½ tsp | Fine sea salt for balance |
| Semi-Sweet Chocolate Chips 🍫 | 1 cup | High-quality chocolate preferred |
| Baking Powder 🧂 | ¼ tsp | Ensures proper rise |
| Espresso Powder ☕ | 1 tsp | Enhances chocolate flavor depth |
| Walnuts 🌰 | ½ cup | Chopped, optional for crunch |
[recipeingredientscaler]
The cocoa powder is critical for achieving that signature fudgy texture. Hershey’s Special Dark or Ghirardelli are excellent choices—avoid the cheap stuff. King Arthur Flour for the all-purpose flour ensures consistent results. For the chocolate chips, Guittard or Ghirardelli provide the rich, melty pockets that elevate the brownies. Always use room-temperature eggs for even mixing.
No Dutch-processed cocoa? Natural cocoa powder at the same amount works in a pinch, though the flavor will be slightly sharper. Out of espresso powder? Instant coffee granules at half the quantity can substitute. For a nut-free version, simply omit the walnuts. The butter must be unsalted—salted can throw off the balance of flavors in this delicate recipe.
Store brownies in an airtight container at room temperature for up to 5 days. For longer storage, freeze for up to 3 months. Slice before freezing for easy single-serving portions. The flavor actually improves after a day as the ingredients meld together.
Why You’ll Love This Recipe
- One Bowl Wonder: I love that I can mix everything—melted butter, sugar, eggs, and vanilla—in a single bowl. No fancy equipment, just a spatula and five minutes of effort.
- Rich & Fudgy: The combo of butter and sugar creates that dense, moist texture I crave. Honestly, it’s the kind of brownie that makes you pause mid-bite.
- Crowd Pleaser: Whether it’s a school bake sale or a lazy Sunday, these disappear fast. My kids even ask for them in their lunchboxes.
- Budget Friendly: Flour, eggs, and basic pantry staples keep costs low. I’ll be real: I’ve made three batches this month without breaking the bank.
Step-by-Step Instructions for Fudgy Brownies With Crackly Tops
Master the technique behind these decadent brownies with a signature crinkly crust and rich interior.
Step 1: Melt and Combine Wet Ingredients
Begin by melting the 1 cup unsalted butter in a saucepan over low heat, then let it cool slightly. This prevents the eggs from cooking when combined. In a large mixing bowl, whisk together the melted butter and 2 cups granulated sugar until fully incorporated.
The mixture should be glossy and slightly thick. I add the 4 whole large eggs one at a time, whisking vigorously after each addition to create a smooth, homogenous base. Stir in the 2 tsp vanilla extract last—this ensures the delicate vanilla flavor remains prominent rather than dissipating during mixing.
Step 2: Incorporate Dry Ingredients for Structure
In a separate bowl, sift together the 1 cup all-purpose flour, 0.75 cup unsweetened cocoa powder, 0.5 tsp salt, 0.25 tsp baking powder, and 1 tsp espresso powder. The espresso enhances the chocolate depth without adding a coffee flavor.
Gradually fold the dry mixture into the wet ingredients using a spatula, mixing just until no streaks of flour remain. Overmixing develops gluten, which can make the brownies dense. The batter should be thick and glossy at this stage, with a consistency similar to fudge brownie mix.
Step 3: Fold in Chocolate Chips and Nuts
Add the 1 cup semi-sweet chocolate chips and 0.5 cup walnuts to the batter, folding gently to distribute them evenly. The chocolate chips will melt slightly during baking, creating pockets of gooey richness, while the walnuts add a subtle crunch.
If you prefer a smoother texture, you can omit the walnuts, but I recommend keeping them for contrast. Ensure the chocolate chips and walnuts are evenly dispersed so every bite delivers balanced flavor and texture.
Step 4: Bake to Perfection
Pour the batter into a greased or parchment-lined 9×13-inch baking pan, spreading it evenly with the spatula. Bake in a preheated 350°F oven for 25-30 minutes. The edges should be set, but the center will still look slightly underdone—this is key to achieving fudgy centers.
A toothpick inserted into the center should come out with a few moist crumbs, not wet batter. The top will develop a signature crackly crust, which is a hallmark of this recipe. Avoid overbaking, as this can lead to dry, cakey brownies instead of the desired dense, fudgy texture.
Let the brownies cool completely in the pan before slicing. This allows them to set properly, making them easier to cut and ensuring a clean, professional presentation.
Pro Tips For Making Joanna Gaines Brownie
- Melt Butter Slowly: Use low heat to melt the butter—burnt butter ruins the rich, chocolatey base of these brownies. I learned this the hard way after rushing it once and getting a bitter aftertaste.
- Room Temp Eggs: Pull your eggs out 30 minutes before baking. Cold eggs don’t emulsify as well with the sugar, and you’ll end up with a denser texture instead of that perfect fudgy bite.
- Don’t Overmix: Stir just until the flour disappears. Overworking the batter adds gluten, and suddenly you’ve got cakey brownies instead of Joanna’s signature chewy ones.
- Pull Early: Take them out when the edges are set but the center still looks slightly underdone—a toothpick should have moist crumbs, not wet batter. They’ll finish cooking as they cool in the pan.
Storing and Reheating This Dish
Room Temperature Storage
Let brownies cool completely in the pan first. Store in an airtight container at room temperature for up to 5 days. The flavors deepen over time as the ingredients meld together.
Freezing for Longer Storage
Slice before freezing for easy single servings. Wrap individual pieces in plastic wrap, then place in a freezer-safe bag. They’ll keep well for up to 3 months without quality loss.
For best results, use heavy-duty freezer bags to prevent freezer burn. Squeeze out excess air before sealing. 💡
Reheating from Room Temp
For warm brownies, microwave individual pieces for 15-20 seconds. This restores that just-baked freshness. Don’t overheat or they’ll become dry.
Reheating from Frozen
Thaw overnight in the refrigerator first. Then warm in the microwave for 25-30 seconds. Alternatively, reheat directly from frozen in a 300°F oven for 10-12 minutes, wrapped in foil.
Reviving Stale Brownies
If they’ve dried out slightly, wrap in damp paper towels and microwave for 10 seconds. The steam will restore moisture. This trick works wonders for day-old treats. ✨
Nutrition Facts
Frequently Asked Questions
Can I use a different pan size?
A 9×13-inch pan works best, but an 8×8-inch pan will yield thicker brownies. Adjust baking time to 30-35 minutes for the smaller pan. The texture may vary slightly but will still be delicious.
Why do my brownies turn out cakey instead of fudgy?
Overmixing the batter or overbaking are the usual culprits. Stop mixing as soon as the flour disappears, and remove them from the oven when the center still has a few moist crumbs.
Can I substitute the espresso powder?
Yes, use 1/2 tsp instant coffee granules instead. It won’t add coffee flavor but enhances the chocolate depth. Skip it entirely if preferred, though the flavor will be less complex.
How do I get the crackly top?
The glossy sugar crust forms naturally as they bake. Ensure you whisk the sugar and butter thoroughly and avoid opening the oven door too early. This is the signature finish!

- 6 Egg Cake Recipe with Oil: Light as Air With Buttery Moisture - October 4, 2026
- 4 Bean Casserole Recipe: One-Pan Heartiness With Smoky Paprika Depth - October 4, 2026
- 3-Ingredient Keto Mug Cake Recipe: Microwave Magic in 2 Minutes - October 4, 2026