
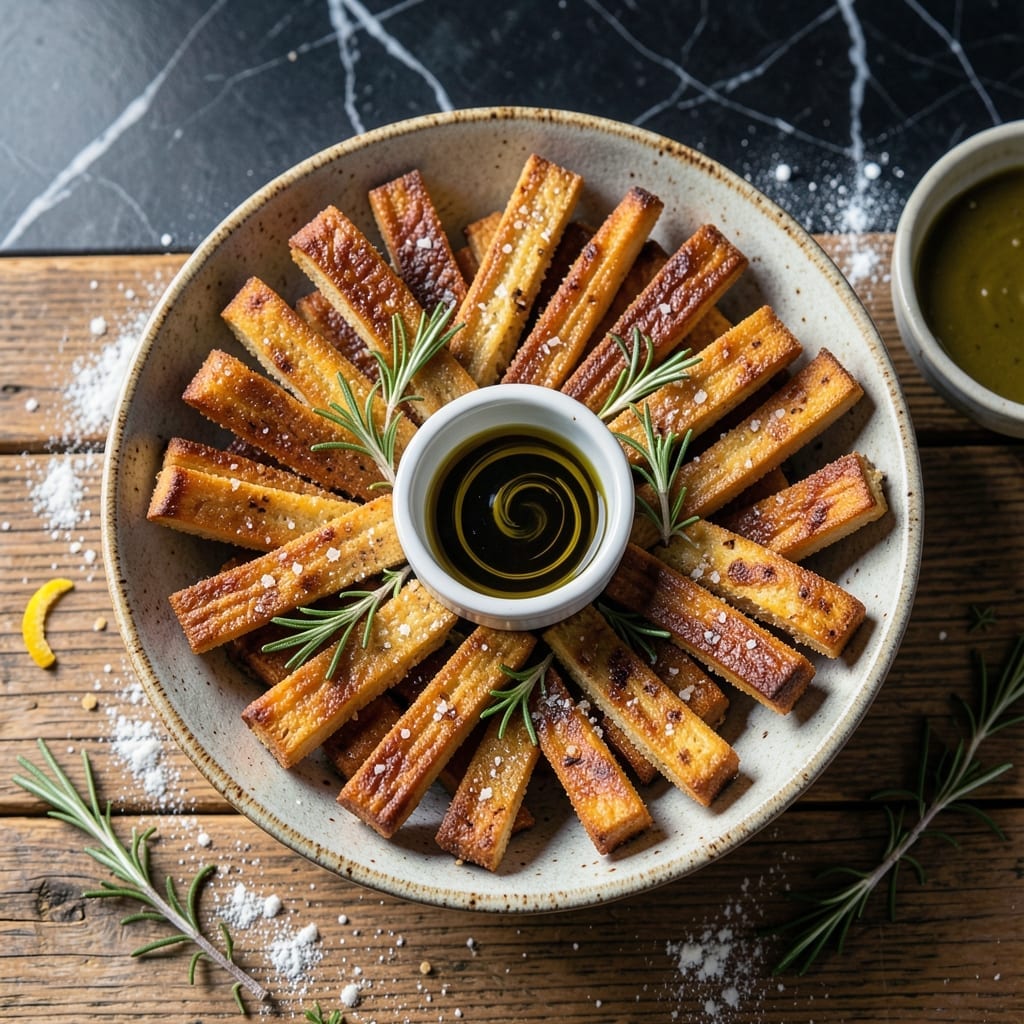
These breadsticks deliver that bakery-style crust you crave, with a golden exterior and soft, airy interior. I’ve refined this method to ensure consistent results every time, without requiring professional equipment.
The dough comes together quickly with basic ingredients, and the key is letting it rest properly. This allows the gluten to develop naturally, creating that perfect chewy texture. A simple garlic butter finish adds rich, aromatic flavor.
Baking at high heat ensures they puff up beautifully while forming a crisp, golden crust. The result is breadsticks that rival your favorite restaurant—warm, fragrant, and impossible to resist.
Serve them fresh from the oven with marinara or extra garlic butter for dipping. This recipe makes enough to share, but you might not want to.
Ingredients for Kilroys Breadsticks
Basic ingredients create bakery-style breadsticks with golden crust and soft interior.
| Ingredient | Amount | Notes |
|---|---|---|
| All-Purpose Flour 🌾 | 3 ½ cups | Plus extra for dusting |
| Active Dry Yeast 🍞 | 2 ¼ tsp | Or one packet |
| Granulated Sugar 🍚 | 1 tsp | Feeds the yeast |
| Kosher Salt 🧂 | 2 tsp | Divided for dough and topping |
| Warm Water 💧 | 1 ¼ cups | 110-115°F |
| Olive Oil 🫒 | 2 tbsp | Plus extra for bowl |
| Unsalted Butter 🧈 | ½ cup | Melted for garlic butter |
| Garlic Cloves 🧄 | 4 cloves | Minced for garlic butter |
| Fresh Parsley 🌿 | 2 tbsp | Chopped for topping |
| Grated Parmesan Cheese 🧀 | ½ cup | For topping |
| Cornmeal 🌽 | ¼ cup | For baking sheet dusting |
The flour quality matters for that perfect chew. King Arthur all-purpose is my go-to—consistent protein content, reliable results. Yeast needs to be fresh; check the expiration date and store it in the freezer to extend shelf life. Warm water should feel like bathwater, not hot. Too hot kills the yeast, too cold won’t activate it. The olive oil can be any extra-virgin you have on hand.
No active dry yeast? Instant yeast works at the same amount—just skip the proofing step. Out of all-purpose flour? Bread flour adds more chew, but substitute at a 1:1 ratio. For the garlic butter, salted butter works fine—just reduce the added salt. Fresh parsley can be swapped for dried at one-third the amount, though fresh adds better color.
Dough rests best in a warm, draft-free spot—on top of the fridge works well. Baked breadsticks keep 2-3 days at room temperature in an airtight container, but they’re best fresh. Reheat in a 350°F oven for 5 minutes to revive crispness. Freeze baked sticks for up to 1 month.
Why You’ll Love This Recipe
- No-Fuss Dough: Honestly, mixing flour, yeast, sugar, salt, and warm water is all it takes—no fancy techniques or resting for hours.
- Buttery Crisp: That golden crust with a soft center? Pure satisfaction, especially when brushed with melted butter right out of the oven.
- Crowd Pleaser: I serve these at dinner parties, game nights, even as an after-school snack—everyone always asks for the recipe.
Step-by-Step Instructions for Kilroys Breadsticks
Master the technique that creates that signature crisp crust and tender interior every time.
Step 1: Activate the Yeast and Mix the Dough
In a large bowl, combine the 1.25 cups Warm Water, 1 tsp Granulated Sugar, and 2.25 tsp Active Dry Yeast. Let it sit for 5-7 minutes until the mixture becomes frothy—that’s how you know the yeast is active and ready to work its magic.
Add the 2 tbsp Olive Oil and 1 tsp Kosher Salt to the yeast mixture. Gradually stir in the 3.5 cups All-Purpose Flour, mixing until a shaggy dough forms. I use a wooden spoon for this initial mixing to prevent over-developing the gluten. The dough will be slightly sticky, but that’s normal at this stage.
Step 2: Knead and First Rise
Turn the dough out onto a lightly floured surface and knead for 8-10 minutes until smooth and elastic. You’ll notice the dough transforms from sticky to silky as the gluten develops. Add small amounts of flour as needed, but resist the urge to add too much—this keeps the breadsticks tender.
Place the dough in a lightly oiled bowl, turning it once to coat all sides. Cover with a clean kitchen towel and let it rise in a warm, draft-free place for 1-1.5 hours or until nearly doubled in volume. I like to turn my oven on to its lowest setting for 2 minutes, then turn it off and place the bowl inside for a consistent environment.
Step 3: Shape and Second Rise
Punch down the risen dough to release the air, then divide it into 16 equal portions. Roll each portion into a 12-inch rope about ½-inch thick. This size ensures even baking and that perfect breadstick shape. Place the ropes on a baking sheet dusted with the 0.25 cup Cornmeal, spacing them about 1 inch apart.
Cover the shaped dough with the towel and let rise for 30-45 minutes until puffy. The cornmeal prevents sticking and adds a subtle crunch to the bottoms. Meanwhile, preheat your oven to 400°F so it’s ready when the breadsticks are.
Step 4: Bake to Golden Perfection
Bake the breadsticks for 15-18 minutes or until they turn a deep golden brown and sound hollow when tapped. Rotate the baking sheet halfway through for even browning. The cornmeal-dusted bottoms should be crisp and lightly speckled.
While they bake, melt the 0.5 cup Unsalted Butter and mince the 4 cloves Garlic Cloves. As soon as the breadsticks come out of the oven, brush them generously with the melted butter. This immediate brushing ensures maximum flavor absorption while the breadsticks are still hot.
Step 5: Add Finishing Touches
After brushing with butter, immediately sprinkle the breadsticks with the minced garlic, 2 tbsp Fresh Parsley, and 0.5 cup Grated Parmesan Cheese. The residual heat will soften the garlic and melt the cheese slightly, creating that irresistible garlic-parmesan topping.
Transfer to a serving platter while still warm. The ideal breadstick should break with a satisfying snap on the outside while revealing a soft, airy interior. Serve immediately for the best texture and flavor.
Pro Tips For Making Kilroys Breadsticks
- Proof the Yeast: Always dissolve the active dry yeast in warm water with a pinch of sugar first—if it doesn’t bubble within 5 minutes, your yeast is dead and the breadsticks won’t rise.
- Use Bread Flour: Swap all-purpose flour for bread flour if you have it; the higher protein content gives these breadsticks a chewier, more authentic texture.
- Don’t Over-Flour: I learned this the hard way—too much flour when rolling out the dough makes the breadsticks tough, so dust lightly and only as needed.
- Roll Them Thin: For that classic crispy Kilroy’s texture, roll the dough to about ¼-inch thick—any thicker and they’ll stay doughy instead of snapping like they should.
Troubleshooting kilroys breadsticks
Yeast Won’t Activate
If your yeast mixture isn’t bubbly after 10 minutes, your water was likely too hot or cold. Always use a thermometer to verify 110-115°F. I keep a Taylor instant-read in my drawer for this exact reason. 🌡️
Dense Breadsticks
This usually means the dough didn’t rise enough. Ensure your rising spot is warm enough—I preheat my oven to 200°F for 2 minutes, then turn it off. Also, check your yeast’s expiration date. Old yeast loses potency.
Uneven Browning
Rotate your baking sheet halfway through the 15-18 minute bake time. If some sticks brown faster, move them to a cooler spot in the oven. My oven has hot spots near the back, so I always rotate at the 8-minute mark.
Breadsticks Spread
If your sticks lose shape during baking, the dough may have been too wet. Add flour gradually during kneading until it’s smooth but not sticky. Also, ensure your 12-inch ropes are uniform in thickness—use a ruler if needed.
Garlic Burns
Brushing with garlic butter too early can cause burning. Always brush immediately after removing from the oven, then sprinkle minced garlic. The residual heat will mellow the garlic without burning it.
Sticks Stick
Use parchment paper over the cornmeal-dusted tray for extra insurance. If they still stick, let them cool for 2 minutes before transferring. The cheese topping will set slightly, making them easier to move. 💡
Nutrition Facts
Frequently Asked Questions
Can I make these ahead of time?
Yes! Shape the dough and refrigerate for up to 24 hours. Let them come to room temperature and rise for 1 hour before baking. This slow rise enhances flavor.
Why use cornmeal on the baking sheet?
Cornmeal prevents sticking and adds a subtle crunch to the bottoms. It also absorbs excess moisture, helping achieve that perfect crisp texture.
Can I use a stand mixer?
Use the dough hook attachment and mix for 6-8 minutes on medium speed. The dough should pull away from the bowl but remain slightly tacky.
How do I store leftovers?
Keep in an airtight container at room temperature for 2-3 days. Reheat in a 350°F oven for 5 minutes to restore crispness.

- 6 Egg Cake Recipe with Oil: Light as Air With Buttery Moisture - October 4, 2026
- 4 Bean Casserole Recipe: One-Pan Heartiness With Smoky Paprika Depth - October 4, 2026
- 3-Ingredient Keto Mug Cake Recipe: Microwave Magic in 2 Minutes - October 4, 2026