
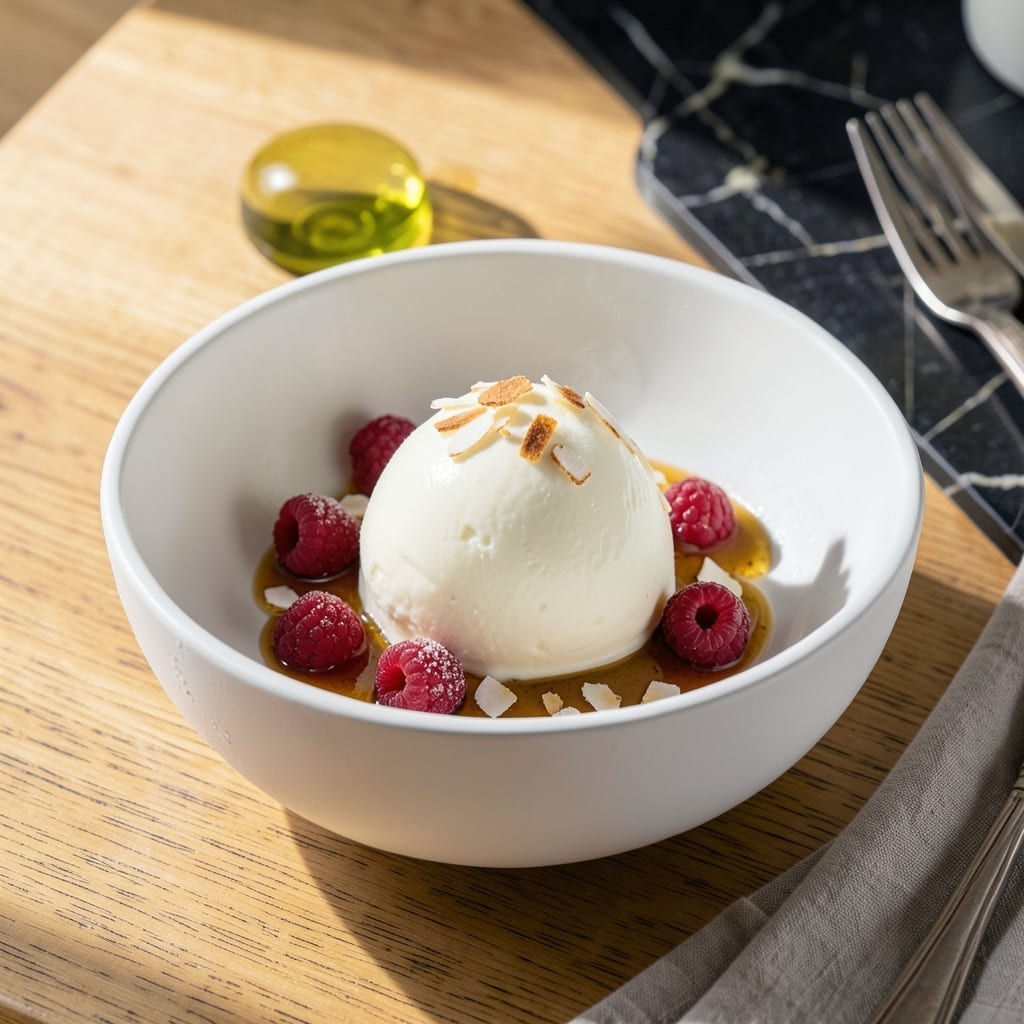
Creamy, dreamy ice cream without dairy is absolutely possible, and this recipe proves it. The secret lies in using full-fat coconut milk as the base, which delivers that velvety smooth texture you expect from traditional ice cream.
I’ve perfected this method through trial and error, ensuring the mixture chills just right before churning. A touch of vanilla and a pinch of salt elevate the flavors, making it taste indulgent rather than like a compromise.
No fancy equipment is required—just a blender and an ice cream maker. The result is a rich, scoopable treat that melts beautifully on the tongue, with none of the lactose.
Serve it plain or customize with mix-ins like chocolate chips or fresh fruit. This is dairy-free done right.
Ingredients for Lactose Free Ice Cream
Rich coconut milk and a few pantry staples create this luxuriously smooth dairy-free treat.
| Ingredient | Amount | Notes |
|---|---|---|
| Full-Fat Coconut Milk 🥥 | 2 cups | Canned, well-shaken before measuring |
| Granulated Sugar 🍚 | ¾ cup | Organic or raw preferred |
| Pure Vanilla Extract 🌿 | 2 tsp | High-quality for best flavor |
| Fine Sea Salt 🧂 | ¼ tsp | Enhances all flavors |
| Coconut Oil 🫒 | 1 tbsp | Melted, optional for creaminess |
| Almond Milk 🥛 | ¼ cup | Unsweetened, for consistency |
| Agave Nectar 🍯 | 2 tbsp | Or maple syrup alternative |
| Xanthan Gum ⚗️ | ¼ tsp | Prevents ice crystals |
| Fresh Lemon Juice 🍋 | 1 tsp | Brightens the flavor |
| Dark Chocolate Chunks 🍫 | ½ cup | Dairy-free, optional mix-in |
The coconut milk is non-negotiable here—full-fat canned from Thai Kitchen or Native Forest gives that ultra-creamy texture. Avoid light versions, as they ice up and lack richness. I always stock up at Whole Foods or Trader Joe’s since they rotate their inventory frequently. The sugar should be fine-grained to dissolve completely in the base.
No coconut milk? Cashew cream can work in a pinch but requires pre-soaking. Swap agave for maple syrup at a 1:1 ratio, or use date syrup for a deeper flavor. Xanthan gum is optional but highly recommended—it keeps the texture silky. For chocolate, Enjoy Life or Hu Kitchen brands are reliably dairy-free.
Store the base in the fridge for up to 3 days before churning. Once churned, keep in an airtight container for 1 week (though it’s best fresh). Freeze in portions for up to 2 months—just thaw slightly before scooping.
Why You’ll Love This Recipe
- Five Ingredients: It’s just coconut milk, sugar, vanilla, salt, and coconut oil—no hunting for weird stabilizers.
- Creamy Dream: The full-fat coconut milk gives it that rich, velvety texture I used to miss in dairy-free versions.
- Scoop & Store: I make a double batch on Sunday and it keeps beautifully for a week.
Step-by-Step Instructions for Lactose-Free Ice Cream
Master this technique for a creamy, dairy-free dessert that rivals traditional ice cream.
Step 1: Combine Base Ingredients
In a blender, combine the 2 cups Full-Fat Coconut Milk, 0.75 cup Granulated Sugar, 2 tsp Pure Vanilla Extract, 0.25 tsp Fine Sea Salt, 1 tbsp Coconut Oil, and 0.25 cup Almond Milk. The full-fat coconut milk is essential for that rich, velvety texture.
Blend on high for 1-2 minutes until the mixture is completely smooth and the sugar is fully dissolved. You should see no granules when you rub a bit between your fingers. This step ensures a silky base without any graininess in your final product.
Step 2: Incorporate Stabilizers and Flavor Enhancers
Add the 2 tbsp Agave Nectar, 0.25 tsp Xanthan Gum, and 1 tsp Fresh Lemon Juice to the blender. The xanthan gum acts as a stabilizer, preventing ice crystals and giving your ice cream that perfect scoopable consistency.
Blend again for 30-45 seconds until fully combined. The agave nectar adds a subtle sweetness while the lemon juice brightens the overall flavor, balancing the richness of the coconut milk. Don’t skip the blending time—the xanthan gum needs thorough distribution to work effectively.
Step 3: Chill the Mixture Thoroughly
Pour the blended mixture into a shallow dish or bowl and cover with plastic wrap, pressing it directly onto the surface to prevent a skin from forming. Refrigerate for at least 4 hours, or preferably overnight.
This chilling step is critical for developing the flavors and ensuring the mixture is cold enough for proper churning. The colder your base, the creamier your final ice cream will be. I’ve found that overnight chilling yields the smoothest texture, as it allows the xanthan gum to fully hydrate.
Step 4: Churn and Add Mix-Ins
Pour the chilled mixture into your ice cream maker and churn according to the manufacturer’s instructions, typically for 20-25 minutes. The mixture should thicken into a soft-serve consistency, with the edges pulling away from the sides of the bowl.
In the last 2 minutes of churning, add the 0.5 cup Dark Chocolate Chunks so they distribute evenly throughout the ice cream. If you don’t have an ice cream maker, pour the mixture into a shallow freezer-safe container and freeze, stirring vigorously with a fork every 30 minutes for the first 2 hours to break up ice crystals.
Step 5: Freeze to Perfection
Transfer the churned ice cream to a freezer-safe container, smoothing the top with a spatula. Cover with parchment paper pressed directly onto the surface, then seal with a lid. Freeze for at least 4 hours or until firm.
For the best texture, allow the ice cream to sit at room temperature for 5-10 minutes before scooping. The final result should be creamy and smooth, with no icy patches. The dark chocolate chunks will add delightful pockets of richness in every bite.
Pro Tips For Making Lactose Free Ice Cream
- Chill the Base: After mixing your coconut milk, sugar, and vanilla, refrigerate the base for at least 4 hours—I learned this the hard way when my first batch came out icy instead of creamy.
- Use Room-Temp Coconut Oil: Whisk in the coconut oil only after it’s fully liquid but not hot, or you’ll risk separating the mixture; 75°F is the sweet spot.
- Skip the Overmixing: Once the base is combined, resist the urge to stir it repeatedly—too much agitation introduces air and leads to a grainy texture.
- Add Alcohol for Scoopability: A splash of vodka (about 1 tablespoon) lowers the freezing point, making the final ice cream easier to scoop without turning it into a rock-solid block.
Creative Variations of This lactose free ice cream
Chocolate Lover’s Dream
Swap the vanilla for 2 tbsp cocoa powder and add 1 extra tbsp sugar to balance the bitterness. This creates a deep chocolate base. I fold in ½ cup chopped dairy-free chocolate at the end for melty pockets. 🌟
Tropical Twist
Blend in 1 cup frozen mango chunks during the last 2 minutes of churning. The fruit adds natural sweetness and vibrant color. Use ripe mango for the best flavor. I love this version in summer.
Coffee Buzz
Dissolve 2 tbsp instant espresso powder in 1 tbsp hot water, then mix into the base before chilling. The coffee enhances the chocolate notes. Add ¼ cup chopped toasted almonds for crunch.
Berry Swirl
After churning, layer the ice cream with ½ cup raspberry jam in a freezer container. Swirl gently with a knife for ribbons of fruit. Use seedless jam to avoid icy bits. This looks stunning in glass jars.
Spiced Chai
Steep 2 chai tea bags in ¼ cup hot almond milk for 5 minutes, then mix into the base. Add ½ tsp cinnamon and ¼ tsp cardamom for warmth. The spices bloom beautifully overnight.
Peanut Butter Cup
Stir in ½ cup peanut butter at the end of churning, then fold in ½ cup dairy-free chocolate chips. Use creamy peanut butter for smooth ribbons. I recommend Crazy Richard’s brand for pure flavor.
Nutrition Facts
Frequently Asked Questions
Can I make this without an ice cream maker?
Yes! Pour the mixture into a shallow container and freeze, stirring vigorously with a fork every 30 minutes for the first 2 hours. This breaks up ice crystals for a creamier texture.
Why is xanthan gum used?
It prevents ice crystals and gives the ice cream a smoother, more scoopable texture. Use just 0.25 tsp—too much can make it gummy. It’s a game-changer for dairy-free recipes.
How long can I store the base in the fridge?
The base keeps for up to 3 days in the fridge before churning. After churning, store the ice cream in an airtight container for up to 1 week for best quality.
Can I use a different sweetener?
Swap agave for maple syrup or date syrup at a 1:1 ratio. Each adds a unique flavor, so choose based on your preference.

- 6 Egg Cake Recipe with Oil: Light as Air With Buttery Moisture - October 4, 2026
- 4 Bean Casserole Recipe: One-Pan Heartiness With Smoky Paprika Depth - October 4, 2026
- 3-Ingredient Keto Mug Cake Recipe: Microwave Magic in 2 Minutes - October 4, 2026