
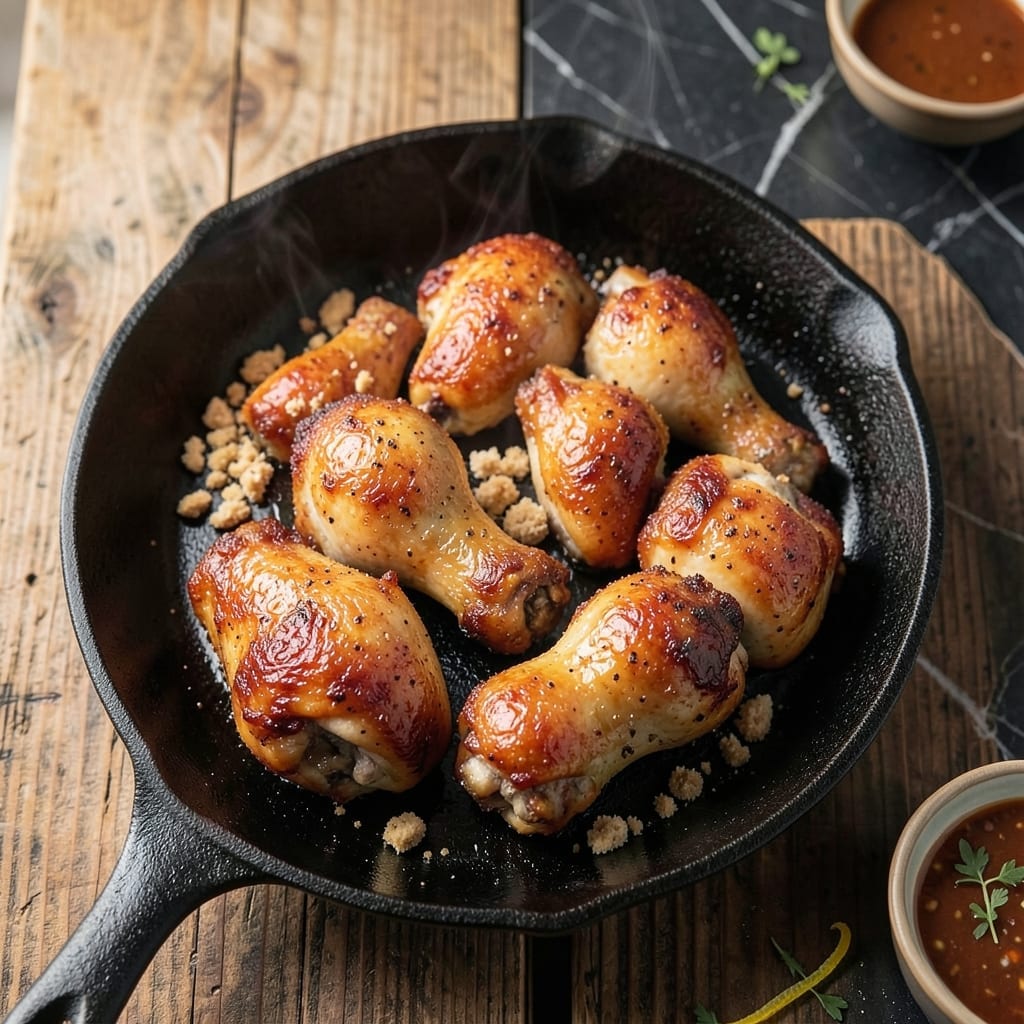
There’s a reason traditional cooks swore by lard for frying chicken—it delivers an unmatched crispy crust with old-fashioned richness. This method brings that timeless flavor back to your kitchen with a simple, proven technique.
Using lard creates a golden, shatteringly crispy exterior while keeping the meat inside juicy and tender. The high smoke point ensures even cooking, and the result is chicken that stays hot and crunchy long after it leaves the pan.
This recipe relies on a well-seasoned flour coating and precise frying temperature to achieve that signature texture. Each piece emerges with a deep, golden-brown finish that’s both satisfying and nostalgic.
Serve it fresh for the best experience, when the crust is at its most crispy and the lard’s subtle depth shines through.
Ingredients for Lard Fried Chicken
Lard and a well-seasoned flour coating create that signature old-fashioned crispy finish.
| Ingredient | Amount | Notes |
|---|---|---|
| Chicken Thighs and Drumsticks 🍗 | 3 lb | Bone-in, skin-on preferred |
| Lard 🧈 | 4 cups | For deep frying |
| All-Purpose Flour 🌾 | 2 ½ cups | For dredging coating |
| Kosher Salt 🧂 | 1 ½ tbsp | Diamond Crystal preferred |
| Freshly Ground Black Pepper 🌶️ | 1 tbsp | Coarse grind ideal |
| Garlic Powder 🧄 | 1 tbsp | Not garlic salt |
| Onion Powder 🧅 | 1 tbsp | Fine grind preferred |
| Paprika 🌶️ | 1 tbsp | Sweet or smoked variety |
| Cayenne Pepper 🔥 | ½ tsp | Adjust for heat preference |
| Buttermilk 🥛 | 1 ½ cups | For marinating chicken |
| Large Eggs 🥚 | 2 whole | For egg wash binding |
| Hot Sauce 🌶️ | 2 tbsp | Such as Crystal or Tabasco |
The lard is non-negotiable for authentic flavor and crispy texture. Leaf lard (from leaf fat) is the gold standard—render it yourself or source from Fatworks or US Wellness Meats. For the chicken, bone-in, skin-on thighs and drumsticks yield the juiciest, most flavorful results. Most butcher shops will have these cuts, or find them at Whole Foods or Local Harvest farmers markets.
No lard? Beef tallow is the closest substitute, though the flavor profile shifts slightly. For the flour coating, half all-purpose, half cornmeal adds extra crunch. The buttermilk marinade can be replaced with whole milk plus 1 tbsp lemon juice if needed. If avoiding dairy, unsweetened almond milk with 1 tbsp vinegar works (though texture may differ).
Lard keeps indefinitely at room temperature in a sealed container. The chicken is best served immediately for maximum crispiness, but leftovers reheat well in a 375°F oven for 10-12 minutes. Store cooked chicken in the fridge for up to 3 days.
Why You’ll Love This Recipe
- One Pan Magic: I just coat the chicken in flour, salt, and pepper, then fry it in lard—no fancy steps, no extra dishes.
- Crispy & Rich: The lard gives it this golden, shatter-crisp crust with juicy meat underneath. Honestly, it’s the best texture I’ve ever had.
- Feeds a Crowd: I make a double batch for Sunday dinner and there’s never a piece left. Between us, even the picky eaters clean their plates.
- Budget Stretcher: Chicken thighs and drumsticks are cheap, and lard lasts forever. I’ll be real: it’s my go-to when I need a filling meal for pennies.
Step-by-Step Instructions for Lard Fried Chicken
Master these steps for shatteringly crisp crust and juicy meat with authentic old-world flavor.
Step 1: Marinate the Chicken in Buttermilk and Spices
In a large bowl, whisk together the 1.5 cups buttermilk, 2 whole large eggs, and 2 tbsp hot sauce until fully combined. The buttermilk tenderizes the meat while the hot sauce adds subtle tang and depth to the flavor profile.
Add all 3 lb chicken thighs and drumsticks and ensure each piece is fully coated. Cover and refrigerate for at least 4 hours or up to 12 hours. This extended marination guarantees maximum flavor penetration and moisture retention during frying.
Step 2: Prepare the Seasoned Flour Dredge
In a shallow dish, combine the 2.5 cups all-purpose flour, 1.5 tbsp kosher salt, 1 tbsp freshly ground black pepper, 1 tbsp garlic powder, 1 tbsp onion powder, 1 tbsp paprika, and 0.5 tsp cayenne pepper. Whisk thoroughly to distribute the seasonings evenly throughout the flour.
The cayenne provides a subtle warmth that balances the richness of the lard, while the paprika adds a deep color to the finished crust. I always double-check that no lumps remain—this ensures every piece of chicken gets an even coating of seasoned flour.
Step 3: Dredge and Rest the Chicken for Maximum Crisp
Remove the chicken from the buttermilk marinade, allowing excess to drip off. Dredge each piece in the seasoned flour, pressing firmly to adhere. For extra crunch, I repeat the process: dip back in the buttermilk, then dredge in flour again. This double-dredging creates a thicker, more textured crust.
Place the dredged chicken on a wire rack set over a baking sheet. Let it rest for 15-20 minutes at room temperature. This resting period allows the coating to dry slightly, which is crucial for achieving that coveted crisp texture when fried.
Step 4: Fry in Lard to Golden Perfection
In a deep, heavy pot (a Dutch oven works perfectly), heat the 4 cups lard over medium-high heat until it reaches 350-375°F on a deep-fry thermometer. The lard’s high smoke point and unique fat composition create an unparalleled crispness and rich flavor that vegetable oil simply cannot match.
Carefully lower the chicken into the hot lard, working in batches to avoid crowding. Fry for 12-15 minutes, turning occasionally, until the crust is deep golden brown and the internal temperature reaches 165°F. Maintain the oil temperature between 325-350°F during frying—too low and the chicken absorbs oil, too high and the outside burns before the inside cooks.
Transfer the fried chicken to a wire rack or paper towels to drain. The crust should be audibly crisp when tapped and resistant to the touch. Let it rest for 5 minutes before serving to allow the juices to redistribute.
Pro Tips For Making Lard Fried Chicken
- Heat the Lard Slow: I learned this the hard way—rushing the lard to high heat too fast burns the outside before the chicken cooks through. Keep it at 325°F and let it melt gradually, about 5-7 minutes.
- Dry the Chicken Well: Sounds obvious, but pat those thighs and drumsticks bone-dry with paper towels before dredging. Even a little moisture makes the flour clump and the crust uneven.
- Skip the Overcrowding: Resist the urge to cram the pan—fry in batches so the lard stays hot and the chicken browns instead of steams. My first few attempts were greasy messes until I did this.
- Season the Flour: Mix 1 tablespoon kosher salt and 1 teaspoon black pepper into the flour before dredging. It sticks better than seasoning the chicken alone and gives every bite that perfect kick.
Common Mistakes When Making Perfect Results
Wrong Oil Temperature
If your lard isn’t hot enough (below 325°F), the chicken absorbs fat instead of crisping. I always use a candy thermometer clipped to the pot. Too hot (above 375°F) and the crust burns before the meat cooks through. 🌡️
Overcrowding the Pot
Adding too many pieces at once drops the oil temperature dramatically. Fry in batches, leaving 2 inches between pieces. This ensures even cooking and maintains that perfect 350°F sweet spot for crispiness.
Skipping the Rest
Letting the dredged chicken rest for 15-20 minutes is crucial. Without this step, the coating doesn’t adhere properly, leading to patchy, uneven crust. I set a timer to avoid rushing this process.
Inconsistent Coating
Press the flour mixture firmly into the chicken during dredging. A light dusting won’t create that signature crunch. For extra texture, I always do a second dip in buttermilk and flour.
Neglecting Internal Temp
Don’t rely on color alone—dark meat should reach 165°F internally. Use an instant-read thermometer to check the thickest piece. Undercooked chicken ruins the experience, no matter how crispy the crust. 🔥
Poor Draining
Place fried chicken on a wire rack, not paper towels, to maintain crispiness. Paper towels steam the bottom, making it soggy. The rack allows air circulation on all sides.
Nutrition Facts
Frequently Asked Questions
Can I use vegetable oil instead of lard?
While you can, lard delivers superior flavor and crispiness due to its unique fat composition. Vegetable oil lacks the richness and may not achieve the same texture. For closest results, try beef tallow as a substitute.
What’s the ideal frying temperature?
Maintain 350-375°F for perfect results. Below 325°F causes greasy chicken, while above 375°F risks burning the crust before the meat cooks through. Use a candy thermometer for accuracy.
How do I keep the coating from falling off?
Press flour firmly into the chicken during dredging and let it rest for 15-20 minutes before frying. Double-dredging (buttermilk then flour twice) creates a thicker, more adherent crust.
Can I bake this instead of frying?
Baking won’t replicate the crispy texture or rich flavor. For an oven method, use 400°F with a wire rack, but expect different results. Frying in lard is key for authenticity.

- 6 Egg Cake Recipe with Oil: Light as Air With Buttery Moisture - October 4, 2026
- 4 Bean Casserole Recipe: One-Pan Heartiness With Smoky Paprika Depth - October 4, 2026
- 3-Ingredient Keto Mug Cake Recipe: Microwave Magic in 2 Minutes - October 4, 2026