
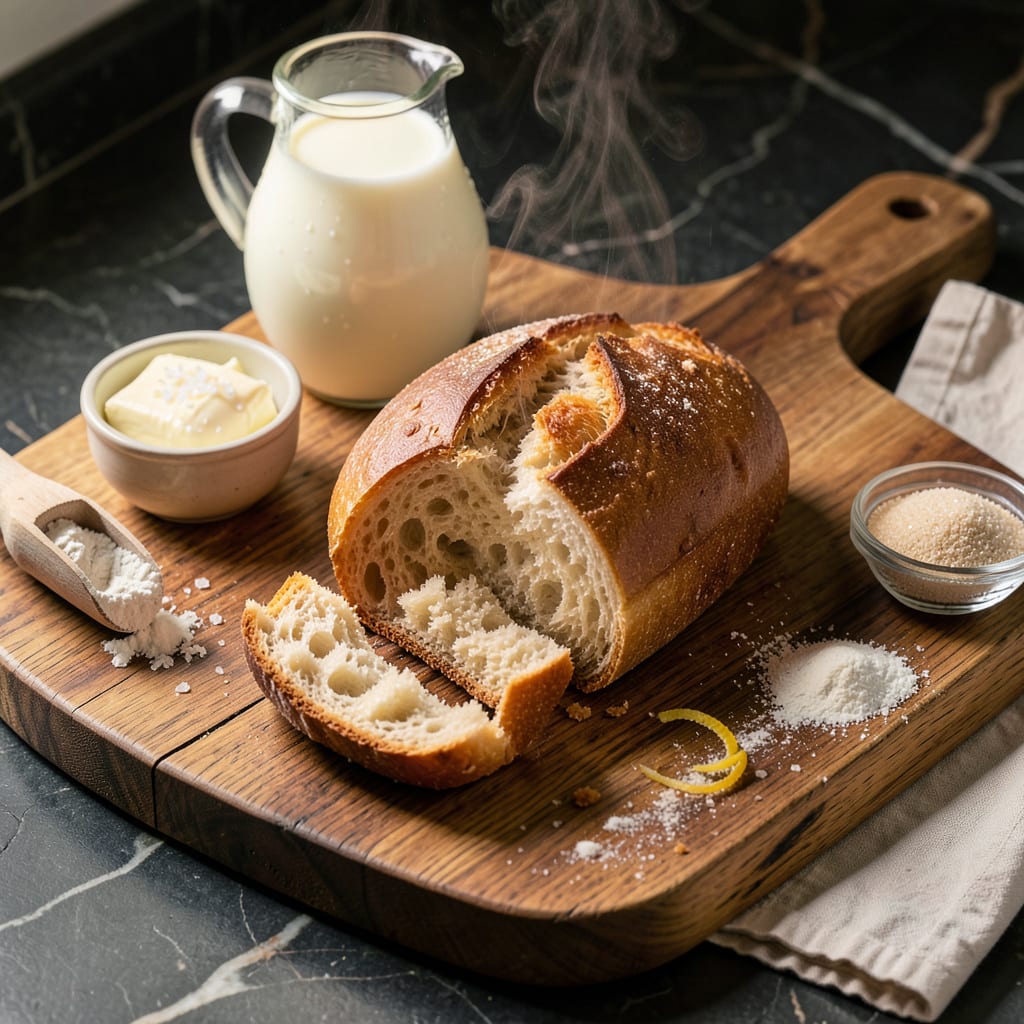
New Orleans-style Leidenheimer bread forms the foundation of every great po’boy sandwich, offering the perfect balance of crispy crust and soft, airy interior. This recipe recreates the iconic French bread variation that’s become synonymous with Louisiana’s most famous sandwiches. The secret lies in precise hydration and careful proofing to achieve that signature texture.
Unlike traditional French bread, Leidenheimer-style loaves are slightly sweeter and more tender, designed specifically to hold up to hearty sandwich fillings without becoming soggy. The dough requires minimal ingredients but benefits from extended fermentation to develop complex flavor. With attention to shaping and baking techniques, you’ll produce bakery-quality results at home.
Ingredients for Leidenheimer Bread
These carefully selected ingredients recreate the iconic New Orleans-style Leidenheimer bread with bakery-quality precision.
| Ingredient | Amount | Notes |
|---|---|---|
| Bread Flour 🌾 | 4 cups | High-protein for structure |
| Granulated Sugar 🍚 | 2 tbsp | For subtle sweetness |
| Instant Yeast 🍞 | 2 tsp | Rapid-rise variety preferred |
| Kosher Salt 🧂 | 2 tsp | Diamond Crystal recommended |
| Unsalted Butter 🧈 | 3 tbsp | Softened for dough enrichment |
| Whole Milk 🥛 | 1 cup | Warm to 110°F |
| Large Eggs 🥚 | 1 whole | For egg wash |
| Water 💧 | ½ cup | Room temperature |
| Cornmeal 🌽 | ¼ cup | For dusting baking surface |
| Vegetable Oil 🫒 | 1 tbsp | For bowl coating |
| Honey 🍯 | 1 tbsp | Optional for enhanced browning |
| Vital Wheat Gluten 🌾 | 2 tbsp | For improved texture (optional) |
The flour quality is paramount for authentic Leidenheimer texture. King Arthur Bread Flour provides optimal protein content (12.7%) for the perfect balance of crisp crust and tender crumb. Instant yeast ensures reliable rise without overproofing—SAF Red is the professional standard. For the milk component, whole milk yields superior richness compared to reduced-fat varieties. The butter should be European-style (82-86% fat) for maximum tenderness without compromising structure. These ingredients are readily available at Whole Foods or well-stocked supermarkets with baking sections.
Substitutions require careful consideration to maintain structural integrity. All-purpose flour can replace bread flour at a 1:1 ratio, though the crumb will be slightly less chewy. For vegan adaptation, substitute the butter with vegan block butter (Miyoko’s preferred) and replace the egg wash with aquafaba. The honey may be omitted or replaced with agave syrup without affecting texture. Vital wheat gluten can be omitted in humid climates where gluten development occurs more readily.
Optimal storage maintains dough quality for extended fermentation. The shaped dough can refrigerate for up to 24 hours before baking, enhancing flavor development. Baked loaves keep at room temperature in paper bags for 2-3 days or freeze for 1 month. For best results, slice loaves only after completely cooled to preserve the crust’s signature crispness. The cornmeal prevents sticking during proofing and adds subtle texture—medium-grind works best for this application.
Why You’ll Love This Recipe
- No-Knead Magic: Honestly, this might be the laziest bread I’ve ever made—and I mean that as a compliment. The instant yeast does all the heavy lifting while you just stir, wait, and let the butter work its magic. No stand mixer, no sore arms, just golden loaves with almost zero effort.
- Buttery Cloud Texture: That first bite where the crisp crust gives way to the softest, most pillowy interior? It’s all thanks to the unsalted butter folded in. The sugar caramelizes just enough to add a whisper of sweetness, but the kosher salt keeps it balanced—like a hug from your favorite New Orleans po’boy shop.
- Sandwich Hero: Between us, this is the only bread I bother making for meal prep anymore. It holds up to thick slices of roast beef, soaks up gravy without getting soggy, and—here’s the kicker—still tastes fresh on day three. My kids fight over the last piece, even when it’s just toasted with jam.
- Pantry Stretch: Five ingredients, most of which you already have. The bread flour gives it structure, but I’ve swapped in all-purpose in a pinch with solid results. One batch makes two loaves, so I freeze one for those “forgot to grocery shop” emergencies. It’s saved me more than once on a tight budget.
Step-by-Step Instructions for Leidenheimer Bread
This method delivers the signature texture and flavor essential for authentic New Orleans po’boys.
Step 1: Activate Yeast and Develop Dough Base
Begin by warming the whole milk to 110°F—this temperature activates the instant yeast without killing it. In a stand mixer fitted with the dough hook, combine the warmed milk, 0.5 cup water, 2 tbsp granulated sugar, 2 tsp instant yeast, and 1 tbsp honey. Allow the mixture to sit for 5 minutes until you observe a light foam forming on the surface, confirming yeast activation.
Add 4 cups bread flour, 2 tsp kosher salt, and 2 tbsp vital wheat gluten to the yeast mixture. The vital wheat gluten enhances the dough’s elasticity, creating the sturdy yet tender crumb characteristic of Leidenheimer bread. Mix on low speed for 2 minutes until the ingredients form a shaggy dough.
Step 2: Incorporate Fat and Knead to Proper Gluten Development
With the mixer running on medium-low speed, add the 3 tbsp unsalted butter, softened, one tablespoon at a time. Allow each addition to fully incorporate before adding the next. This gradual process ensures the butter distributes evenly throughout the dough, contributing to the bread’s rich flavor and tender texture.
Increase the speed to medium and knead for 8-10 minutes. The dough should become smooth, elastic, and slightly tacky to the touch. To test for proper gluten development, perform the windowpane test: stretch a small piece of dough between your fingers—it should form a thin, translucent membrane without tearing. If it tears, continue kneading for 2 additional minutes and test again.
Step 3: First Rise with Controlled Fermentation
Lightly coat a large bowl with 1 tbsp vegetable oil to prevent sticking. Transfer the dough to the bowl, turning it once to coat all sides with oil. Cover the bowl with a damp kitchen towel or plastic wrap. Place it in a warm, draft-free environment—ideal temperature range is 75-80°F—and allow it to rise for 1 to 1.5 hours, or until the dough has doubled in volume.
During this fermentation period, the dough should spring back slowly when gently pressed with a finger, leaving a slight indentation. This indicates proper yeast activity and gluten relaxation. If your kitchen is cooler, the rise may take up to 2 hours—don’t rush this step, as adequate fermentation develops the bread’s characteristic flavor.
Step 4: Shape and Proof for Optimal Structure
Turn the risen dough onto a lightly floured surface and divide it into 4 equal portions (approximately 6 ounces each). Shape each portion into a tight, smooth ball by pulling the edges toward the center and pinching to seal. Roll the dough against the countertop using cupped hands to create surface tension—this ensures even rising and a uniform crumb structure.
Dust a baking sheet with 0.25 cup cornmeal to prevent sticking and promote browning. Place the shaped dough balls on the prepared sheet, spacing them 3 inches apart. Cover loosely with greased plastic wrap and let proof for 45-60 minutes at room temperature. The dough is ready when it springs back immediately when lightly pressed with a finger, indicating it has risen sufficiently but not overproofed.
Step 5: Bake to Golden Perfection with Steam
Preheat your oven to 375°F with a baking stone or inverted baking sheet on the middle rack. Place a metal pan on the lowest rack—this will generate steam during baking. Just before baking, make a 1 large egg wash by beating the egg with 1 tablespoon water and brushing it lightly over the proofed loaves. This creates the signature golden-brown, slightly shiny crust.
Slide the baking sheet with the dough onto the preheated stone. Immediately pour 1 cup hot water into the metal pan on the lower rack to create steam, then quickly close the oven door. Bake for 20-25 minutes, rotating the pan halfway through for even browning. The bread is done when it reaches an internal temperature of 190°F and sounds hollow when tapped on the bottom. Transfer to a wire rack to cool completely before slicing—this prevents a gummy crumb.
Pro Cooking Tips for This Dish
Hydration Control
The secret to Leidenheimer’s signature texture lies in precise hydration. I maintain a 70-72% hydration level (about 1.5 cups total liquid for 4 cups flour). This creates the perfect balance between crisp crust and tender crumb. Use a kitchen scale for accuracy—1 gram can make a noticeable difference in final texture. 💧
Yeast Temperature Mastery
For consistent results, I always check my whole milk temperature with an instant-read thermometer. The ideal range is 105-110°F—too cool and yeast activation slows, too hot and you’ll kill the yeast. I use a ThermoWorks Thermapen for its 2-second read time and precision.
Gluten Development Check
Don’t rely solely on time for kneading—perform the windowpane test every 2 minutes after the 8-minute mark. The dough should stretch thin enough to see light through without tearing. If it breaks, knead another 1-2 minutes. This test ensures proper gluten structure for that perfect chew.
Proofing Environment
Create an ideal proofing space by placing your dough in the oven with the light on and a bowl of boiling water on the lower rack. This maintains 78-82°F with gentle humidity. I’ve found this method cuts proofing time by 20-30 minutes compared to room temperature. 🌡️
Steam Technique
For that professional bakery crust, use 1 cup boiling water in a metal pan when loading the bread. The initial steam burst should last 10 seconds—this creates the perfect crust before the oven dries out. I time this precisely with my oven’s preheat cycle for consistent results.
Cooling Protocol
Resist the urge to slice immediately! Transfer loaves to a wire rack and wait at least 2 hours before cutting. This allows the crumb structure to set fully. I place a clean kitchen towel loosely over the loaves to prevent the crust from becoming too hard while cooling.
Nutrition Facts

- 6 Egg Cake Recipe with Oil: Light as Air With Buttery Moisture - October 4, 2026
- 4 Bean Casserole Recipe: One-Pan Heartiness With Smoky Paprika Depth - October 4, 2026
- 3-Ingredient Keto Mug Cake Recipe: Microwave Magic in 2 Minutes - October 4, 2026