
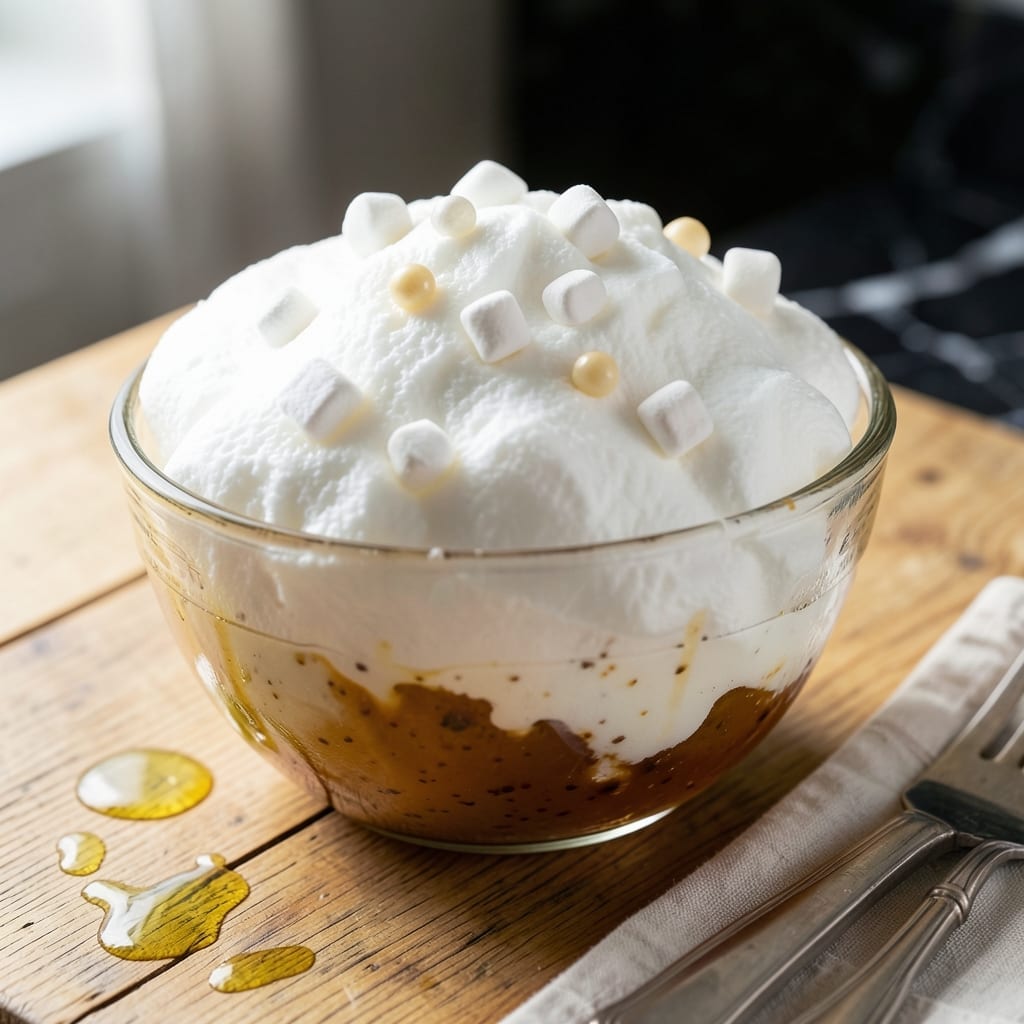
This homemade marshmallow fluff delivers that signature cloud-like texture you love, made from scratch with just a few ingredients. The process transforms simple marshmallows into a light, spreadable topping that’s perfect for sandwiches, fruit dips, or dessert garnishes.
Unlike store-bought versions, this recipe gives you complete control over sweetness and consistency. A standalone mixer does most of the work, whipping the marshmallows into a fluffy, glossy paste that holds its shape beautifully.
What you get is a smooth, airy spread that’s far superior to commercial fluff. It pipes like a dream and adds a touch of nostalgia to any treat, from s’mores to whoopie pies.
Store it in an airtight container, and it’ll keep for weeks—though it rarely lasts that long.
Ingredients for Marshmallow Fluff Recipe Using Marshmallows
Eight ingredients transform into that nostalgic, cloud-like spread you remember from childhood.
| Ingredient | Amount | Notes |
|---|---|---|
| Mini Marshmallows 🍬 | 8 oz | Jet-Puffed or store brand |
| Granulated Sugar 🍚 | 1 cup | Fine white sugar preferred |
| Light Corn Syrup 💧 | ½ cup | Karo brand recommended |
| Vanilla Extract 🌿 | 2 tsp | Pure vanilla for best flavor |
| Salt 🧂 | ¼ tsp | Fine table salt |
| Water 💧 | 2 tbsp | For dissolving sugar |
| Egg Whites 🥚 | 2 whole | Room temperature, pasteurized preferred |
| Cream of Tartar 🧂 | ¼ tsp | Stabilizes meringue |
The marshmallows are key here—Jet-Puffed are my go-to, but any mini marshmallows work as long as they’re fresh. You’ll find them in the baking aisle at any Walmart or Target. The corn syrup might seem old-school, but it’s what gives that glossy finish. Don’t substitute honey here (it’s not just about sweetness, it’s about texture). Karo is the standard, and it’s cheap at any grocery store.
No mini marshmallows? Regular marshmallows cut into quarters work in a pinch. Out of corn syrup? Agave nectar at a 1:1 ratio gets you close, though the texture won’t be identical. The vanilla matters—use pure extract, not imitation. If you’re worried about raw eggs, pasteurized egg whites from a carton are a safe bet. The cream of tartar is non-negotiable though—it’s what keeps everything stable.
This keeps beautifully in an airtight container at room temperature for 2-3 weeks. If it thickens up, just give it a quick whisk. For longer storage, freeze in small portions for up to 3 months. Thaw in the fridge overnight before using.
Why You’ll Love This Recipe
- 5-Minute Magic: I dump everything in one pot, stir, and boom—fluffy perfection with zero fancy steps.
- Vanilla Cloud: That real vanilla extract gives it a warmth store-bought fluff just can’t touch.
- Endless Uses: I’ve spread it on toast, swirled into hot cocoa, and even piped it onto cupcakes without a second thought.
- Pantry Hero: Mini marshmallows and sugar are already in my cupboard, so this costs pennies and saves a grocery run.
Step-by-Step Instructions for Marshmallow Fluff
This method delivers that signature cloud-like texture with ingredients you already have at home.
Step 1: Create the Sugar Syrup Base
In a medium saucepan, combine the 1 cup Granulated Sugar, 0.5 cup Light Corn Syrup, 2 tbsp Water, and 0.25 tsp Salt. Stir just enough to moisten the sugar—don’t stir after this point or you’ll create sugar crystals on the sides of the pan.
Place the saucepan over medium-high heat and bring to a boil. Use a clean pastry brush dipped in water to wash down any sugar crystals on the pan sides. Cook until the mixture reaches 240°F on a candy thermometer, which is the soft-ball stage. This takes about 8-10 minutes and ensures the syrup is concentrated enough to hold the fluff’s structure.
Step 2: Melt the Marshmallows
While the syrup cooks, add the 8 oz Mini Marshmallows to a heatproof bowl. Once the syrup reaches temperature, carefully pour it over the marshmallows. The hot syrup will immediately begin melting them—this is exactly what you want.
Let the mixture sit for 1-2 minutes to allow the heat to fully soften the marshmallows. Then, using a heatproof spatula, stir until completely smooth and no marshmallow lumps remain. The mixture will be thick, sticky, and glossy. Add the 2 tsp Vanilla Extract and stir to combine.
Step 3: Whip the Egg Whites to Stiff Peaks
In a clean, grease-free bowl of a stand mixer fitted with the whisk attachment, combine the 2 whole Egg Whites and 0.25 tsp Cream of Tartar. The cream of tartar stabilizes the egg whites, helping them hold their volume as they whip.
Beat on medium speed until foamy, then gradually increase to high speed. Whip until the egg whites form stiff, glossy peaks—this means when you lift the whisk, the peak holds its shape and the tip doesn’t droop. This process takes about 4-5 minutes and is crucial for achieving that airy, cloud-like texture.
Step 4: Combine and Whip to Perfection
With the mixer running on medium speed, slowly pour the warm marshmallow mixture in a thin, steady stream down the side of the bowl into the egg whites. This gradual addition prevents deflating the egg whites and ensures everything incorporates evenly.
Once all the marshmallow mixture is added, increase the speed to high and whip for 5-7 minutes until the fluff is thick, glossy, and holds its shape. The mixture should be pure white and light as a cloud. Scrape down the sides of the bowl as needed to ensure even mixing.
Transfer the marshmallow fluff to an airtight container. It will keep at room temperature for up to 2 weeks, though I doubt it’ll last that long. The texture is best when fresh but remains wonderfully spreadable for days.
Pro Tips For Making Marshmallow Fluff Recipe Using Marshmallows
- Melt Slowly: Use low heat and stir constantly—marshmallows will melt smoothly without scorching. I learned this the hard way after burning two batches in a hurry.
- Use Fresh Marshmallows: Stale mini marshmallows won’t melt as well. Check the bag’s freshness date, and if they feel hard or dry, skip them.
- Don’t Overcook: Pull the mixture off the heat as soon as it’s glossy and smooth. Even 30 seconds too long can turn it grainy.
- Add Vanilla Last: Stir in the vanilla extract after removing from heat—high temperatures can dull its flavor. Sounds small, but it actually changes the outcome.
Essential Equipment for This Recipe
Stand Mixer
A stand mixer with a whisk attachment is your best friend for this recipe. I use my KitchenAid and it handles the 5-7 minutes of whipping without breaking a sweat. The hands-free operation lets you focus on the sugar syrup timing. 💡
Candy Thermometer
Precision matters when cooking sugar syrup. A digital candy thermometer like the Taylor Precision model gives accurate 240°F readings. Clip it to your saucepan for easy monitoring while you work.
Heatproof Bowls
You’ll need at least two heatproof bowls: one for melting marshmallows and another for whipping egg whites. I use Pyrex glass because it’s durable and easy to see when marshmallows are fully melted. Avoid plastic which can warp with hot syrup.
Pastry Brush
A silicone pastry brush is essential for washing down sugar crystals from the pan sides. Dip it in water and brush the pan walls as the syrup cooks. This prevents crystallization that could ruin your fluff’s smooth texture.
Rubber Spatula
Use a heatproof rubber spatula to stir the melted marshmallow mixture. The flexible edge helps scrape every last bit from the bowl. I prefer OXO Good Grips for their comfortable handles and durability.
Airtight Container
For storage, transfer your finished fluff to a clean airtight container. I reuse 16 oz mason jars for this purpose. They seal tightly and let you see the beautiful glossy finish of your creation. 🥣
Nutrition Facts
Frequently Asked Questions
Can I use regular marshmallows instead of mini?
Yes! Cut regular marshmallows into quarters before using. They melt at the same rate as minis once chopped. Just ensure they’re fresh for best results.
Why do I need cream of tartar?
It stabilizes the egg whites, helping them hold their volume during whipping. Without it, your fluff might deflate or lose its airy texture.
How do I fix grainy fluff?
Graininess usually means undissolved sugar. Reheat the syrup to 240°F and ensure it’s fully incorporated before whipping.
Can I make this without a stand mixer?
A hand mixer works but requires 10-12 minutes of continuous whipping. Be prepared for arm fatigue and take breaks if needed.

- 6 Egg Cake Recipe with Oil: Light as Air With Buttery Moisture - October 4, 2026
- 4 Bean Casserole Recipe: One-Pan Heartiness With Smoky Paprika Depth - October 4, 2026
- 3-Ingredient Keto Mug Cake Recipe: Microwave Magic in 2 Minutes - October 4, 2026