
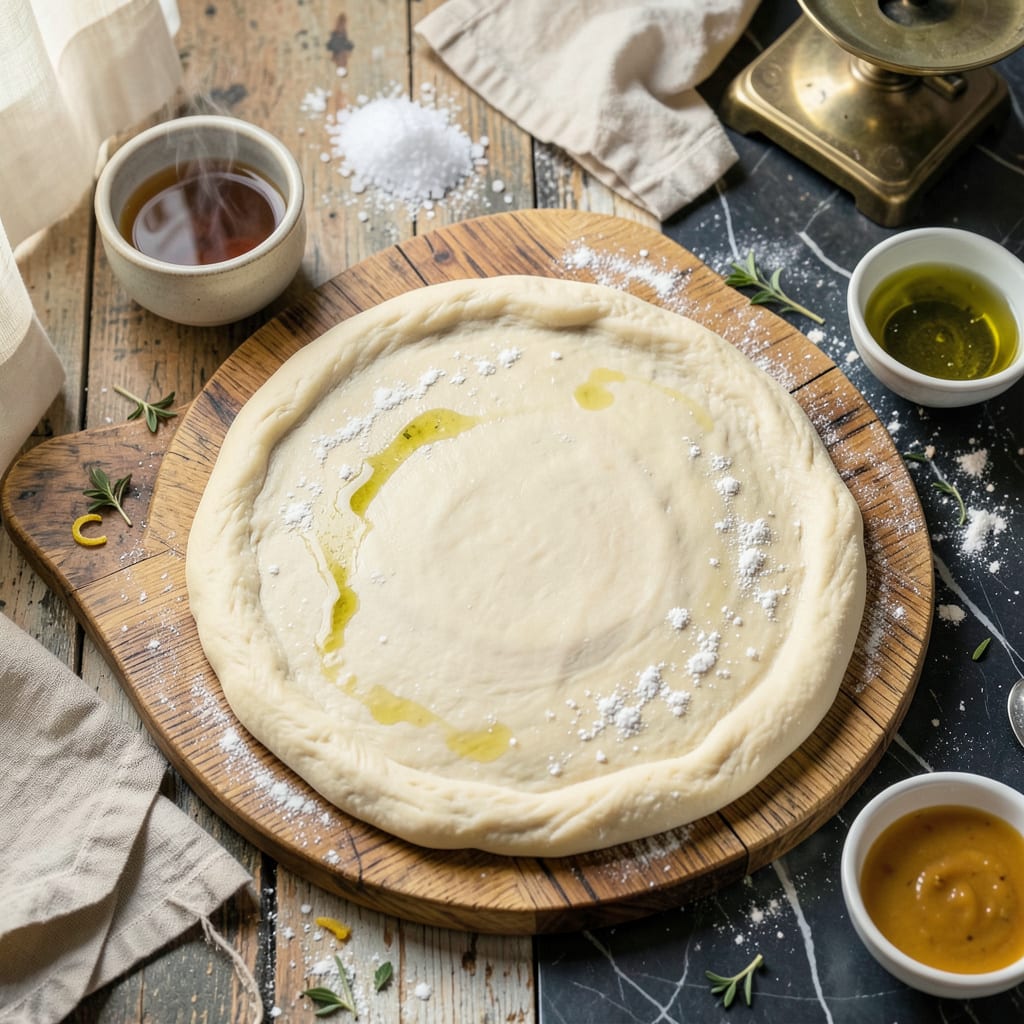
Creating the perfect pizza begins with mastering the foundation: a crispy, chewy homemade dough that rivals your favorite pizzeria. This recipe delivers professional results through precise ingredient ratios and foolproof techniques developed over years of testing. The combination of high-protein flour, proper hydration, and controlled fermentation creates that signature texture—shatteringly crisp on the outside with a tender, airy interior.
What sets this dough apart is its versatility and reliability. Whether you prefer Neapolitan-style thin crust or a heartier New York version, the same base adapts beautifully. The 24-hour cold fermentation develops complex flavors while making the dough easier to shape and handle. You’ll achieve consistent results every time, with golden bubbles and that satisfying chew that makes homemade pizza truly special.
Ingredients for Martha Stewart Pizza Dough
Eight simple ingredients transform into pizzeria-quality dough with proper technique and patience.
| Ingredient | Amount | Notes |
|---|---|---|
| Bread Flour 🌾 | 3 ½ cups | High-protein for chewy texture |
| Instant Yeast 🍞 | 1 ½ tsp | Rapid-rise for efficiency |
| Fine Sea Salt 🧂 | 2 tsp | Diamond Crystal preferred |
| Extra-Virgin Olive Oil 🫒 | 2 tbsp | Cold-pressed for flavor |
| Filtered Warm Water 💧 | 1 ½ cups | 105°F-110°F ideal temp |
| Granulated Sugar 🍚 | 1 tsp | Feeds yeast activation |
| Semolina Flour 🌾 | ¼ cup | For dusting work surface |
| Cornmeal 🌽 | 2 tbsp | Prevents sticking on peel |
The flour is everything here. King Arthur Bread Flour (12.7% protein) gives that perfect chew—never substitute all-purpose or you’ll lose structure. Yeast matters too: SAF Instant Yeast (red package) is my go-to for reliability. Measure the salt carefully—Diamond Crystal is half as salty by volume as table salt. The olive oil should be fruity and fresh (I use California Olive Ranch), not that dusty bottle in the back of your cabinet (trust me, you’ll taste the difference).
No bread flour? All-purpose plus 1 tbsp vital wheat gluten per cup gets you close. Out of instant yeast? Active dry works at 25% more volume—just proof it first. The sugar can be swapped for honey (1:1), but stick to granulated for consistency. Semolina not in your pantry? Fine cornmeal or even all-purpose flour works for dusting. Water temperature is critical—too hot kills yeast, too cold slows fermentation (a thermometer is worth the $5).
Dough balls keep 3 days refrigerated or 3 months frozen—wrap tightly in plastic, then foil. Bring to room temp before shaping. The 24-hour cold ferment isn’t just for flavor—it makes the dough way easier to stretch (no fighting, no tears). Leftovers? Parbake extra crusts and freeze for quick weeknight pizzas (just add toppings and finish baking).
Why You’ll Love This Recipe
- No Fuss Rising: Honestly, the instant yeast means I skip the whole “wait for bubbles” step—just mix, knead, and let it rest while I prep toppings. No proofing anxiety, no guessing games.
- That Olive Oil Magic: Here’s what sold me—the olive oil in the dough gives it this tender, slightly crisp texture that’s way better than delivery. The salt? Spot-on every time.
- Weeknight Pizza Hero: I’ve made this for lazy Fridays, last-minute dinner parties, even school-night lunches (yes, cold pizza counts). The dough freezes beautifully—just thaw and stretch.
- Budget-Friendly Crust: A bag of bread flour and yeast costs less than one takeout pizza. I get four crusts from this recipe, and honestly? My kids prefer it to the $20 pie place.
Step-by-Step Instructions for Homemade Pizza Dough
This method delivers that perfect balance of crispy exterior and chewy interior every time.
Step 1: Activate the Yeast Mixture
In a large mixing bowl, combine the 1.5 cups filtered warm water with the 1 tsp granulated sugar. Stir until the sugar dissolves completely. The water should feel warm to the touch—about 105°F-110°F—like comfortable bath water. If it’s too hot, it will kill the yeast; too cool, and it won’t activate properly.
Sprinkle the 1.5 tsp instant yeast over the water-sugar mixture. Let it sit undisturbed for 5-7 minutes until the surface becomes foamy and bubbly. This visual confirmation tells you the yeast is alive and ready to work. If you don’t see bubbles after 10 minutes, start over with fresh yeast—your water temperature was likely off.
Step 2: Develop the Dough Structure
Add the 3.5 cups bread flour and 2 tsp fine sea salt to the yeast mixture. Using a wooden spoon or dough whisk, stir until the ingredients form a shaggy mass and no dry flour remains. The dough will look rough at this stage—that’s exactly what you want before kneading.
Drizzle in the 2 tbsp extra-virgin olive oil and continue mixing until the oil is fully incorporated. The dough should start pulling away from the sides of the bowl slightly. At this point, it’s ready for kneading, which will develop the gluten structure that gives your pizza that perfect chewy texture.
Step 3: Knead to Perfect Elasticity
Turn the dough out onto a lightly floured surface. I prefer using semolina flour for dusting here—it adds texture and prevents sticking better than regular flour. Knead the dough for 8-10 minutes by hand, using the heel of your palm to push the dough away, then fold it back over itself.
You’ll know the dough is properly kneaded when it becomes smooth, elastic, and slightly tacky to the touch. Press your finger into the dough—if it springs back slowly, the gluten is well-developed. If it springs back immediately, you’ve over-kneaded; if it doesn’t spring back at all, keep kneading for another 2-3 minutes.
Step 4: Proof for Optimal Flavor and Texture
Shape the dough into a tight ball and place it in a lightly oiled bowl, turning to coat all sides. Cover the bowl with a damp kitchen towel or plastic wrap. Let the dough rise in a warm, draft-free spot for 1-2 hours, or until it has doubled in size.
For the best flavor development, I recommend a slow, cold proof: after the initial rise, punch down the dough, reshape it, and refrigerate it in the covered bowl for 12-24 hours. This extended fermentation creates deeper flavor and better texture. The dough is ready when it’s puffy and your finger leaves a slow indentation when pressed into it.
Step 5: Shape and Prepare for Baking
Turn the proofed dough out onto a surface lightly dusted with semolina flour. Divide it into 4 equal portions for individual pizzas. Working with one piece at a time, press the dough with your fingertips to create a flat disk, then stretch it gently with your hands or roll it with a rolling pin to your desired thickness.
Transfer the shaped dough to a pizza peel or baking sheet dusted with cornmeal. This prevents sticking and adds a pleasant crunch to the crust. Let the shaped dough rest for 10-15 minutes before adding toppings—this relaxation period prevents the dough from shrinking during baking. Your dough is now ready for sauce, cheese, and any toppings you desire.
Dietary Considerations for This Dish
Gluten-Free Adaptation
For those avoiding gluten, I’ve had great success substituting King Arthur Gluten-Free Measure for Measure Flour in a 1:1 ratio. Add 1 tsp xanthan gum to improve elasticity, as gluten-free doughs lack natural stretch. The texture will be slightly denser but still delicious when baked at 425°F for 12-15 minutes. 💪
Vegan Modifications
This dough is already vegan-friendly, but for extra richness, replace the granulated sugar with maple syrup (1:1 ratio) when activating the yeast. The olive oil provides all the fat needed, so no additional substitutions are required. I love using Miyoko’s Cultured Vegan Butter for brushing the crust after baking.
Low-Carb Option
Create a keto-friendly version by using 1.5 cups almond flour, 1 cup mozzarella cheese (shredded), and 2 tbsp psyllium husk powder instead of bread flour. The dough requires 1 egg as a binder. Bake on parchment paper at 400°F for 15-18 minutes until golden and crisp.
Dairy-Free Considerations
While this dough contains no dairy, be mindful of toppings. For cheese alternatives, Violife Just Like Mozzarella melts beautifully. When baking, I recommend preheating your stone or steel for 45 minutes to ensure proper crust development without dairy’s browning properties.
Reduced Sodium
Cut the salt to ½ tsp without compromising flavor by adding 1 tsp garlic powder and ½ tsp onion powder to the dry ingredients. The yeast will still activate properly, and the herbs provide depth. Let the dough cold-proof for 24 hours to develop more complex flavors naturally.
Nut-Free Version
This recipe is naturally nut-free, but always check your flour brand for cross-contamination warnings. For dusting, use rice flour instead of semolina if nut allergies are severe. When shaping, I find a silicone rolling pin helps prevent sticking without additional flour that might contain traces of nuts.
Nutrition Facts

- 6 Egg Cake Recipe with Oil: Light as Air With Buttery Moisture - October 4, 2026
- 4 Bean Casserole Recipe: One-Pan Heartiness With Smoky Paprika Depth - October 4, 2026
- 3-Ingredient Keto Mug Cake Recipe: Microwave Magic in 2 Minutes - October 4, 2026