
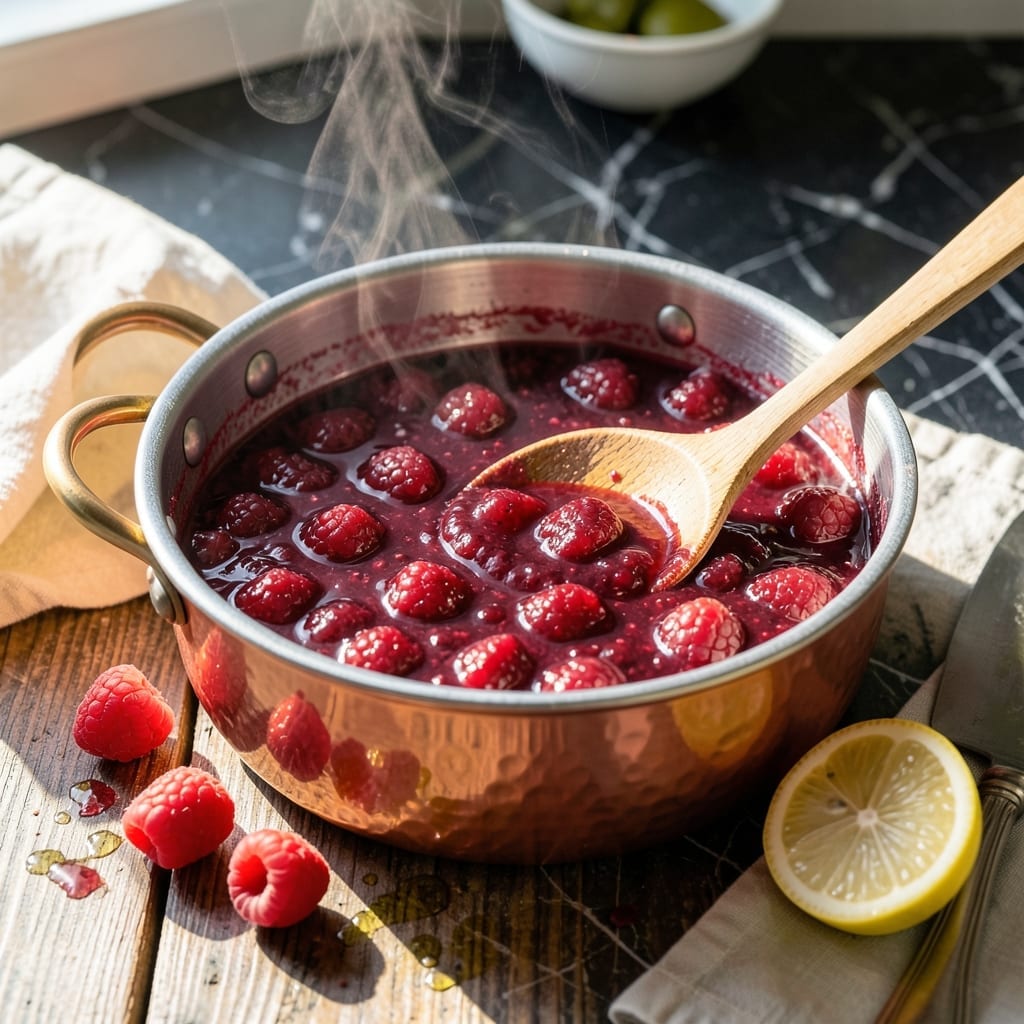
There’s a special satisfaction in making your own raspberry jam at home, capturing summer’s sweetness in every jar. This method delivers a bright, bubbly preserve with minimal effort and maximum flavor.
Using just three ingredients—fresh raspberries, sugar, and lemon juice—this recipe lets the fruit shine. The process is straightforward, with no special equipment required beyond a heavy-bottomed pot and glass jars.
The result is a thick, glossy jam with perfect balance between sweet and tart. It spreads beautifully on toast, pairs perfectly with scones, or makes an elegant gift for friends and family.
Make a batch today and enjoy the taste of summer all year long.
Ingredients for Mary Berry Raspberry Jam
Three simple ingredients capture summer’s essence in every glossy, bubbly jar of preserve.
| Ingredient | Amount | Notes |
|---|---|---|
| Fresh Raspberries 🍓 | 4 cups | Fully ripe, unwashed |
| Granulated Sugar 🍚 | 3 cups | White granulated preferred |
| Lemon Juice 🍋 | ¼ cup | Freshly squeezed preferred |
The raspberries must be perfectly ripe—look for deep red color and a slight give when gently pressed. Local farmers markets or pick-your-own patches often have the freshest berries. Avoid overripe or mushy fruit, as it affects the jam’s texture. Sugar quality matters less here, but standard granulated from Domino or C&H works reliably for consistent results.
No fresh raspberries? Frozen works equally well—thaw and drain excess liquid first. Short on sugar? Do not reduce—it’s essential for preservation and texture. Lemon juice can be bottled in a pinch, but fresh provides brighter acidity. For a twist, substitute lime juice, though the flavor profile shifts slightly.
Store finished jam in sterilized jars in a cool, dark place for up to 1 year. Once opened, refrigerate and use within 1 month. The flavor deepens over time, making it even more delicious for gifts or breakfast spreads.
Why You’ll Love This Recipe
- 3 Ingredients Only: I love that this needs just raspberries, sugar, and a squeeze of lemon—no pectin, no fuss.
- Bright & Tangy: The lemon juice cuts through the sweetness, making the raspberry flavor pop in every spoonful.
- Gift-Worthy Jars: I stash these in pretty jars for hostess gifts or Sunday brunches—always a hit.
- Stretches Summer: Honestly, it’s the easiest way to preserve raspberry season and enjoy that fresh-picked taste all year.
Step-by-Step Instructions for Raspberry Jam
This method ensures a perfectly set preserve with vibrant color and balanced sweetness.
Step 1: Prepare the Raspberries
Place the 4 cups Fresh Raspberries in a large, heavy-bottomed pot. I use a wide pot to allow for even cooking and better evaporation. Gently crush about half the raspberries with a potato masher to release their juices—this jumpstarts the cooking process and ensures even distribution of pectin.
Add the 0.25 cup Lemon Juice to the pot. The acidity brightens the flavor and helps the jam set properly by activating the natural pectin in the fruit. Don’t skip this step, as it’s essential for both taste and texture. Stir the mixture gently to combine without breaking up all the berries.
Step 2: Combine with Sugar and Rest
Measure out the 3 cups Granulated Sugar and add it to the raspberry mixture. Stir thoroughly until every berry is coated and the sugar begins to dissolve. White granulated sugar works best here as it dissolves quickly and doesn’t alter the color of the final product.
Let the mixture stand for 15-20 minutes at room temperature. This resting period allows the sugar to draw out the natural juices from the raspberries, creating a syrup that will cook more evenly. You’ll notice the volume increase as the berries release their liquid. This step prevents grainy texture in your finished jam.
Step 3: Cook to Setting Point
Place the pot over medium-high heat and bring to a full rolling boil. Stir frequently at first with a wooden spoon to prevent scorching at the bottom. As the mixture heats, the sugar will fully dissolve and the berries will soften completely.
Once boiling, reduce heat to medium and maintain a steady, vigorous boil. Cook for 15-20 minutes, stirring occasionally, until the jam reaches 220°F on a candy thermometer. Watch for the mixture to thicken and become glossy—it should coat the back of your spoon and wrinkle slightly when pushed with a finger. This is the setting point that ensures proper gel formation.
Step 4: Test and Skim
To confirm the jam is ready, perform the cold plate test: place a small amount on a chilled saucer and let it cool for 30 seconds. Push it with your finger—if it wrinkles and holds its shape, it’s done. If not, cook for another 2-3 minutes and test again.
Remove the pot from heat and skim off any foam that has risen to the surface using a metal spoon. This foam consists of air bubbles and fruit particles that could affect the jam’s appearance. Be thorough but don’t over-stir, as this can break down the berries too much.
Step 5: Jar and Seal
Ladle the hot jam into sterilized jars, leaving ¼-inch headspace at the top. Wipe the rims clean with a damp cloth to ensure a proper seal. This preserve will keep in the refrigerator for up to 3 weeks or can be processed in a water bath for longer storage.
As the jam cools, you’ll hear the satisfying “pop” of the lids sealing. The finished product should have a brilliant ruby color, a glossy sheen, and a perfect balance of sweet raspberry flavor with just a hint of tartness. The texture should be thick yet spreadable, with visible fruit pieces suspended in the gel.
Pro Tips For Making Mary Berry Raspberry Jam
- Test for Set: Start checking for a set after 8-10 minutes of boiling—place a spoonful on a chilled plate and push with your finger. If it wrinkles slightly, it’s ready; I learned this the hard way after overcooking my first three batches.
- Mash the Berries: Lightly crush about a third of the raspberries before cooking to release pectin and help the jam thicken faster. Sounds weird, but it works.
- Skip the Over-Stirring: Stir just enough to prevent sticking at the start, then resist the urge once it’s boiling—constant stirring can break down the fruit and delay setting.
- Use a Wide Pan: A shallow, wide pan (not a deep pot) lets the jam reduce faster and more evenly. My grandmother swore by this, and she was right.
Flavor Customization for This Dish
Herb Infusions
Add a sprig of fresh rosemary or thyme while cooking for subtle herbal notes. Remove before jarring. I love how 1 sprig transforms the flavor profile without overpowering the fruit. 🌿
Citrus Variations
Swap lemon juice for lime or orange juice to brighten differently. Zest from 1 orange adds aromatic depth. The citrus oils create a more complex preserve that pairs wonderfully with cheeses.
Spiced Options
Stir in ½ tsp cinnamon or ¼ tsp cardamom with the sugar for warm undertones. A pinch of black pepper surprisingly enhances the berry flavor. These spices work especially well for holiday gifting.
Low-Sugar Adaptation
For a lighter version, replace 1 cup sugar with 1 cup honey, but cook 5 minutes longer. Note the texture will be slightly softer. I find the honey adds a lovely floral note to the raspberries.
Berry Blends
Mix in 1 cup blackberries or ½ cup blueberries for layered fruit flavors. The added pectin from blackberries helps the jam set faster. These combinations create beautiful swirled colors in the jar. 💫
Boozy Twist
Add 2 tbsp Chambord or 1 tbsp Grand Marnier at the end of cooking for adult sophistication. The alcohol cooks off, leaving behind a rich, complex flavor that elevates the preserve for special occasions.
Nutrition Facts
Frequently Asked Questions
What’s the best way to test if the jam is ready?
Use the cold plate test: place a small amount on a chilled saucer, let it cool for 30 seconds, then push with your finger. If it wrinkles and holds its shape, it’s done.
Can I use frozen raspberries instead of fresh?
Yes! Thaw and drain excess liquid first. Frozen berries work equally well and maintain the same vibrant flavor and texture.
Why did my jam turn out runny?
This usually means it didn’t reach 220°F or wasn’t cooked long enough. Next time, use a candy thermometer and cook until it thickens and coats the spoon.
How long does homemade raspberry jam last?
Unopened jars keep for up to 1 year in a cool, dark place. Once opened, refrigerate and use within 1 month for best quality.

- 6 Egg Cake Recipe with Oil: Light as Air With Buttery Moisture - October 4, 2026
- 4 Bean Casserole Recipe: One-Pan Heartiness With Smoky Paprika Depth - October 4, 2026
- 3-Ingredient Keto Mug Cake Recipe: Microwave Magic in 2 Minutes - October 4, 2026