
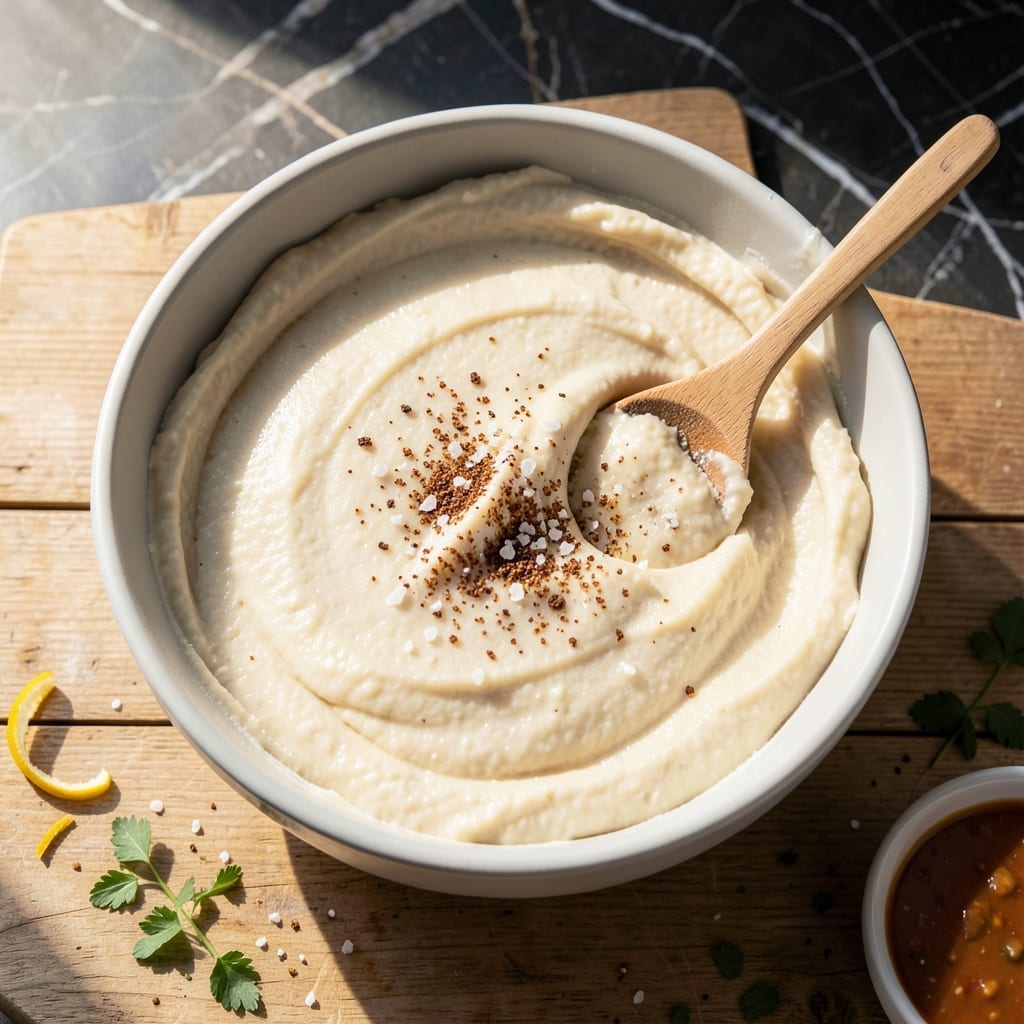
This traditional masa dough delivers the perfect foundation for authentic tamales, just like the ones passed down through generations. The key lies in achieving the right texture that holds together beautifully when steamed.
With simple ingredients and a precise mixing method, you’ll create a dough that’s light yet sturdy enough to wrap around your favorite fillings. This is the base that makes tamales truly special.
Ingredients for Masa Dough Recipe for Tamales
Simple ingredients create that authentic tamale base everyone loves at the table.
| Ingredient | Amount | Notes |
|---|---|---|
| Masa Harina 🌽 | 4 cups | Traditional corn flour for tamales |
| Vegetable Shortening 🧈 | 2 cups | Or substitute lard for authenticity |
| Chicken Broth 🍲 | 3 cups | Warm, vegetable broth for vegetarian |
| Baking Powder 🧂 | 2 tsp | For lightness in dough |
| Salt 🧂 | 2 tsp | Fine grain preferred |
| Ground Cumin 🌿 | 1 tsp | Optional for extra flavor |
| Dried Oregano 🌿 | 1 tsp | Mexican oregano preferred |
| Garlic Powder 🧄 | 1 tsp | Enhances savory depth |
| Onion Powder 🧅 | 1 tsp | Balances overall flavor |
| Paprika 🌶️ | ½ tsp | For subtle color |
The masa harina is non-negotiable here. Maseca is the gold standard—look for it in the Latin foods aisle at Walmart or any Hispanic market. Don’t confuse it with regular cornmeal; the texture won’t work. Vegetable shortening gives the traditional mouthfeel, but if you’re going for maximum authenticity (and not strict vegetarian), lard from a trusted butcher is what abuela used.
Out of masa harina? No good substitute—this is the soul of the dish. For the broth, vegetable broth works fine for strict vegetarians. Skip the cumin if you want ultra-traditional, but I like the extra warmth it adds. The spices can all be adjusted to taste—this dough is forgiving (just don’t over-salt).
Dough keeps in the fridge for 2 days if wrapped tight, but it’s best used fresh. Leftovers? Shape into small patties and pan-fry for quick masa cakes. Freeze uncooked tamales for up to 3 months—steam straight from frozen.
Why You’ll Love This Recipe
- One Bowl Wonder: I just dump Masa Harina, shortening, broth, and a pinch of salt in a single bowl—no fancy tools, no mess.
- Rich Chicken Depth: The warm chicken broth gives the masa this savory, cozy flavor that makes every tamale bite feel like home.
- Holiday Hero: I make a double batch for Christmas Eve and freeze half—because nobody should be making dough at the last minute.
- Budget Stretch: A $2 bag of Masa Harina and a little shortening feed my whole family, with enough left for a second meal.
Step-by-Step Instructions for Masa Dough for Tamales
This traditional method delivers authentic texture and flavor for your steamed pockets.
Step 1: Beat the Shortening to Perfection
In a large mixing bowl, beat the 2 cups Vegetable Shortening with an electric mixer on medium-high speed for 3-4 minutes until it becomes fluffy and pale. This step incorporates air, which creates a lighter, more tender masa.
You’ll know it’s ready when the shortening looks almost like whipped cream. Don’t skip this—it’s the foundation of a perfect dough. The air pockets formed here will expand during steaming, giving your tamales that signature lightness.
Step 2: Gradually Incorporate the Masa Harina
With the mixer still running on low speed, slowly add the 4 cups Masa Harina, about ½ cup at a time. Let each addition fully incorporate before adding the next. This prevents lumps and ensures even distribution of fat throughout the dry mix.
Pause occasionally to scrape down the sides of the bowl with a spatula. The mixture will look crumbly and dry at this stage—that’s exactly what you want before adding the liquid.
Step 3: Add the Broth and Seasonings
In a separate bowl, whisk together the 3 cups Chicken Broth, 2 tsp Baking Powder, 2 tsp Salt, 1 tsp Ground Cumin, 1 tsp Dried Oregano, 1 tsp Garlic Powder, 1 tsp Onion Powder, and 0.5 tsp Paprika until the spices are fully dissolved.
With the mixer on low speed, slowly pour the broth mixture into the masa-shortening blend. Add it in a thin stream, allowing it to absorb fully before adding more. This gradual process prevents a dense, gummy dough.
Step 4: Beat Until Light and Fluffy
Once all the liquid is incorporated, increase the mixer speed to medium and beat for an additional 5-7 minutes. The dough should become smooth, shiny, and light—almost like a thick cake batter.
To test for doneness, drop a small spoonful of the dough into a glass of cold water. If it floats, it’s ready. If it sinks, beat it for another 2-3 minutes and test again. This float test ensures your tamales will be airy and tender.
Step 5: Rest the Dough Before Using
Cover the bowl with a damp kitchen towel and let the dough rest at room temperature for 30 minutes. This resting period allows the masa harina to fully hydrate and the baking powder to activate, ensuring optimal texture.
After resting, give the dough one final beat for 1-2 minutes to reincorporate any air that may have settled. It should hold its shape when pressed but still feel slightly sticky. This is your perfect masa, ready for spreading onto corn husks.
Pro Tips For Making Masa Dough Recipe For Tamales
- Beat the Shortening: Whip the vegetable shortening with a hand mixer for 2-3 minutes until light and fluffy—I learned this the hard way after my first few batches of tamales turned out dense and greasy.
- Use Warm Broth: Heat your chicken broth to just below simmering before mixing it in; cold liquid makes the masa seize up and turns the dough into a lumpy mess.
- Test the Float: Drop a small ball of dough in water to check doneness—if it floats, it’s ready to spread, if it sinks, keep beating in more broth a tablespoon at a time.
- Rest the Dough: Let the finished masa sit covered for 30 minutes before using; this lets the cornmeal hydrate fully and makes spreading way easier—my grandmother swore by this, and she was right.
Essential Equipment for Perfect Results
Must-Have Tools
To make authentic masa dough for tamales, a stand mixer (like the KitchenAid) or a hand mixer is essential for achieving the right fluffy texture. 🥘 A large mixing bowl is also a must for combining ingredients evenly before beating.
For spreading the dough, a tamale spreader or a simple offset spatula works wonders. Don’t forget dried corn husks—soaked in warm water—to hold your tamales together during steaming.
Nice-to-Have
A food processor can help grind masa if you’re starting from nixtamalized corn. For precise measurements, a kitchen scale ensures consistency. 🎯 A steamer basket or tamalera (a large pot with a steamer insert) is ideal for cooking.
If you’re making large batches, a dough press speeds up the process. Plastic wrap or parchment paper can also help keep husks in place while assembling.
Budget Alternatives
No stand mixer? A sturdy wooden spoon and some elbow grease will do! 💡 Use a large pot with a rack (or even a colander) as a makeshift steamer. Instead of a tamale spreader, the back of a spoon works in a pinch.
For soaking husks, any large bowl or clean sink will suffice. Reuse ziplock bags to store unused masa dough for later. Simple tools can still yield delicious results!
Nutrition Facts

- 6 Egg Cake Recipe with Oil: Light as Air With Buttery Moisture - October 4, 2026
- 4 Bean Casserole Recipe: One-Pan Heartiness With Smoky Paprika Depth - October 4, 2026
- 3-Ingredient Keto Mug Cake Recipe: Microwave Magic in 2 Minutes - October 4, 2026