
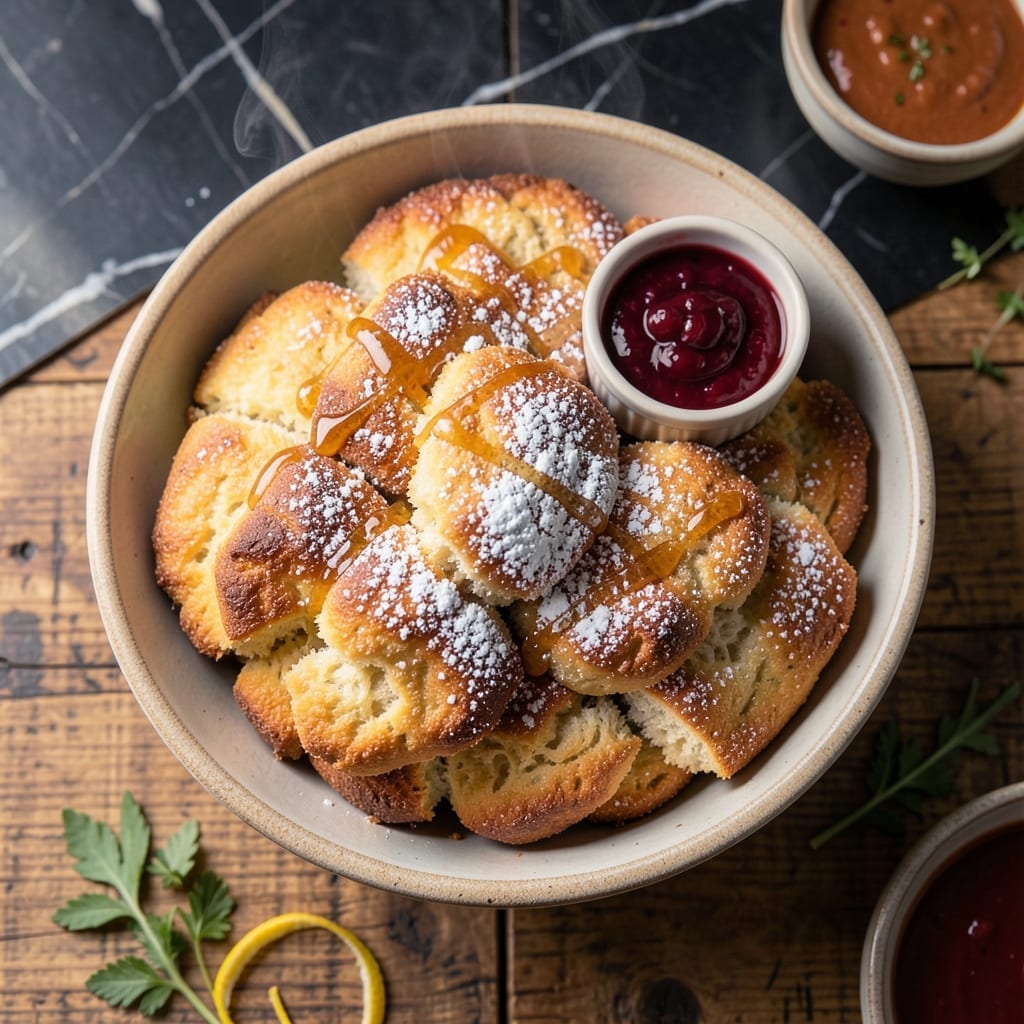
This yeast-based fry bread recipe transforms simple ingredients into a golden, pillowy foundation that’s both versatile and deeply traditional. I developed this version to honor Native American culinary roots while ensuring consistent results for home cooks.
The yeast adds lightness to the dough, creating a soft interior with a slightly crisp exterior when fried. This method requires patience for rising but rewards with a texture that’s impossible to achieve with quick breads.
Use these as a base for savory tacos with ground beef and toppings, or drizzle with honey for a sweet treat. The contrast between the airy bread and rich fillings makes every bite satisfying.
With just a few pantry staples and 30 minutes of active prep, you’ll have a dish that connects to heritage while fitting seamlessly into modern meals.
Ingredients for Native American Fry Bread Recipe with Yeast
Pantry staples plus yeast create this traditional golden foundation with heritage roots.
| Ingredient | Amount | Notes |
|---|---|---|
| All-Purpose Flour 🌾 | 4 cups | Plus extra for dusting |
| Active Dry Yeast 🍞 | 2 ¼ tsp | One 0.25-oz packet |
| Granulated Sugar 🍚 | 2 tbsp | Divided for yeast activation |
| Warm Water 💧 | 1 ½ cups | 110-115°F for yeast |
| Whole Milk 🥛 | ½ cup | Warmed to 110°F |
| Salt 🧂 | 1 ½ tsp | Fine sea salt preferred |
| Vegetable Shortening 🫒 | 2 cups | For frying, melted |
| Baking Powder 🍞 | 1 tbsp | For extra lift |
| Ground Cinnamon 🌿 | ½ tsp | Optional for sweet version |
| Honey 🍯 | ½ cup | For drizzling, optional |
| Powdered Sugar 🧂 | ¼ cup | For dusting, optional |
The flour quality matters here. King Arthur or Bob’s Red Mill all-purpose gives consistent results. Yeast must be fresh—check the expiration date (those little packets lose potency fast). Warm the liquids to 110-115°F—too hot kills the yeast, too cold won’t activate it. I always use a kitchen thermometer to be sure. The shortening for frying should be a high-smoke-point variety like Crisco.
No yeast? You’ll lose that pillowy texture—this isn’t a quick bread. Out of milk? Warm water plus 2 tbsp powdered milk works. For a vegan version, swap honey for maple syrup and use plant-based milk. The baking powder adds lift alongside the yeast—don’t skip it. Cinnamon is optional but traditional for sweet fry bread. Fresh shortening is key for that crisp exterior.
Dough rises best in a warm spot (75-80°F)—try your oven with the light on. Fried bread keeps 2 days at room temperature in a paper bag, but it’s best hot. Freeze dough balls before frying for up to 1 month (thaw before frying). Leftovers? Reheat in a dry skillet to revive crispness.
Why You’ll Love This Recipe
- Minimal Effort: I mix flour, yeast, sugar, water, and milk, then let the dough rise—no fancy steps, just simple ingredients doing the work.
- Pillowy Perfection: The yeast makes it light and airy inside with a golden, crispy outside. Honestly, it’s the best of both textures in one bite.
- Endless Options: I serve it as a base for tacos, drizzle it with honey, or pile on powdered sugar. Between us, it’s hard to pick a favorite way.
- Budget Stretch: A handful of pantry staples feeds my whole family. I’ll be real: it’s cheaper than takeout and twice as satisfying.
Step-by-Step Instructions for Native American Fry Bread With Yeast
Master the technique for achieving golden, pillowy bread with a crisp exterior and tender interior.
Step 1: Activate the Yeast and Prepare the Dough
In a large mixing bowl, combine the 2.25 tsp Active Dry Yeast, 2 tbsp Granulated Sugar, and 1.5 cups Warm Water. Stir and let sit for 5-7 minutes until the mixture becomes frothy and bubbly—this confirms the yeast is active and ready to work.
Add the 0.5 cup Whole Milk warmed to 110°F, 1.5 tsp Salt, 1 tbsp Baking Powder, and 4 cups All-Purpose Flour. Mix until a shaggy dough forms. The dough should be soft but not sticky. If it feels too wet, add a bit more flour; if too dry, a splash of warm water helps.
Step 2: Knead and Let the Dough Rise
Turn the dough onto a lightly floured surface and knead for 8-10 minutes until smooth and elastic. You’ll know it’s ready when it springs back slightly when pressed with a finger. This development of gluten ensures the bread will be tender yet sturdy enough to hold toppings.
Place the dough in a greased bowl, cover with a clean towel, and let it rise in a warm, draft-free spot for 1-2 hours, or until doubled in size. The ideal environment is around 75-80°F. If your kitchen is cool, consider placing the bowl near a warm oven.
Step 3: Shape and Prepare for Frying
Once the dough has risen, punch it down to release the air and divide it into 4 equal portions. Roll each portion into a ball, then flatten into a disc about ½-inch thick. Use your hands or a rolling pin, but avoid overworking the dough to keep it light.
Let the shaped dough rest for 10-15 minutes while you prepare the frying station. This brief rest relaxes the gluten, preventing the bread from shrinking or becoming tough during frying.
Step 4: Fry to Golden Perfection
In a deep, heavy-bottomed skillet, melt the 2 cups Vegetable Shortening over medium-high heat until it reaches 350-375°F. Use a thermometer for accuracy—this temperature range ensures the bread cooks through without burning.
Carefully slide one disc of dough into the hot shortening. Fry for 2-3 minutes per side until golden brown and puffed. Avoid crowding the pan; fry one or two at a time to maintain oil temperature. Use tongs to flip the bread and transfer it to a paper towel-lined plate to drain excess oil.
Step 5: Serve Warm with Optional Toppings
Serve the fry bread immediately while still warm. For a sweet version, dust with 0.25 cup Powdered Sugar and drizzle with 0.5 cup Honey. For a savory twist, use it as a base for tacos or top with ground beef, beans, and cheese.
If adding 0.5 tsp Ground Cinnamon, mix it into the dough during the initial combining stage for a subtle warmth. The bread is best enjoyed fresh but can be reheated in a dry skillet or oven to restore its crispness.
Pro Tips For Making Native American Fry Bread Recipe With Yeast
- Test the Yeast: Always proof your active dry yeast in the warm water with a pinch of sugar first—if it doesn’t bubble within 5 minutes, your bread won’t rise. I learned this the hard way after wasting a batch of flour on dead yeast.
- Warm the Milk: Use whole milk heated to about 110°F, just warm to the touch. Too hot kills the yeast, too cold slows activation, and I’ve ruined dough both ways before figuring this out.
- Rest the Dough: After kneading, let the dough rise for at least 1 hour in a warm spot—covered with a damp towel. Skipping this makes fry bread dense instead of light and airy.
- Use Fresh Oil: Fry in oil that’s 350-375°F and replace it between batches if it gets murky. Old, burnt oil gives fry bread a bitter taste, and nobody wants that.
Health Benefits of These Flavors
Energy Boost
This bread provides a quick carbohydrate energy source from the 4 cups All-Purpose Flour, making it ideal for active lifestyles. The yeast fermentation process also makes nutrients more bioavailable, so your body can absorb them more efficiently. 💪
Minimal Processing
With just 9 simple ingredients, most of which are pantry staples, this recipe avoids the preservatives and additives found in store-bought breads. The 2 cups Vegetable Shortening for frying is the only processed component, and you can substitute coconut oil for a cleaner option.
Traditional Nutrition
Native American fry bread historically provided sustenance during challenging times. The 0.5 cup Whole Milk adds calcium and vitamin D, while the 2 tbsp Granulated Sugar offers a natural energy lift. It’s a balanced option when paired with protein-rich toppings.
Dietary Flexibility
This recipe can easily adapt to dietary needs. For a vegan version, swap the milk for plant-based alternatives and use maple syrup instead of honey. The 1.5 tsp Salt can be reduced for those monitoring sodium intake.
Comfort Food Benefits
The warmth and texture of this bread provide emotional comfort, which can be just as nourishing as the physical nutrients. The 0.5 tsp Ground Cinnamon in the sweet version adds antioxidants, while the 0.5 cup Honey drizzle offers natural antibacterial properties. 🍯
Portable and Practical
Fry bread is easy to eat on the go, making it a practical choice for busy days. The 1 tbsp Baking Powder helps create a light texture that’s gentle on digestion, and the bread’s versatility means it can be a meal or snack anytime.
Nutrition Facts
Frequently Asked Questions
Why use yeast in fry bread?
Yeast creates a lighter, fluffier texture compared to traditional quick breads. It adds air pockets for that signature pillowy interior while keeping the exterior crisp. The rising time also develops more flavor in the dough.
How do I know when the oil is ready?
Use a kitchen thermometer to check for 350-375°F. Alternatively, drop a small piece of dough in—if it sizzles and rises immediately, the oil is ready. Maintain this temp throughout frying for even cooking.
Can I make this ahead of time?
Yes! Prepare the dough, let it rise, then shape into balls and refrigerate for up to 24 hours. Or freeze uncooked dough balls for 1 month. Fry from cold, adding 1 extra minute per side.
What’s the secret to puffy bread?
Don’t overwork the dough and let it rest 10-15 minutes before frying. The combination of yeast and baking powder creates maximum lift. Also, avoid crowding the pan to maintain oil temperature.

- 6 Egg Cake Recipe with Oil: Light as Air With Buttery Moisture - October 4, 2026
- 4 Bean Casserole Recipe: One-Pan Heartiness With Smoky Paprika Depth - October 4, 2026
- 3-Ingredient Keto Mug Cake Recipe: Microwave Magic in 2 Minutes - October 4, 2026