
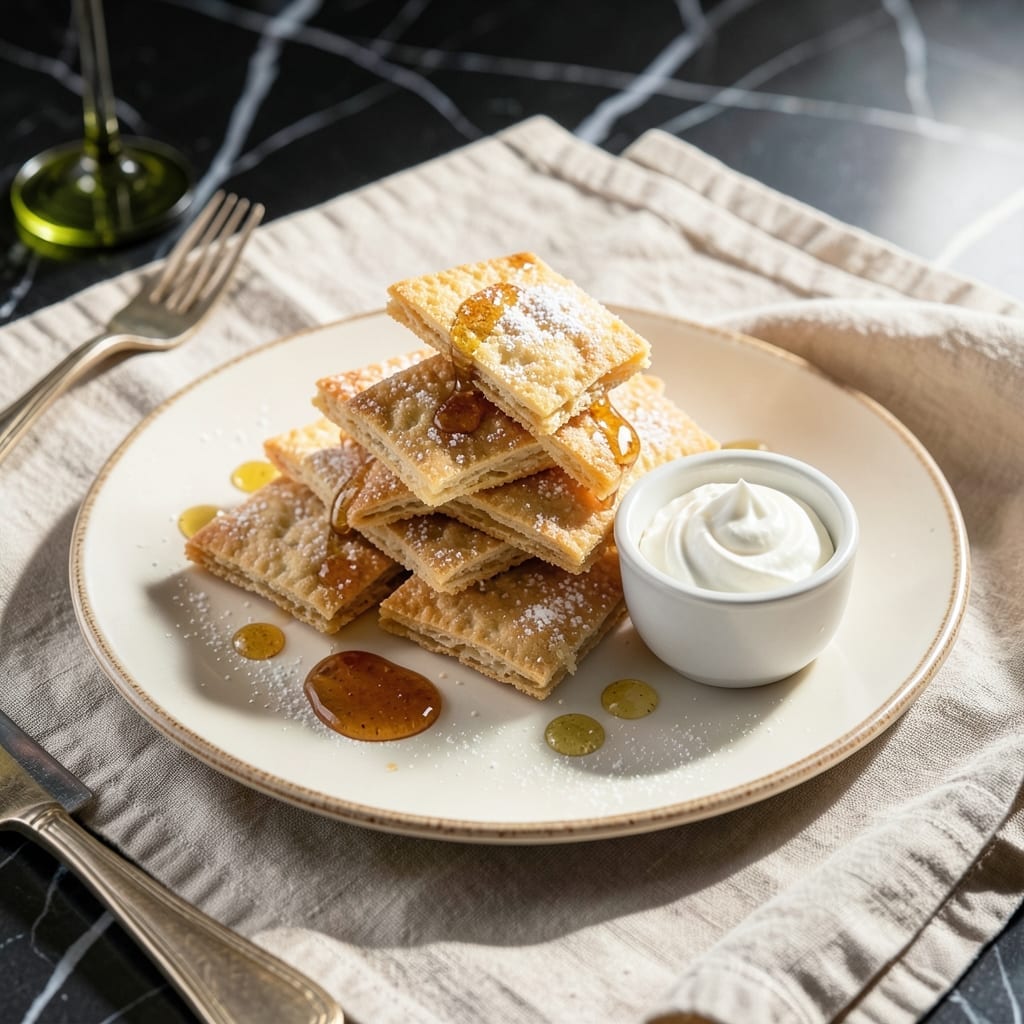
These vanilla treats bring timeless flavor to your baking with a classic approach that never disappoints. The key lies in balancing simplicity with precision for cookies that are tender yet sturdy enough for stacking or decorating.
I developed this method to capture the nostalgic taste while allowing room for creative variations. The dough comes together quickly with pantry staples, and the baking process ensures even, golden results every time.
What emerges from the oven are delicate, lightly sweet cookies with a subtle vanilla aroma. They hold their shape beautifully, making them ideal for icebox cakes or sandwiching with filling.
Perfect for holiday cookie exchanges or afternoon tea. This recipe delivers consistent, classic results with minimal effort.
Ingredients for Nilla Wafer Recipe Ideas
Classic vanilla wafers require precision and quality ingredients for timeless results.
| Ingredient | Amount | Notes |
|---|---|---|
| All-Purpose Flour 🌾 | 2 cups | Sifted for light texture |
| Granulated Sugar 🍚 | ¾ cup | Fine grain for even distribution |
| Unsalted Butter 🧈 | ½ cup | Softened to room temperature |
| Large Egg 🥚 | 1 whole | Room temperature for best incorporation |
| Pure Vanilla Extract 🌿 | 1 tsp | High-quality for authentic flavor |
| Baking Powder 🧂 | 1 tsp | Leavening agent for lift |
| Salt 🧂 | ¼ tsp | Fine sea salt preferred |
| Whole Milk 🥛 | 2 tbsp | Adds moisture and richness |
| Powdered Sugar 🍚 | ½ cup | For dusting or glaze |
| Cornstarch 🌽 | 1 tbsp | Ensures tender crumb |
The butter quality is non-negotiable for these cookies. Opt for a premium brand like Plugrá or Kerrygold—higher fat content ensures superior texture. All-purpose flour from King Arthur or Bob’s Red Mill provides consistent results. The vanilla extract should be pure, not imitation, as it defines the flavor profile. Sift the flour and cornstarch together for an even distribution of leavening agents.
No whole milk on hand? Half-and-half or evaporated milk works in a pinch, though the richness may vary slightly. For a lighter texture, replace one tablespoon of flour with cornstarch. If you prefer a more pronounced vanilla flavor, increase the extract to 1.5 teaspoons. Unsalted butter is essential—salted can throw off the balance of sweetness and seasoning.
Store the dough, wrapped tightly, in the refrigerator for up to 48 hours. Baked cookies keep in an airtight container at room temperature for 1 week or freeze for 3 months. Dust with powdered sugar just before serving to maintain the fresh appearance.
Why You’ll Love This Recipe
- One Bowl Wonder: I just dump everything in—flour, sugar, butter, egg, vanilla—and mix. No fancy tools, no fuss.
- Buttery Vanilla Bliss: The combo of real vanilla and rich butter makes these taste like the store-bought ones, but better.
- Endless Possibilities: I’ve used them for banana pudding, icebox cakes, and even crushed as a pie crust. Honestly, they’re my baking shortcut.
- Budget-Friendly Batch: A single batch costs pennies and makes dozens. I’ll be real: I always double it and freeze half for later.
Step-by-Step Instructions for Vanilla Wafer Cookies
This classic method ensures tender, buttery cookies with a delicate vanilla flavor and perfect texture.
Step 1: Cream Butter and Sugars
In a stand mixer fitted with the paddle attachment, beat the 0.5 cup unsalted butter with the 0.75 cup granulated sugar on medium speed for 3-4 minutes until the mixture is light and fluffy. The butter should be softened to room temperature for proper aeration.
This creaming process incorporates air, which creates the characteristic light texture of vanilla wafers. The mixture should pale in color and nearly double in volume. Avoid overmixing, which can lead to dense cookies.
Step 2: Incorporate Wet Ingredients
Add the 1 whole large egg and 1 tsp pure vanilla extract to the butter-sugar mixture. Beat on low speed until fully combined, scraping down the sides of the bowl as needed. The egg should be at room temperature to prevent the butter from seizing up.
Next, add the 2 tbsp whole milk and mix just until incorporated. The dough will look slightly wet at this stage, but the dry ingredients will balance it out. The milk adds moisture and richness without thinning the dough too much.
Step 3: Combine Dry Ingredients
In a separate bowl, whisk together the 2 cups all-purpose flour, 1 tbsp cornstarch, 1 tsp baking powder, and 0.25 tsp salt. The cornstarch is crucial for the tender crumb typical of vanilla wafers.
Gradually add the dry ingredients to the wet mixture, mixing on low speed until just combined. The dough should be soft but not sticky. Overmixing at this stage develops gluten, which can make the cookies tough instead of delicate.
Step 4: Shape and Bake
Preheat the oven to 350°F and line baking sheets with parchment paper. Roll the dough into 1-inch balls and place them 2 inches apart on the prepared sheets. For even baking, ensure all balls are the same size.
Bake for 10-12 minutes until the edges are just beginning to turn light golden brown. The centers will still look soft but will firm up as they cool. Rotate the pans halfway through baking for even color.
Step 5: Cool and Dust
Let the cookies cool on the baking sheet for 5 minutes before transferring them to a wire rack to cool completely. This brief rest prevents them from crumbling when moved.
Once cooled, dust the cookies with 0.5 cup powdered sugar for a classic finish. For a more pronounced vanilla flavor, you can also add a touch of powdered sugar to the dough before baking.
Pro Tips For Making Nilla Wafer Recipe Ideas
- Chill the Dough: After mixing, refrigerate the dough for at least 30 minutes—this prevents the butter from spreading too fast in the oven, giving you thicker, crispier wafers.
- Use Room-Temp Butter: Take the unsalted butter out an hour before baking; softened butter creams better with sugar, making the dough lighter and easier to pipe or roll.
- Skip Overmixing: I learned this the hard way—mix just until the flour disappears, or your wafers will turn out tough instead of tender.
- Add a Pinch of Salt: Sounds weird, but it works: a tiny pinch of salt in the dough balances the sweetness and makes the vanilla flavor pop.
Troubleshooting This Recipe
Flat Cookies
If your cookies spread too thin, your butter was likely too warm. Chill the dough for 30 minutes before baking. Also, ensure your baking sheets are cool between batches—hot pans cause excessive spreading. I always keep 2-3 sheets rotating in my kitchen for this reason. 💡
Dry or Crumbly Dough
This usually means too much flour was added. Measure by spooning into cups and leveling off—never scoop directly from the bag. If the dough is already dry, add 1-2 tsp milk to restore moisture. The texture should be soft but hold its shape when rolled.
Uneven Browning
Rotate your baking sheets halfway through the 10-12 minute bake time. If some cookies brown faster, move them to a lower rack. For consistent results, position racks in the center of the oven and avoid overcrowding. 🔥
Cracked Tops
Cracking often happens when the dough is too dry or the oven temperature is uneven. Ensure your oven is fully preheated to 350°F and check for hot spots. If cracks appear, press the dough balls slightly flatter before baking.
Bland Flavor
Use high-quality vanilla extract—imitation brands lack depth. If you want more vanilla punch, increase the extract to 1.5 tsp. A pinch of salt (⅛ tsp extra) can also enhance the sweetness and overall flavor profile.
Sticking Problems
Always use parchment paper or silpat mats. If cookies still stick, let them cool on the sheet for 5 minutes before transferring. A thin metal spatula helps lift them gently. Re-greasing pans between batches can also prevent sticking.
Nutrition Facts
Frequently Asked Questions
Can I make these without a stand mixer?
Use a hand mixer or beat by hand with a wooden spoon. Cream the butter and sugar for 5-7 minutes by hand for proper aeration. The cookies may be slightly denser but still delicious.
How do I make them gluten-free?
Swap the all-purpose flour for a 1:1 gluten-free flour blend. Add 1/4 tsp xanthan gum if your blend doesn’t include it. The texture will be slightly different but still tasty.
Can I add chocolate chips?
Yes! Fold in 1/2 cup mini chocolate chips after combining the dry ingredients. For best results, chill the dough for 20 minutes before baking to prevent spreading.
Why are my cookies too soft?
They likely need more bake time. Leave them in for the full 12 minutes even if the edges look done. Underbaking can result in a cookie that doesn’t hold its shape.

- 6 Egg Cake Recipe with Oil: Light as Air With Buttery Moisture - October 4, 2026
- 4 Bean Casserole Recipe: One-Pan Heartiness With Smoky Paprika Depth - October 4, 2026
- 3-Ingredient Keto Mug Cake Recipe: Microwave Magic in 2 Minutes - October 4, 2026