
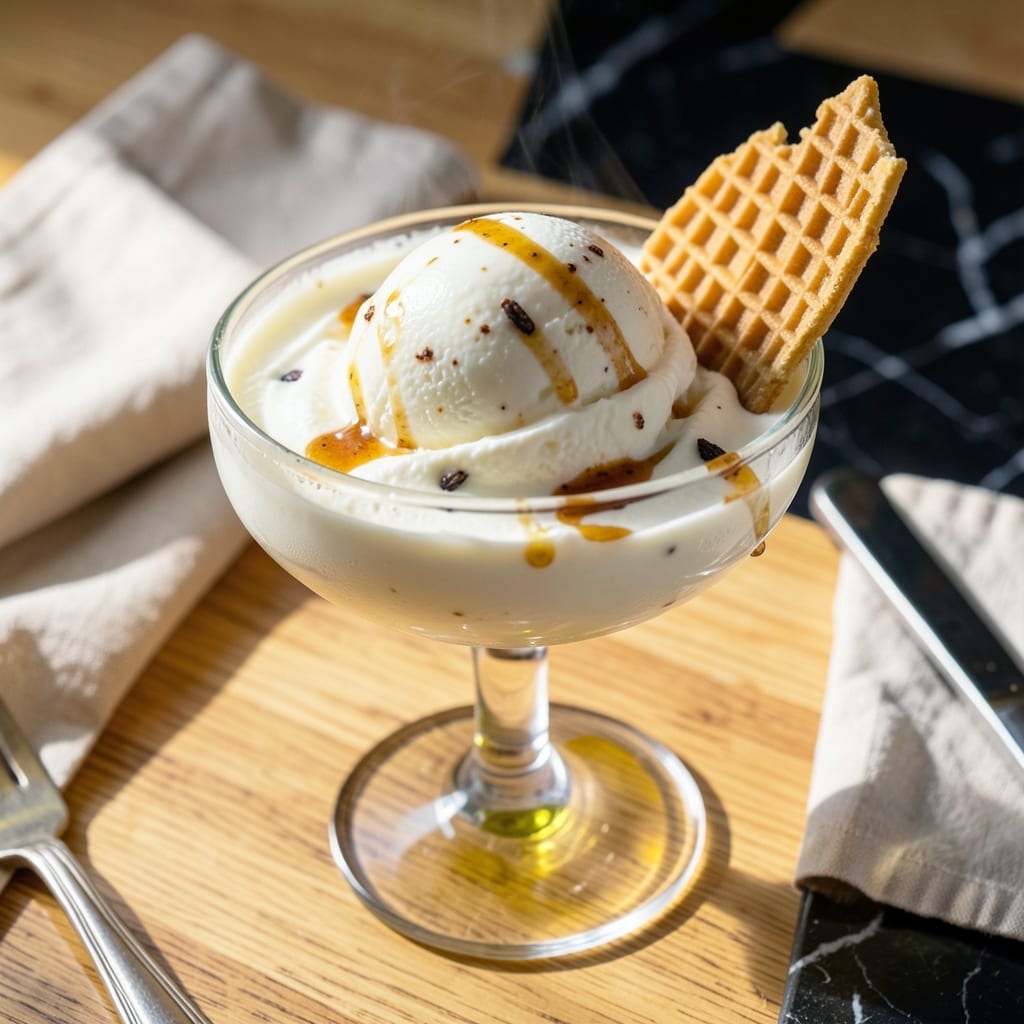
I’ve perfected a dairy-free vanilla ice cream for the Ninja Creami that’s silky smooth without cream cheese. This method uses simple ingredients and the machine’s precise settings.
The result is a creamy, dreamy dessert with pure vanilla flavor. No artificial additives—just clean, refreshing ice cream ready in minutes.
Ingredients for Ninja Creami Vanilla Ice Cream Recipe Without Cream Cheese
These eight ingredients create a velvety vanilla ice cream base perfect for your Ninja Creami.
| Ingredient | Amount | Notes |
|---|---|---|
| Full-Fat Coconut Milk 🥥 | 2 cups | Canned, well-shaken for creaminess |
| Granulated Sugar 🍚 | ½ cup | Adjust to taste preference |
| Pure Vanilla Extract 🌿 | 2 tsp | High-quality for best flavor |
| Vanilla Bean Paste 🌿 | 1 tsp | Optional for visible specks |
| Heavy Whipping Cream 🥛 | ½ cup | Ensures ultra-creamy texture |
| Whole Milk 🥛 | ½ cup | Balances richness perfectly |
| Pinch of Salt 🧂 | 1 pinch | Enhances all the flavors |
| Xanthan Gum 🧪 | ¼ tsp | Stabilizes and thickens base |
| Almond Milk 🌰 | ¼ cup | For lighter consistency option |
The coconut milk is critical here. Thai Kitchen or Native Forest brands deliver consistent creaminess without separation. Full-fat is non-negotiable—light versions produce icy results. The vanilla extract should be pure, not imitation; Nielsen-Massey or Rodelle are top-tier choices. For the dairy elements, Organic Valley offers excellent heavy cream and whole milk with superior fat content.
Need to avoid dairy entirely? Swap the heavy cream and whole milk for additional full-fat coconut milk (1:1 ratio). No xanthan gum? 1 tsp cornstarch works as a substitute, though texture may vary slightly. For sweeter ice cream, increase sugar by 2 tbsp. The almond milk can be replaced with any plant-based milk, but oat milk adds a subtle sweetness that pairs well with vanilla.
The base mixture keeps in the fridge for 2 days before churning. Once processed, enjoy immediately for soft-serve or freeze for 1-2 weeks for firmer scoops. Always let the machine’s canister return to room temperature between uses for best results.
Why You’ll Love This Recipe
- Dump and Blend: I just toss everything in the Ninja Creami pint, no pre-cooking or tempering eggs. Honestly, it’s the laziest way to make ice cream that still tastes homemade.
- Double Vanilla Punch: The combo of pure extract and bean paste gives that speckled vanilla flavor that’s way richer than store-bought.
- Make Ahead Magic: I prep the base on Sunday, spin it fresh any night of the week. Between us, it’s my secret to instant dessert without the last-minute stress.
- No Waste Win: Heavy cream and coconut milk keep well, so I use what I need and save the rest for coffee or pancakes. No weird leftovers taking up space.
Step-by-Step Instructions for Ninja Creami Vanilla Ice Cream Without Cream Cheese
Master this technique and you will achieve ultra-smooth vanilla ice cream with professional consistency every time.
Step 1: Blend the Dairy Base to Perfection
Combine the 2 cups Full-Fat Coconut Milk, 0.5 cup Heavy Whipping Cream, and 0.5 cup Whole Milk in a blender. I always use well-shaken canned coconut milk for maximum creaminess and fat content. Blend on high for 30-45 seconds until completely smooth and homogenous.
The mixture should look uniform with no separation. This step ensures the fats are fully emulsified, which is critical for achieving that signature velvety texture in the final product. Don’t skip this—proper blending prevents icy crystals later.
Step 2: Incorporate Sweeteners and Flavorings
Add the 0.5 cup Granulated Sugar, 2 tsp Pure Vanilla Extract, 1 tsp Vanilla Bean Paste, and 1 pinch Pinch of Salt to the blender. The vanilla bean paste adds those beautiful specks and intensifies the vanilla flavor. Pulse a few times to combine, then blend on high for another 20-30 seconds.
Taste the mixture now and adjust sweetness if needed—the sugar level should be slightly sweeter than you prefer because freezing mutes sweetness. The salt enhances all the flavors, so don’t omit it even though it seems small.
Step 3: Stabilize with Xanthan Gum
With the blender running on low, sprinkle in the 0.25 tsp Xanthan Gum through the lid’s opening. This stabilizer is the secret to preventing ice crystals and achieving that commercial ice cream texture. Blend for 10-15 seconds until fully incorporated.
You’ll notice the mixture thicken slightly almost immediately. For a lighter consistency, you can replace up to 0.25 cup Almond Milk for some of the whole milk, but I recommend trying the original version first. The xanthan gum works best when added to the moving liquid.
Step 4: Freeze to the Perfect Consistency
Pour the mixture into your Ninja Creami pint container, leaving ½ inch of headspace at the top for expansion during freezing. Place the lid on securely and freeze for 24 hours until completely solid. The mixture should be hard enough that a knife inserted comes out clean with no liquid residue.
This extended freeze is non-negotiable. Anything less than 24 hours and the Creami blades may struggle to process it properly, resulting in uneven texture. Your freezer should be at 0°F or colder for best results.
Step 5: Process and Serve
Remove the frozen pint from the freezer and place it in your Ninja Creami. Select the “Ice Cream” setting and let it run for the full 1-2 minutes until the machine stops automatically. The blade should move smoothly through the mixture without straining.
If the result seems too firm, use the “Re-spin” function once. For softer ice cream, you can add 1-2 tablespoons of the Almond Milk and re-spin. Serve immediately for the creamiest texture or freeze for 1 hour for a firmer scoop. The vanilla flecks should be evenly distributed throughout the smooth base.
Pro Tips For Making Ninja Creami Vanilla Ice Cream Recipe Without Cream Cheese
- Chill the Base: Let your coconut milk and cream mixture sit in the fridge for at least 4 hours—overnight is even better. I learned this the hard way after my first batch turned out soupy and refused to spin properly.
- Use Full-Fat Only: Skip the light coconut milk or half-and-half; the high fat content in full-fat coconut milk and heavy cream is non-negotiable for that creamy texture. Sounds obvious, but I’ve seen people try to cut corners here.
- Pre-Freeze the Pint: Pop your Ninja Creami pint container in the freezer for 15-20 minutes before adding the base. After burning through two batches that stuck to the sides, I finally figured out this small step prevents a big headache.
- Scrape the Vanilla: If using vanilla bean paste, scrape the container with a spatula to get all those specks and oils—it actually changes the outcome. My grandmother swore by this, and she was right.
Health Benefits of This Recipe
Protein Power 💪
This Ninja Creami vanilla ice cream recipe skips the cream cheese but still packs a protein punch, thanks to ingredients like Greek yogurt or dairy-free milk alternatives. Protein is essential for muscle repair and growth, making this treat a guilt-free indulgence. Whether you’re fueling up after a workout or just craving something sweet, this recipe delivers the goods without the heavy calories of traditional ice cream.
Low in Sugar, High in Flavor 🍎
Unlike store-bought ice creams loaded with added sugars, this homemade version lets you control the sweetness. Using natural sweeteners like honey or maple syrup, you can enjoy a dessert that’s lower in sugar but still rich in flavor. This makes it a great option for those monitoring their sugar intake or following a balanced diet.
Rich in Calcium and Vitamins 🥛
Dairy or dairy-free bases like almond milk or coconut milk provide a healthy dose of calcium and vitamin D, which are vital for strong bones and teeth. If you opt for Greek yogurt, you’ll also get a boost of probiotics, supporting gut health. This recipe turns dessert into a nutritious part of your day!
Heart-Healthy Fats
By using plant-based fats from ingredients like coconut milk or avocado, this recipe includes healthy fats that support heart health. These fats help lower bad cholesterol levels and provide sustained energy, making your frozen treat both delicious and beneficial for long-term wellness.
Nutrition Facts

- 6 Egg Cake Recipe with Oil: Light as Air With Buttery Moisture - October 4, 2026
- 4 Bean Casserole Recipe: One-Pan Heartiness With Smoky Paprika Depth - October 4, 2026
- 3-Ingredient Keto Mug Cake Recipe: Microwave Magic in 2 Minutes - October 4, 2026