
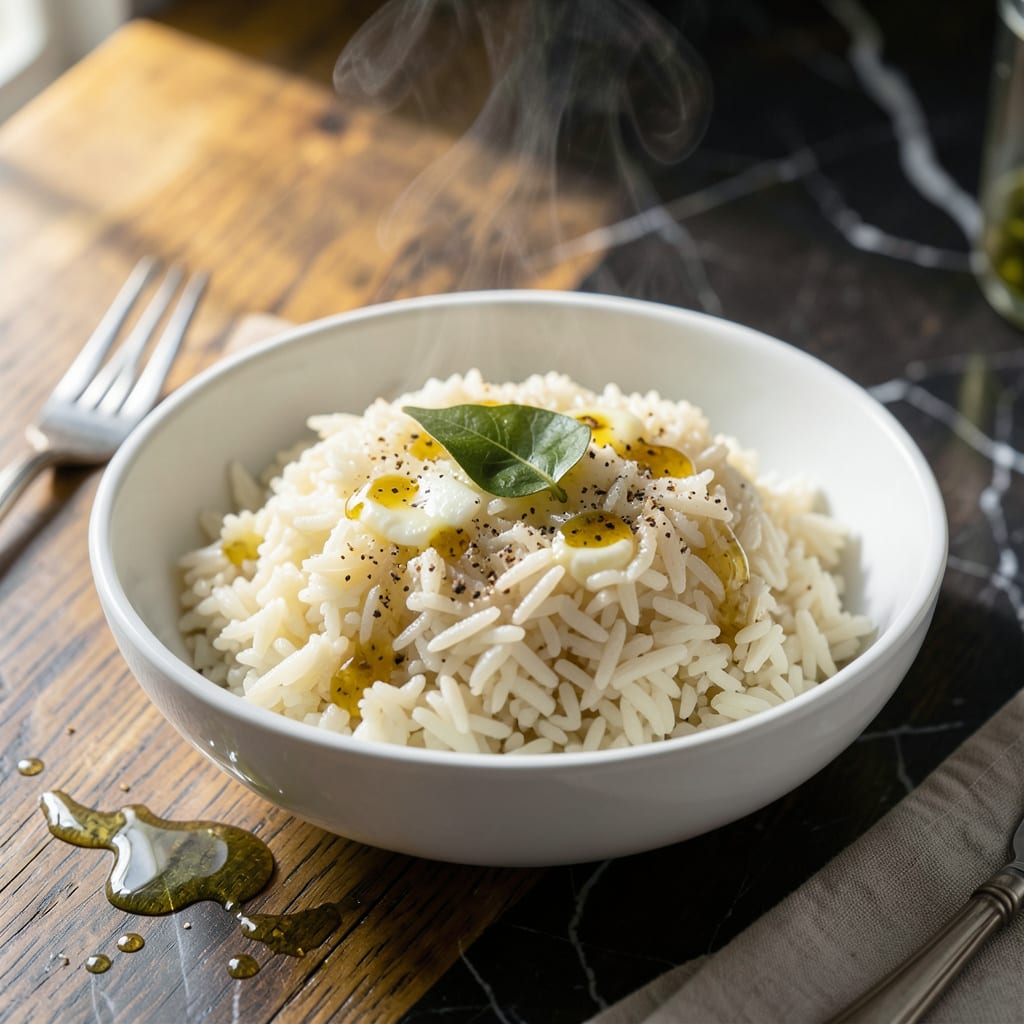
This Ninja Foodi method delivers perfectly fluffy rice every time with minimal effort. No more watching pots or worrying about burnt bottoms.
The steam function creates consistent results, whether you’re making white rice, brown rice, or wild rice blends. Set it and forget it for hands-off cooking.
Ingredients for Ninja Foodi Steam Rice
These few ingredients transform into fluffy, foolproof rice with your Ninja Foodi.
| Ingredient | Amount | Notes |
|---|---|---|
| Long-Grain White Rice 🍚 | 2 cups | Rinsed until water runs clear |
| Water 💧 | 2 ½ cups | Or substitute vegetable broth |
| Unsalted Butter 🧈 | 1 tbsp | Optional for richness |
| Kosher Salt 🧂 | ½ tsp | Diamond Crystal preferred |
| Garlic Powder 🧄 | ¼ tsp | Optional for flavor depth |
| Bay Leaf 🌿 | 1 whole | Optional for aroma |
| Fresh Parsley 🌿 | 2 tbsp | Chopped, for garnish |
| Lemon Zest 🍋 | 1 tsp | Optional for brightness |
| Olive Oil 🫒 | 1 tsp | For coating rice optionally |
| Black Pepper 🌶️ | ¼ tsp | Freshly ground preferred |
The rice quality matters most here. Jasmine or basmati deliver the fluffiest results, but standard long-grain works well too. Rinsing removes excess starch—this is non-negotiable for avoiding gummy grains. For the water, filtered tastes cleaner, but tap works. I recommend Diamond Crystal kosher salt for even seasoning distribution. Avoid iodized table salt, which can taste harsh.
No butter? Olive oil or coconut oil work as vegan alternatives. For extra flavor, vegetable broth instead of water adds depth. The bay leaf and garlic powder are optional but worth it—just a pinch enhances the aroma without overpowering. Fresh herbs can be added post-cooking, but dried herbs should be added with the water for proper infusion.
Cooked rice keeps in the fridge for 4-5 days in an airtight container. Reheat with a splash of water to restore moisture. For freezing, spread on a tray first to prevent clumping, then transfer to bags for up to 6 months.
Why You’ll Love This Recipe
- Set It and Forget It: I toss the rice, water, and a pat of butter in the Ninja Foodi, press start, and walk away. No stirring, no watching, just perfect rice every time.
- Garlic Butter Magic: The garlic powder and butter turn plain white rice into something rich and aromatic. Honestly, it’s the little things that make this taste like a restaurant side.
- Meal Prep Hero: I make a big batch on Sunday and it stays fluffy for days. Between us, it’s my secret to stress-free lunches all week.
- Budget Stretch: A pound of rice costs pennies and feeds my family for two meals. I’ll be real—it’s the most reliable way to fill everyone up without breaking the bank.
Step-by-Step Instructions for Ninja Foodi Steam Rice
This method delivers perfectly fluffy grains with minimal effort and maximum consistency.
Step 1: Rinse and Prepare the Rice
Place the 2 cups Long-Grain White Rice in a fine-mesh strainer and rinse under cold water until the water runs completely clear. This removes excess starch that can make your creation gummy. I always do this step over the sink, swirling the rice with my hand to ensure thorough rinsing.
Once rinsed, drain the rice well and transfer it to the Ninja Foodi’s inner pot. The rice should be damp but not wet—any standing water will throw off your liquid ratios. This preparation step is crucial for achieving separate, fluffy grains rather than a sticky mass.
Step 2: Add Liquids and Aromatics
Pour the 2.5 cups Water into the pot with the rice. Add the 1 tbsp Unsalted Butter, 0.5 tsp Kosher Salt, 0.25 tsp Garlic Powder, 1 whole Bay Leaf, and 1 tsp Olive Oil. Stir gently to distribute the ingredients evenly.
The butter and olive oil add richness while the bay leaf and garlic powder infuse subtle depth. I always press the bay leaf into the liquid slightly to help release its aroma during cooking. The salt should be Diamond Crystal for consistent seasoning.
Step 3: Pressure Cook to Perfection
Secure the lid on your Ninja Foodi and set the valve to the sealed position. Select the “Pressure” function and set the time to 3 minutes on high pressure. The cooking process will begin automatically once pressure is achieved.
Once the cooking cycle completes, allow the pressure to release naturally for 10 minutes, then quick-release any remaining pressure. This natural release period prevents the rice from becoming mushy by allowing it to finish steaming gently. The total cooking time will be approximately 20 minutes including pressure buildup.
Step 4: Rest and Fluff the Grains
Carefully remove the lid and let the rice sit undisturbed for 5 minutes. This resting period allows the grains to firm up slightly and absorb any remaining moisture. You’ll notice the rice has expanded to fill the pot.
Discard the bay leaf, then gently fluff the rice with a fork, breaking up any clumps. The grains should be tender but still distinct, with no hard centers. If you prefer, drizzle with a bit more olive oil at this stage for extra sheen and richness.
Step 5: Finish and Serve
Sprinkle the 2 tbsp Fresh Parsley and 1 tsp Lemon Zest over the rice. Add the 0.25 tsp Black Pepper and fold gently to distribute these finishing touches. The parsley adds a pop of color while the lemon zest brightens the flavors.
Serve immediately while hot. Each serving should have distinct, fluffy grains with a subtle aroma from the bay leaf and garlic. The texture should be tender but not sticky, with just enough seasoning to complement the natural flavor of the rice.
Pro Tips For Making Ninja Foodi Steam Rice
- Rinse the Rice: Always give your long-grain white rice a quick rinse before cooking—it removes excess starch and prevents a gummy texture in the Foodi.
- Use the Right Ratio: For perfect steam rice in the Ninja Foodi, stick to a 1:1 ratio of rice to water, and add a pinch of kosher salt to the water before starting.
- Skip the Peeking: I learned this the hard way—resist the urge to open the lid mid-cook, or you’ll release the steam and end up with unevenly cooked rice.
- Stir in Butter Last: Mix in the unsalted butter and garlic powder after the rice is done steaming—it keeps the grains light and fluffy instead of greasy.
Essential Equipment for Great ninja foodi steam rice
Ninja Foodi Models
The Ninja Foodi Pressure Cooker & Air Fryer (OP300 series) is my top recommendation for this recipe. Its 10-quart capacity handles 4-6 cups of uncooked rice easily. The TenderCrisp lid ensures perfect steam distribution for even cooking every time. 💛
Inner Pot Essentials
Use only the official Ninja Foodi ceramic-coated inner pot—it’s non-stick and designed for even heat distribution. Avoid metal utensils that can scratch the surface. I’ve found the 6-quart models work well too, but reduce rice quantities accordingly.
Measuring Tools
A fine-mesh strainer is crucial for rinsing rice thoroughly. I prefer the OXO Good Grips 3-piece set for its durability. Also, use a liquid measuring cup for precise water ratios—2.5 cups per 2 cups rice is the magic proportion.
Serving Utensils
A rice paddle or wooden spoon prevents crushing the grains when fluffing. The OXO rice paddle has the perfect shape. For serving, a large slotted spoon works best to avoid excess liquid in each portion.
Optional Upgrades
Consider a silicone steamer basket for cooking smaller rice batches or adding vegetables. I use the Ninja Foodi multi-layer steamer for versatility. A digital kitchen scale helps when experimenting with rice-to-water ratios beyond the standard 1:1.25. ✨
Maintenance Items
Keep Ninja Foodi cleaning brushes handy for the sealing ring and steam release valve. Replace the sealing ring every 12-18 months for optimal performance. I clean mine after every 5 uses to prevent odor transfer between different recipes.
Nutrition Facts
Frequently Asked Questions
Do I need to adjust the water ratio for brown rice?
Yes, use a 1:1.5 rice-to-water ratio for brown rice. The extra liquid accounts for its tougher bran layer.
Why does my rice turn out sticky?
Sticky rice usually means insufficient rinsing or too much water. Rinse until water runs clear and stick to 2.5 cups water per 2 cups rice.
Can I cook other grains this way?
Quinoa and wild rice work well with 1:2 and 1:3 ratios respectively. Adjust pressure time to 1 minute for quinoa.
How do I prevent the burn notice?
Always deglaze the pot after sautéing and ensure rice is submerged. Add 1 tbsp oil to the water for extra protection.

- 6 Egg Cake Recipe with Oil: Light as Air With Buttery Moisture - October 4, 2026
- 4 Bean Casserole Recipe: One-Pan Heartiness With Smoky Paprika Depth - October 4, 2026
- 3-Ingredient Keto Mug Cake Recipe: Microwave Magic in 2 Minutes - October 4, 2026