
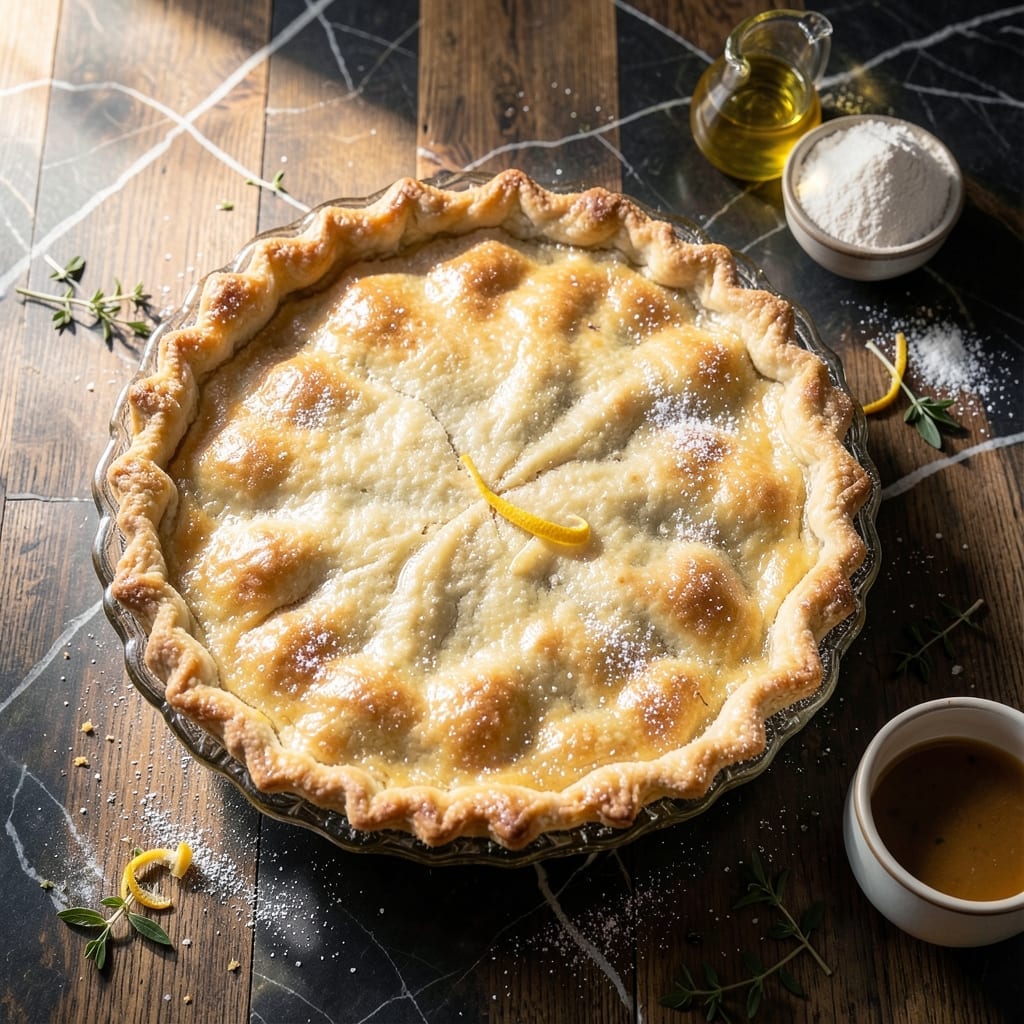
This oil-based pie crust delivers flaky results without the fuss of butter or lard. I’ve tested countless variations, and this method consistently produces tender layers that rival traditional recipes.
The secret lies in using cold oil and minimal handling to prevent gluten development. Unlike butter crusts, this version stays soft and pliable, making it easier to roll out and shape.
With just a few simple ingredients and 10 minutes of prep time, you’ll have a crust ready for any pie filling. The result is a golden, crisp base that holds up beautifully to both sweet and savory fillings.
No chilling required before rolling—just mix, shape, and bake. Perfect for beginners or anyone seeking a reliable, no-fail crust.
Ingredients for Oil Pie Crust Recipe Betty Crocker
A handful of pantry staples yields a reliably flaky, buttery-free crust for any pie.
| Ingredient | Amount | Notes |
|---|---|---|
| All-Purpose Flour 🌾 | 2 ½ cups | Sifted for lighter texture |
| Vegetable Oil 🫒 | ¾ cup | Cold, neutral-flavored |
| Salt 🧂 | 1 tsp | Fine sea salt preferred |
| Granulated Sugar 🍚 | 1 tbsp | Optional for sweet pies |
| Ice Water 💧 | ⅓ cup | Very cold, as needed |
| Baking Powder 🧂 | ½ tsp | For extra flakiness |
| White Vinegar 🍋 | 1 tsp | Helps tenderize crust |
The oil choice is critical for both texture and flavor. Vegetable oil or canola oil works best—avoid strongly flavored oils like olive or coconut. Cold oil prevents gluten development, which is why this crust stays tender. King Arthur or Gold Medal all-purpose flour both deliver consistent results. For the flakiest layers, ensure your flour is fresh and not packed down in the measuring cup.
No vegetable oil? Melted coconut oil (chilled until solid) works in a pinch, though it may impart a slight flavor. For sweet pies, swap the sugar for powdered sugar—it dissolves more evenly. If you’re out of baking powder, omitting it entirely still yields a good crust, just slightly less flaky. The vinegar can be replaced with lemon juice if that’s what you have on hand.
This dough can be made ahead and stored in the fridge for 2-3 days (wrap tightly in plastic). It also freezes well for up to 2 months. Let it sit at room temperature for 15 minutes before rolling if chilled. Baked crusts keep at room temperature for 1 day or can be frozen for 1 month.
Why You’ll Love This Recipe
- No-Fuss Mixing: I just stir flour, oil, and ice water—no chilled butter to cut in, no pastry blender required.
- Flaky Every Time: That hint of sugar and the oil create layers that shatter at the touch, even without lard or shortening.
- Sweet or Savory: I’ve used it for apple pie one night and quiche the next. One dough, endless options.
- Pantry Staples: Flour, oil, salt, sugar—things I always have. No last-minute grocery run for specialty ingredients.
Step-by-Step Instructions for Oil Pie Crust
This method ensures a perfectly flaky texture using oil instead of butter every time.
Step 1: Combine Dry Ingredients
In a large mixing bowl, whisk together the 2.5 cups All-Purpose Flour, 1 tsp Salt, 1 tbsp Granulated Sugar, and 0.5 tsp Baking Powder until evenly distributed. Sifting the flour first creates a lighter, more tender crust.
The sugar adds subtle sweetness, perfect for fruit pies, while the baking powder contributes to those coveted flaky layers. Make sure there are no visible clumps in your dry mixture before proceeding.
Step 2: Incorporate the Oil
Pour the 0.75 cup Vegetable Oil into the dry ingredients. Using a fork, gently mix until the mixture resembles coarse crumbs. The oil should be cold to prevent the crust from becoming tough.
You’re looking for pea-sized clumps throughout the mixture. This texture creates pockets that will expand during baking, forming those beautiful flaky layers. Avoid overmixing, as this can make the crust dense.
Step 3: Add Liquid Ingredients
In a small bowl, combine the 0.33 cup Ice Water and 1 tsp White Vinegar. Create a well in the center of your flour-oil mixture and pour in the water-vinegar combination.
The vinegar tenderizes the crust by weakening some of the gluten strands, while the ice water keeps everything cold. Using a fork, gently mix from the center outward until the dough just comes together. It will look shaggy and slightly crumbly—that’s exactly what you want.
Step 4: Shape and Chill the Dough
Turn the dough out onto a lightly floured surface and gently shape it into a disk about 1 inch thick. Don’t knead the dough—this would develop too much gluten, resulting in a tough crust.
Wrap the disk tightly in plastic wrap and refrigerate for at least 30 minutes. This chilling period allows the flour to fully hydrate and the oil to solidify, making the dough easier to roll out and preventing shrinkage during baking.
Step 5: Roll and Fit the Crust
On a lightly floured surface, roll out the chilled dough to a 12-inch circle, about ⅛ inch thick. The edges should be slightly ragged—that’s a good sign your crust will be flaky.
Transfer the dough to your pie dish, gently pressing it into the bottom and up the sides. Trim the excess dough, leaving a ½-inch overhang. Fold the overhang under and crimp the edges with your fingers or a fork. Your crust is now ready for filling and baking.
Pro Tips For Making Oil Pie Crust Recipe Betty Crocker
- Chill the Oil: I learned this the hard way—warm oil makes a tough crust. Pop your vegetable oil in the fridge for 15 minutes before mixing to keep the dough flaky.
- Measure Flour Right: Scooping flour straight from the bag packs it down. Spoon it into your cup and level it off for a lighter, more reliable crust.
- Skip the Overmixing: After adding ice water, stop mixing as soon as the dough holds together. Overworking it develops gluten, and nobody wants a chewy pie crust.
- Use Ice Water: Sounds obvious, but I’ve seen people use tap water and wonder why their crust shrank. Ice water keeps the fat solid longer, which means more flaky layers.
Make-Ahead Tips for This Recipe
Pre-Made Dough Balls
Prepare the dough as instructed, then divide into 2-3 equal portions before chilling. This lets you roll out just what you need for single-crust pies, saving time on busy baking days. Wrap each portion tightly in plastic wrap to prevent drying.
Refrigerator Storage
The dough keeps beautifully in the fridge for 2-3 days. Store each wrapped disk in an airtight container to prevent absorption of fridge odors. I always label mine with the date using masking tape. ❄️
Let it sit at room temperature for 15 minutes before rolling to soften slightly.
Freezer Method
For longer storage, freeze the wrapped dough disks for up to 2 months. Use heavy-duty freezer bags with all air squeezed out. Thaw overnight in the fridge before using.
Pre-Baked Crusts
Blind-bake your crusts up to 1 day ahead for custard pies. Let them cool completely, then cover tightly with aluminum foil. Store at room temperature until ready to fill.
Freezing Baked Shells
Fully baked, empty crusts freeze well for 1 month. Wrap in plastic wrap then foil. Reheat at 350°F for 5-10 minutes before adding filling. 💡
Nutrition Facts
Frequently Asked Questions
Can I use any type of oil for this crust?
Stick with neutral oils like vegetable or canola for best results. Avoid strongly flavored oils as they can alter the taste. Cold oil is key for flakiness.
Why does the recipe call for vinegar?
The 1 tsp vinegar tenderizes the dough by weakening some gluten strands. It won’t make your crust taste vinegary but ensures a more tender texture.
How do I prevent the crust from shrinking?
Chill the dough for at least 30 minutes before rolling. This relaxes the gluten and prevents shrinkage during baking. Don’t skip this step!
Can this crust be used for both sweet and savory pies?
For savory pies, simply omit the 1 tbsp sugar. The same flaky texture works perfectly for quiches or meat pies.

- 6 Egg Cake Recipe with Oil: Light as Air With Buttery Moisture - October 4, 2026
- 4 Bean Casserole Recipe: One-Pan Heartiness With Smoky Paprika Depth - October 4, 2026
- 3-Ingredient Keto Mug Cake Recipe: Microwave Magic in 2 Minutes - October 4, 2026