
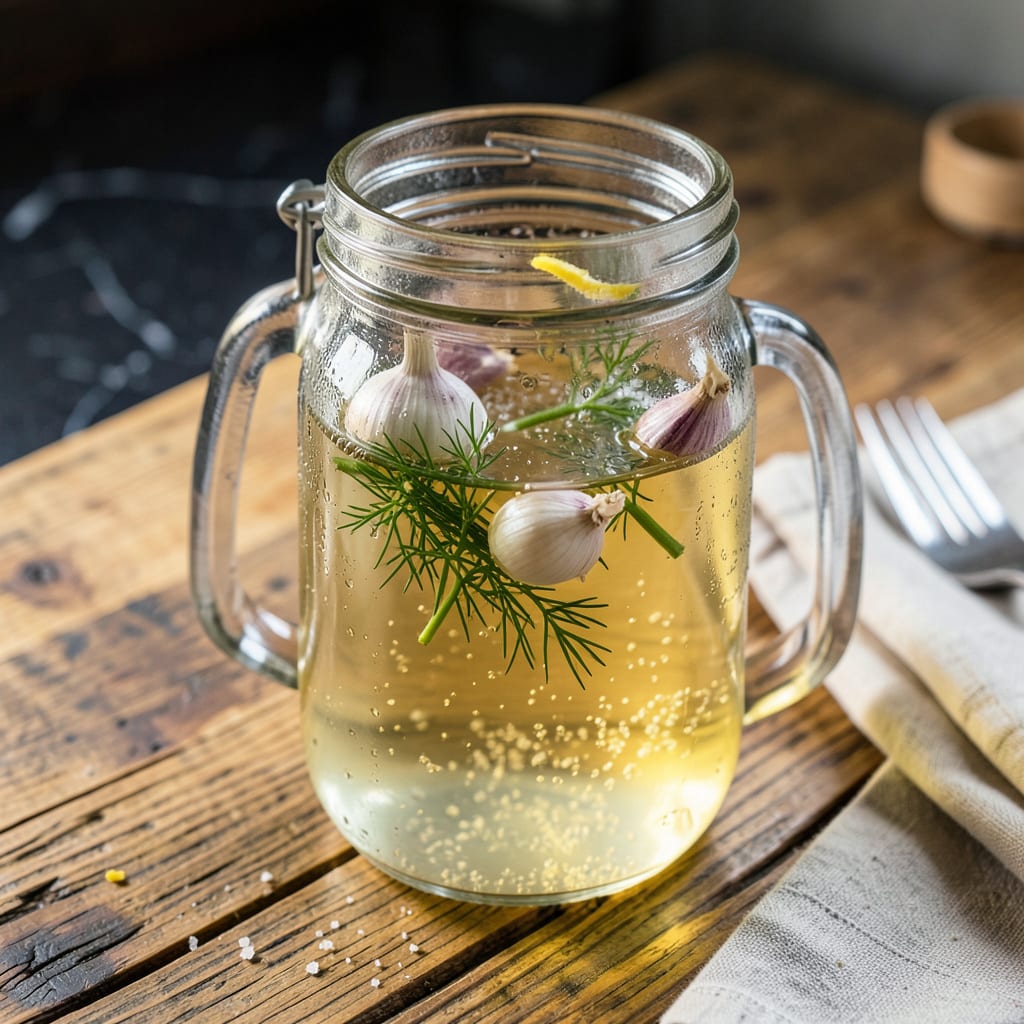
This tangy, versatile pickle juice recipe transforms ordinary vegetables into crisp refrigerator pickles with minimal effort. The secret lies in a balanced brine of vinegar, water, and salt—enhanced with aromatic spices for depth. Unlike store-bought versions, this homemade brine delivers consistent crunch and customizable flavor, whether you prefer classic dill, spicy kick, or subtle sweetness.
Beyond pickling, this brine serves as a multi-purpose condiment: use it to marinate meats, brighten salad dressings, or even mix into cocktails for a tangy twist. The recipe yields enough for multiple batches and stores effortlessly in the refrigerator. With just 5 minutes of prep, you’ll have a professional-quality brine ready for immediate use or future culinary experiments.
Ingredients for Pickle Juice
This professional-grade brine combines vinegar, salt, and aromatic spices for consistently crisp refrigerator pickles and versatile culinary applications.
| Ingredient | Amount | Notes |
|---|---|---|
| Distilled White Vinegar 💧 | 2 cups | 5% acidity for preservation |
| Filtered Water 💧 | 2 cups | Boiled and cooled |
| Pickling Salt 🧂 | 2 tbsp | Non-iodized, fine grain |
| Granulated Sugar 🍬 | 1 tbsp | Balances acidity (optional) |
| Fresh Dill Sprigs 🌿 | 4 whole | Or 1 tbsp dried dill |
| Garlic Cloves 🧄 | 6 cloves | Lightly crushed, peeled |
| Mustard Seeds 🌶️ | 1 tbsp | Yellow or brown variety |
| Black Peppercorns 🌶️ | 1 tsp | Whole, not ground |
| Crushed Red Pepper Flakes 🔥 | ½ tsp | Adjust for heat preference |
| Coriander Seeds 🌿 | 1 tsp | Lightly toasted optional |
[recipeingredientscaler]
The vinegar quality determines final acidity and preservation. Ball Canning or Heinz Distilled White Vinegar (5% acidity) are optimal choices for consistent results. Pickling salt is essential—Diamond Crystal or Morton’s Pickling Salt ensure clarity without additives. Filtered water prevents cloudiness; boil and cool to 160°F before mixing to dissolve salt completely. Fresh dill from local farmers markets provides superior aroma, but dried dill (1:3 ratio) works in a pinch.
For sugar-free brine, omit granulated sugar—it’s purely for balancing acidity. Mustard seeds can be substituted with 1 tsp ground mustard (though texture differs). No whole peppercorns? Use ½ tsp pre-ground black pepper, but strain before use. Crushed red pepper flakes can be replaced with ½ tsp cayenne powder for heat. Coriander seeds add depth; toast lightly in a dry pan for 30 seconds to enhance flavor before adding.
Store brine in glass jars with airtight lids for up to 6 months refrigerated. For immediate use, cool to room temperature before adding vegetables. The brine’s flavor intensifies over 24 hours, making it ideal for prepping ahead. Label jars with the date—discard if cloudiness or mold appears (rare with proper acidity).
Why You’ll Love This Recipe
- No Boiling Needed: I just stir everything together—vinegar, water, salt, sugar, and dill—then let the fridge do the work. No hovering over a hot stove, no fuss.
- That Tangy Dill Kick: The balance of sharp vinegar and fresh dill gives it that classic deli-style punch. Honestly, it’s the reason my homemade pickles taste better than store-bought.
- Beyond Just Pickles: I use this brine for quick-pickled veggies, marinating chicken, or even as a zesty salad dressing base. Between us, it’s my secret for making cheap ingredients taste expensive.
- Pantry Staples Only: No specialty shops, no last-minute runs for weird ingredients. If I’ve got vinegar, salt, and sugar, I’m 90% there—dill’s optional but worth it. Saves me money every time.
Step-by-Step Instructions for Tangy Pickle Brine
Follow this precise method to create a perfectly balanced brine that delivers crisp, flavorful refrigerator pickles.
Step 1: Prepare and Combine Liquid Base
In a medium saucepan, combine the 2 cups Distilled White Vinegar and 2 cups Filtered Water. The 5% acidity of the vinegar ensures proper preservation while maintaining the vegetables’ crisp texture. Use filtered water to prevent any mineral deposits or impurities from affecting the brine’s clarity and flavor.
Place the saucepan over medium-high heat and bring the mixture to a gentle boil. This initial heating helps dissolve the salt and sugar completely, creating a homogeneous solution. Watch for small bubbles breaking the surface consistently—that’s your visual cue the liquid is at the correct temperature.
Step 2: Dissolve Salt and Sugar Completely
Once boiling, add the 2 tbsp Pickling Salt and 1 tbsp Granulated Sugar. The fine-grain pickling salt dissolves more readily than table salt and doesn’t contain additives that could cloud your brine. Stir continuously with a wooden spoon until both the salt and sugar crystals disappear entirely—this typically takes 2-3 minutes of constant stirring.
Remove the pan from heat as soon as the last grain dissolves. Overheating at this stage could evaporate too much liquid, altering your carefully measured ratios. The solution should appear completely clear with no visible particles or cloudiness at the bottom of the pan.
Step 3: Infuse with Aromatics and Spices
Add the 4 whole Fresh Dill Sprigs, 6 cloves Garlic Cloves, 1 tbsp Mustard Seeds, 1 tsp Black Peppercorns, 0.5 tsp Crushed Red Pepper Flakes, and 1 tsp Coriander Seeds to the hot brine. The residual heat will begin extracting flavors immediately while preserving the spices’ integrity. Lightly crush the garlic cloves with the flat side of your knife before adding to release their essential oils.
Allow the mixture to steep off heat for 10-15 minutes. This infusion period develops complex flavor layers without over-extracting bitter compounds from the spices. You’ll notice the brine taking on a golden hue from the turmeric-like coriander seeds and the aromatic oils from the dill and garlic becoming more pronounced.
Step 4: Cool and Strain the Brine
After steeping, pour the brine through a fine-mesh strainer into a clean glass jar or heatproof container. Press gently on the solids with a spoon to extract maximum flavor, but don’t force pulp through the strainer. Discard the spent aromatics—they’ve already imparted their essential flavors to the liquid.
Let the strained brine cool to room temperature before using, which typically takes 30-45 minutes at ambient temperature. Using warm brine on vegetables would create a thermal shock that could soften their texture. The finished brine should be crystal clear with a balanced aroma of vinegar, dill, and garlic—never cloudy or overly pungent.
Step 5: Use Immediately or Store for Later
Pour the cooled brine over your prepared vegetables in sterilized jars, ensuring they’re completely submerged to prevent spoilage. For immediate use, refrigerate for at least 24 hours before tasting to allow flavors to develop fully. The vegetables will maintain their crisp texture while absorbing the brine’s tangy, aromatic qualities.
For storage, transfer any unused brine to an airtight glass container and refrigerate for up to 1 month. The flavor will intensify slightly over time as the vinegar continues to mellow. Always check for cloudiness or off odors before using stored brine—properly made, it should remain clear and fragrant throughout its shelf life.
Make-Ahead Tips for Leftovers
Pre-Mixing Brine
I always make my brine at least 24 hours before pickling—this gives the flavors time to meld beautifully. After straining, transfer the cooled brine to a clean glass jar (I love Ball Mason jars for their airtight seals) and refrigerate. The garlic and dill flavors deepen overnight, creating a more complex profile when you’re ready to use it. 💡
Vegetable Prep Ahead
Wash and trim your vegetables the night before, then store them in ziplock bags with a damp paper towel to maintain crispness. For cucumbers, I recommend cutting them into ¼-inch spears or chips so they’re ready to pack immediately. This saves precious time when you’re assembling your jars—just dump and pour!
Double Batch Strategy
Since the brine keeps for 1 month, I always make a double batch. Use half immediately for pickles, then store the remaining brine in a separate 1-quart jar. Label it with the date and flavor profile (like “garlic-dill”). This way, you’ll have brine ready for spontaneous pickling sessions or last-minute marinades.
Quick-Pickle Shortcut
For same-day pickles, pour the pre-made brine over sliced vegetables in a shallow dish instead of jars. Thinly cut radishes or red onions will be ready in just 4-6 hours with this method. I use this trick when I need pickled garnishes for tacos or sandwiches in a hurry.
Brine Freezing
If you won’t use the brine within a month, freeze it in ice cube trays (about 2 tbsp per cube). Once frozen, transfer the cubes to a freezer bag. This lets you thaw exactly what you need for small batches or salad dressings. The flavor remains vibrant for up to 3 months when frozen properly.
Flavor Infusion Boost
To intensify flavors before using, add fresh aromatics to the stored brine. Drop in 2 new garlic cloves or a sprig of fresh dill and let it sit for 12 hours in the fridge. This refreshes the brine’s potency without making a new batch. The difference in flavor is noticeable! ✨
Nutrition Facts

- 6 Egg Cake Recipe with Oil: Light as Air With Buttery Moisture - October 4, 2026
- 4 Bean Casserole Recipe: One-Pan Heartiness With Smoky Paprika Depth - October 4, 2026
- 3-Ingredient Keto Mug Cake Recipe: Microwave Magic in 2 Minutes - October 4, 2026