
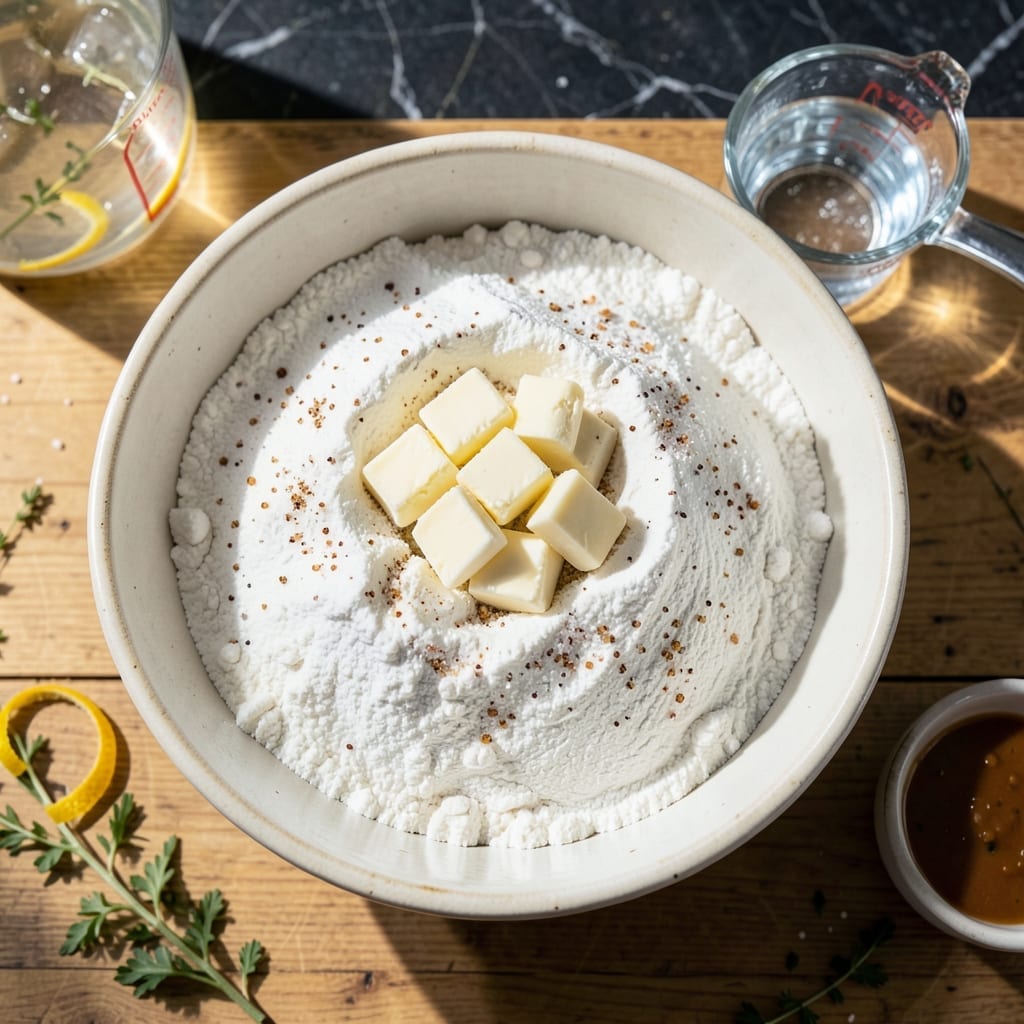
There’s a reason homemade pie crust stands apart from store-bought—it delivers flaky, buttery layers that shatter with every bite. This method relies on cold ingredients and minimal handling to create a tender, golden foundation for any pie.
The key is cutting cold butter into the flour until pea-sized crumbs form, then adding ice water just until the dough comes together. Overworking it develops gluten, which toughens the crust, so a light touch ensures those coveted flaky layers.
After a short rest in the fridge, the dough rolls out smoothly and bakes into a crisp, golden shell. Whether for fruit pies, custards, or savory fillings, this crust elevates every slice with its rich, buttery texture.
Master this simple technique, and you’ll never settle for pre-made again. The results are worth the effort.
Ingredients for Pie Crust Recipe Betty Crocker
Six ingredients deliver that buttery, flaky foundation for any pie you dream up.
| Ingredient | Amount | Notes |
|---|---|---|
| All-Purpose Flour 🌾 | 2 ½ cups | Spoon and level, plus extra for dusting |
| Unsalted Butter 🧈 | 1 cup | Cold, cut into 1/2-inch cubes |
| Fine Sea Salt 🧂 | 1 tsp | Dissolved in ice water |
| Ice Water 💧 | ½ cup | Plus more as needed |
| Granulated Sugar 🍚 | 1 tbsp | Optional for sweet crusts |
| Vinegar 🍋 | 1 tsp | White or apple cider |
The butter is non-negotiable here. European-style unsalted (like Plugrá or Kerrygold) has higher fat content for extra flakiness, but domestic works too—just ensure it’s cold. King Arthur Flour is my go-to for all-purpose, but any unbleached brand does the trick. Cube the butter before chilling it for 30 minutes so it stays firm while you work.
No unsalted butter? Use salted but reduce added salt by half. Out of all-purpose? Pastry flour works in a pinch (use 1:1), though it’s slightly lower protein. Vinegar isn’t traditional but adds tenderness—skip it if you prefer. For sweet pies, the sugar can be omitted or swapped for powdered sugar for a finer texture.
The dough keeps wrapped tightly in plastic for 2 days in the fridge or 3 months frozen. Thaw overnight before rolling. Baked crusts stay crisp stored at room temp for 1 day—any longer and they soften.
Why You’ll Love This Recipe
- Foolproof Mix: I just dump flour, cold butter, a pinch of salt and sugar, then ice water—no fancy steps, and it comes out flaky every time.
- Buttery Bliss: That unsalted butter and a hint of sugar give it a rich, slightly sweet flavor that’s just right for fruit pies or custards.
- Endless Options: I’ve used this crust for apple pie, quiche, even hand pies—it’s my go-to for any baking project.
- Pantry Staples: Flour, butter, salt, sugar, water—things I always have on hand, so I can make a crust whenever the craving hits.
Step-by-Step Instructions for Pie Crust
Master the technique for consistently flaky, tender results with this proven method.
Step 1: Prepare the Dough Ingredients
In a large mixing bowl, combine the 2.5 cups All-Purpose Flour, 1 tbsp Granulated Sugar, and 1 tsp Fine Sea Salt. I whisk these dry ingredients together thoroughly to ensure even distribution—this prevents pockets of salt or sugar in your finished crust.
Place the 1 cup Unsalted Butter (cut into ½-inch cubes) in the freezer for 10 minutes while you prep the remaining ingredients. Cold butter is crucial for flakiness, so don’t skip this chilling step. The cubes should stay firm when pressed between your fingers.
Step 2: Cut in the Butter for Flaky Layers
Add the chilled butter cubes to the flour mixture. Using a pastry cutter or your fingers, work the butter into the flour until the mixture resembles coarse crumbs with some pea-sized butter pieces remaining. This takes about 3-4 minutes of consistent cutting and pressing.
You should see visible butter pieces throughout—they’ll create steam during baking, which separates the dough into flaky layers. If the butter starts to soften or smear, pause and return the bowl to the freezer for 5 minutes to rechill. The mixture should feel cool to the touch.
Step 3: Add Liquid and Form the Dough
In a small bowl, combine the 0.5 cup Ice Water with the 1 tsp Vinegar. The vinegar tenderizes the gluten slightly while the ice water keeps the butter cold. Make a well in the center of the flour-butter mixture and pour in the liquid all at once.
Using a fork, gently toss the mixture until it just begins to come together. Then, with your hands, quickly gather the dough into a shaggy ball. Don’t overwork it—you should still see streaks of butter. If the dough seems too dry, add ice water 1 tablespoon at a time until it just holds together.
Step 4: Chill and Rest the Dough
Divide the dough in half and shape each portion into a 1-inch thick disk. Wrap each tightly in plastic wrap and refrigerate for at least 1 hour (or up to 2 days). This resting period allows the gluten to relax and the butter to rechill.
For best results, I recommend resting overnight. When ready to use, the dough should be firm but pliable. If it’s too hard, let it sit at room temperature for 10-15 minutes before rolling. Proper chilling prevents shrinking during baking and ensures clean, sharp layers.
Step 5: Roll and Blind Bake (If Needed)
On a lightly floured surface, roll one disk into a 12-inch circle about ⅛-inch thick. Transfer to a pie dish, press gently into the bottom and sides, then trim the edges, leaving a ½-inch overhang. Fold the overhang under and crimp decoratively.
For a pre-baked crust, chill the lined pie dish for 30 minutes, then prick the bottom all over with a fork. Line with parchment paper, fill with pie weights or dried beans, and bake at 375°F for 15 minutes. Remove weights and bake for another 10-12 minutes until light golden brown.
Pro Tips For Making Pie Crust Recipe Betty Crocker
- Chill the Butter: Cut the butter into small cubes and refrigerate for 10 minutes before mixing—I learned this the hard way after my first few crusts turned out tough.
- Use Ice-Cold Water: Fill a glass with water and ice cubes, then measure from that. Sounds weird, but it works: warm water makes the dough sticky and hard to handle.
- Don’t Overwork Dough: Mix just until the dough comes together. After burning three batches, I finally figured out that overmixing develops gluten, making the crust chewy instead of flaky.
- Rest Before Rolling: Give the dough a solid 30 minutes in the fridge before rolling—my grandmother swore by this, and she was right.
Storing and Reheating This Dish
Refrigerator Storage
Wrap your dough disks tightly in plastic wrap or place in airtight containers. They’ll keep in the fridge for 2 days. The cold environment relaxes the gluten, making rolling easier. I always label mine with the date to track freshness. ❄️
Freezer Storage
For longer storage, freeze the wrapped dough for up to 3 months. Use heavy-duty freezer bags for extra protection against freezer burn. Lay flat to save space and thaw overnight in the fridge before using.
Room Temperature Crusts
Baked, cooled crusts stay crisp at room temperature for 1 day in an airtight container. For best results, store them in a single layer with parchment between stacks. Any longer and they’ll soften from ambient moisture.
Reheating Pre-Baked Crusts
To revive a pre-baked crust, warm it in a 350°F oven for 5-7 minutes until crisp. This works for pies that need a warm base before adding fillings. Avoid microwaving, as it introduces too much steam.
Make-Ahead Tips
Prepare dough up to 2 days ahead and refrigerate, or freeze for up to 3 months. Roll and shape crusts, then freeze in the pie dish—just blind bake straight from frozen, adding 5 extra minutes to the baking time. 💡
Nutrition Facts
Frequently Asked Questions
Why is cold butter important for flaky layers?
Cold butter creates steam when baked, which separates the dough into flaky layers. If it softens before baking, the layers won’t form properly, resulting in a dense crust. Keep everything chilled until it hits the oven.
Can I use a food processor instead of cutting by hand?
Yes, pulse the flour and cold butter in a food processor until pea-sized crumbs form. Be careful not to over-process—stop as soon as the texture is right. Transfer to a bowl to add the liquid.
How do I prevent the crust from shrinking while baking?
Chill the dough thoroughly before rolling and baking. This relaxes the gluten, preventing it from contracting. Also, avoid overworking the dough when forming it.
What’s the best way to crimp the edges?
Use your fingers to press the dough into a fluted pattern, or use a fork to create a simple design. For extra flair, twist the edges between your thumb and forefinger for a classic look.

- 6 Egg Cake Recipe with Oil: Light as Air With Buttery Moisture - October 4, 2026
- 4 Bean Casserole Recipe: One-Pan Heartiness With Smoky Paprika Depth - October 4, 2026
- 3-Ingredient Keto Mug Cake Recipe: Microwave Magic in 2 Minutes - October 4, 2026