
Achieving flaky pie crust with shortening is a skill that elevates any dessert. This method creates layers that shatter beautifully with each bite, delivering professional results at home.
The secret lies in cold ingredients and minimal handling. Shortening stays firm longer than butter, which helps create distinct layers during baking. The process is straightforward but requires attention to detail.
You’ll end up with a golden crust that holds its shape while remaining tender. It works perfectly for both sweet and savory pies, providing a reliable foundation for any filling.
This technique has been tested repeatedly to ensure consistent results. The crust bakes up light and airy, with visible layers throughout.
Ingredients for Pie Crust Recipe Shortening
Cold shortening and minimal handling create the flakiest layers every time.
| Ingredient | Amount | Notes |
|---|---|---|
| All-Purpose Flour 🌾 | 2 ½ cups | Plus extra for dusting work surface |
| Vegetable Shortening 🧈 | ¾ cup | Cold, solid vegetable shortening preferred |
| Ice Water 💧 | ¼ cup | Plus 1-2 additional tbsp as needed |
| Fine Sea Salt 🧂 | 1 tsp | Diamond Crystal brand recommended |
| Granulated Sugar 🍚 | 1 tbsp | Optional for sweet crusts only |
| White Vinegar 🍶 | 1 tsp | Or substitute apple cider vinegar |
| Unsalted Butter 🧈 | ¼ cup | Optional for flavor enhancement |
The shortening must stay cold—Crisco is the standard for pie crusts (their all-vegetable formula is vegetarian-friendly). Store it in the fridge before using, and handle it as little as possible. All-purpose flour from King Arthur gives consistent results, but any unbleached variety works. The salt should be fine sea salt—Diamond Crystal dissolves evenly without clumping. For sweet applications, add the sugar; omit it for savory pies.
No vegetable shortening? Lard produces the flakiest crust but isn’t vegetarian—stick with Crisco or another vegetable-based brand. Out of vinegar? Lemon juice at the same amount works. For a richer flavor, add the optional butter (cut it in with the shortening). If your kitchen is warm, chill the flour too—every degree matters for maintaining those distinct layers.
The dough keeps 2-3 days wrapped tightly in the fridge, or freeze for up to 3 months. For best results, let chilled dough sit at room temperature for 10-15 minutes before rolling (don’t skip this part). Baked crusts stay crisp in an airtight container for 2 days.
Why You’ll Love This Recipe
- No Fuss Mixing: I just cut the cold shortening into the flour with a fork—no pastry blender, no stress.
- Buttery Crisp Layers: The shortening makes it flaky without a hint of greasiness, and a pinch of sugar adds that subtle sweetness I crave.
- Freezer Friendly: I keep a batch of dough in the freezer so I can bake a pie on a whim, no last-minute grocery runs.
- Penny Wise: All-purpose flour and vegetable shortening cost pennies compared to store-bought crusts, and honestly, it tastes better.
Step-by-Step Instructions for Pie Crust Shortening
Master this technique for consistently flaky, tender crust with visible layers in every bite.
Step 1: Combine Dry Ingredients and Cut in Shortening
In a large mixing bowl, whisk together the 2.5 cups All-Purpose Flour, 1 tsp Fine Sea Salt, and 1 tbsp Granulated Sugar until evenly distributed. The sugar adds subtle sweetness and promotes browning, while the salt enhances all the flavors.
Add the 0.75 cup Vegetable Shortening in small chunks. Using a pastry cutter or your fingertips, work it into the flour mixture until the texture resembles coarse crumbs with pea-sized pieces of shortening visible. This creates the flaky layers we’re after—don’t overwork it, as warmth from your hands can melt the shortening prematurely.
Step 2: Incorporate Wet Ingredients Strategically
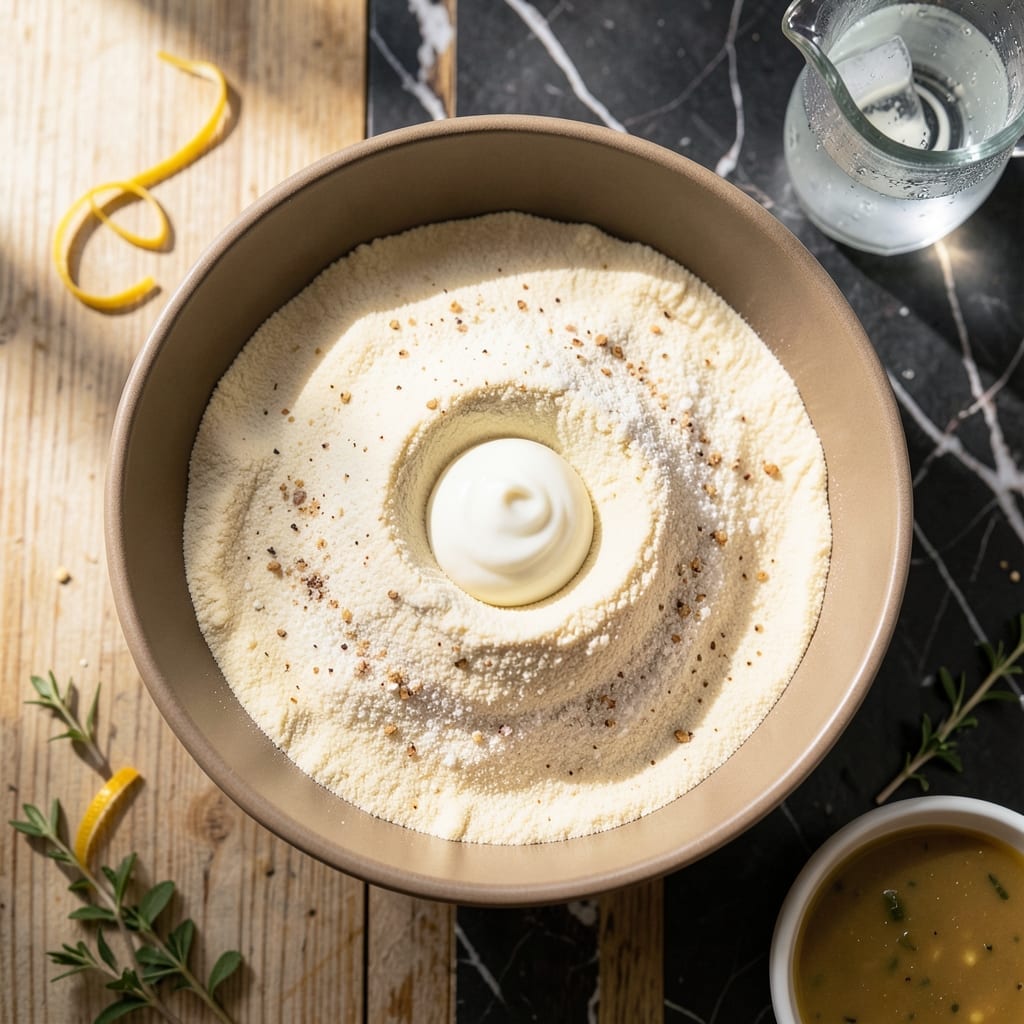
Create a well in the center of the flour mixture. Add the 0.25 cup Ice Water and 1 tsp White Vinegar to the well. The vinegar tenderizes the gluten slightly, ensuring a more delicate crust. Using a fork, gradually incorporate the wet ingredients into the dry, mixing just until the dough begins to come together.
If the mixture seems too dry, add 1-2 additional tablespoons of ice water, one at a time. The dough should hold together when pressed but not be sticky. At this stage, if using for flavor enhancement, cut in the 0.25 cup Unsalted Butter in small cubes until just combined—this adds richness without compromising flakiness.
Step 3: Form and Chill the Dough
Turn the dough out onto a lightly floured work surface. Gently shape it into a disk about 1 inch thick, being careful not to overhandle it. Overworking the dough develops gluten, which can make your crust tough rather than tender.
Wrap the disk tightly in plastic wrap and refrigerate for at least 1 hour, or up to 2 days. This chilling period allows the flour to fully hydrate and the shortening to firm up, which makes the dough easier to roll out and helps create distinct flaky layers during baking.
Step 4: Roll and Shape the Crust
On a lightly floured surface, roll out the chilled dough to a 12-inch circle, about 1/8 inch thick. Use a light touch and roll from the center outward, rotating the dough occasionally to maintain an even thickness. If the dough starts to stick, sprinkle a bit more flour on the surface.
For a single-crust pie, transfer the rolled dough to your pie dish, gently pressing it into the bottom and up the sides. Trim the edges, leaving a ½-inch overhang. For a double-crust pie, cut the dough into two portions, with one slightly larger than the other, and roll each out separately. The key is to work quickly to prevent the dough from warming up, which would cause the shortening to melt and ruin the flakiness.
Pro Tips For Making Pie Crust Recipe Shortening
- Chill the Shortening: Pop your vegetable shortening in the freezer for 10-15 minutes before mixing—I learned this the hard way after my crust turned greasy instead of flaky.
- Use Ice-Cold Water: Fill a glass with ice cubes and water, then measure from that—any warmer and the dough will toughen up on you.
- Don’t Overwork It: Mix just until the dough comes together, even if it looks a little shaggy. I was skeptical until I tried it, but less handling means a tender crust.
- Rest Before Rolling: Give the dough a solid 30 minutes in the fridge after mixing—this relaxes the gluten and makes rolling way easier.
Storing and Reheating This Dish
Refrigerator Storage
Unbaked dough stays fresh in the fridge for 2-3 days when wrapped tightly in plastic. I recommend double-wrapping for extra protection against fridge odors. The cold keeps the shortening firm, preserving those precious flaky layers. ❄️
Freezer Storage
For longer storage, freeze your dough disk for up to 3 months. Use a freezer bag with all air squeezed out, or wrap in plastic wrap followed by foil. Label with the date—I use Sharpie markers for this.
Thawing Properly
Move frozen dough to the fridge 24 hours before use. For faster thawing, place the wrapped dough in a bowl of cold water for 1-2 hours. Never microwave—this can melt the shortening unevenly.
Baked Crust Storage
A pre-baked crust keeps in an airtight container at room temperature for 2 days. For filled pies, refrigerate and consume within 4 days. The texture remains best when stored properly.
Re-crisping Trick
If your crust loses crispness, revive it in a 350°F oven for 5-10 minutes. This works wonders for both filled and empty crusts. I always preheat my Lodge cast iron pan for even heating. 🔥
Nutrition Facts
Frequently Asked Questions
Can I use butter instead of shortening?
Yes, but the texture differs. Butter creates richer flavor but may not be as flaky, since it melts faster than shortening. For best results, keep ingredients very cold.
Why is my crust tough?
Overworking the dough develops gluten. Handle minimally and chill between steps. Also, ensure you’re using cold shortening and ice water.
How thin should I roll the dough?
Aim for 1/8 inch thick for standard pies. Use a ruler for accuracy. Thinner crusts bake faster but may tear more easily.
Can I make this ahead?
Prepared dough keeps in the fridge for 2-3 days or freezes for 3 months. Thaw overnight before rolling.

- 6 Egg Cake Recipe with Oil: Light as Air With Buttery Moisture - October 4, 2026
- 4 Bean Casserole Recipe: One-Pan Heartiness With Smoky Paprika Depth - October 4, 2026
- 3-Ingredient Keto Mug Cake Recipe: Microwave Magic in 2 Minutes - October 4, 2026