
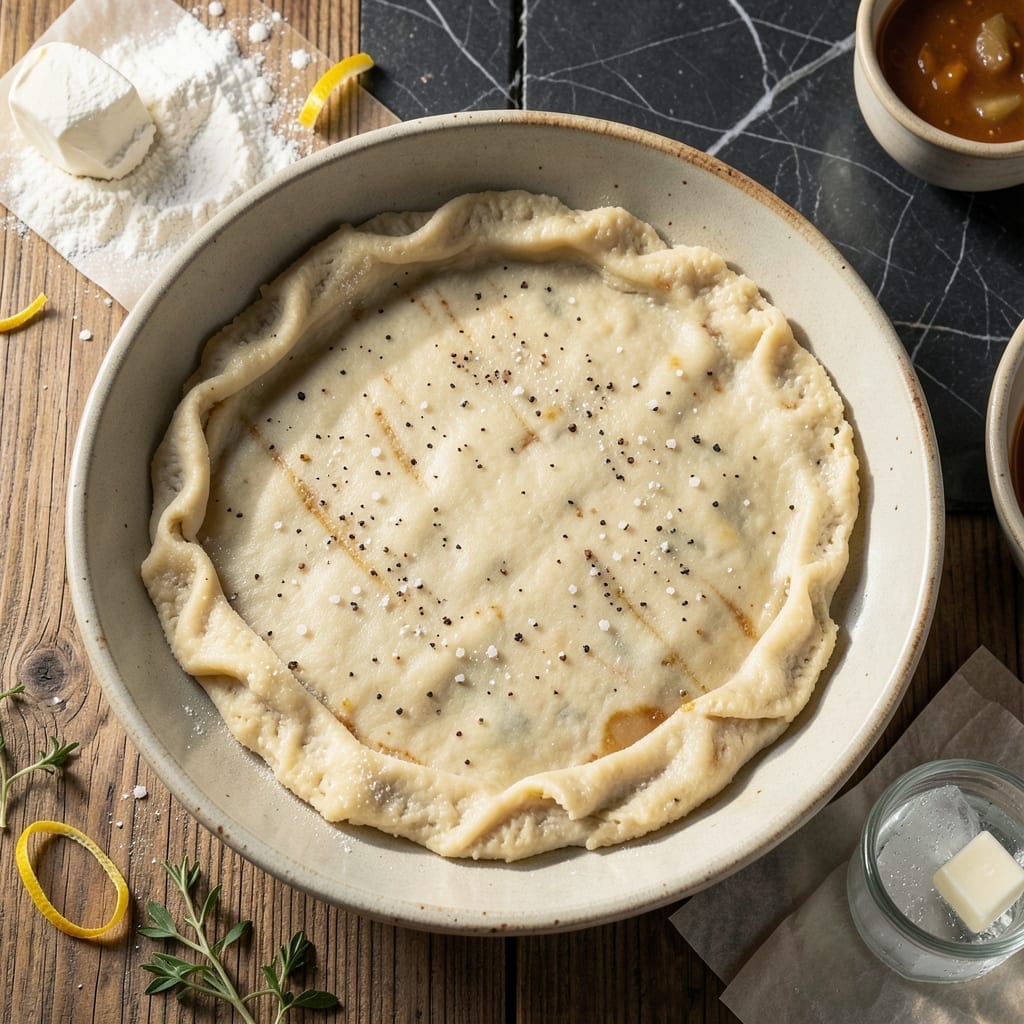
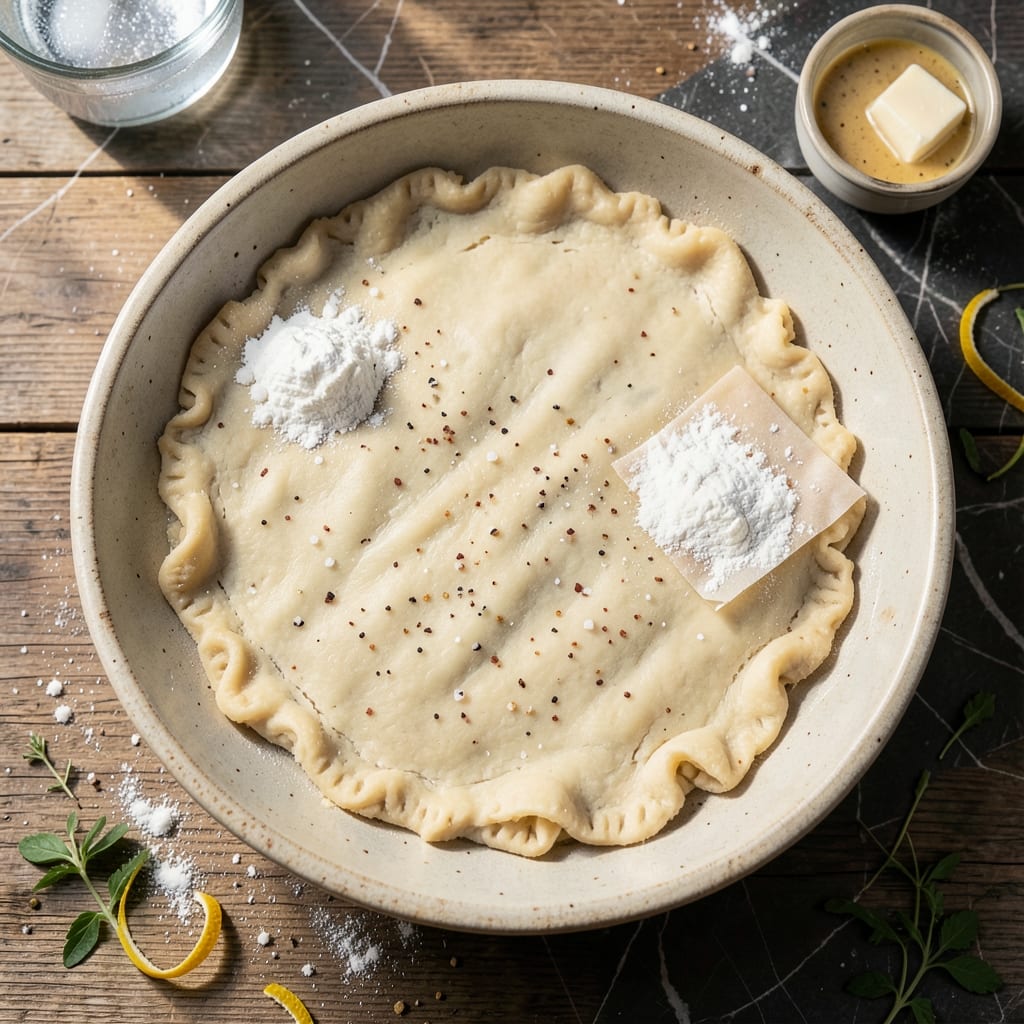
This lard-based crust delivers the flaky layers that define perfect pie pastry. The secret lies in cold lard and minimal handling to create those shatteringly crisp layers that make every bite unforgettable.
With just a few simple ingredients and precise technique, you’ll achieve professional results that outshine any store-bought version. The lard creates pockets that expand during baking, forming the signature texture.
Ingredients for Pie Crust Recipe with Lard
Cold lard and minimal handling create shatteringly crisp layers with these precise ingredients.
| Ingredient | Amount | Notes |
|---|---|---|
| All-Purpose Flour 🌾 | 2 ½ cups | King Arthur preferred, unbleached |
| Leaf Lard 🧈 | ¾ cup | Cold, rendered, no additives |
| Ice Water 💧 | ½ cup | Divided, as cold as possible |
| Kosher Salt 🧂 | 1 tsp | Diamond Crystal preferred |
| Granulated Sugar 🍚 | 1 tbsp | Fine grain for even distribution |
| Apple Cider Vinegar 🍏 | 1 tbsp | White vinegar works too |
| Unsalted Butter 🧈 | 4 tbsp | Cold, cubed, optional for flavor |
[recipeingredientscaler]
The lard is non-negotiable for authentic flakiness. Leaf lard (the pure white kind from Fatworks or Armour Star) renders the cleanest flavor and highest rise. Avoid hydrogenated shortenings—they lack the structure for proper layering. For flour, King Arthur’s unbleached gives consistent protein content for reliable results. The vinegar tenderizes without affecting taste.
No lard? Shortening works in a pinch but lacks the same crispness. For a lighter texture, replace one-third of the lard with butter—just keep it ice cold. The sugar can be omitted for savory pies, but it aids in browning. If your kitchen is warm, chill the bowl and utensils first. The colder everything stays, the better the layers form.
The dough keeps 2-3 days wrapped tightly in the fridge, or freeze for 1 month. Bring to room temperature slightly before rolling—never microwave. For extra flakiness, rest the dough 30 minutes before shaping to relax the gluten.
Why You’ll Love This Recipe
- Five Ingredients Only: I love how this crust comes together with just flour, leaf lard, ice water, salt, and a touch of sugar—no fuss, no extra trips to the store.
- Buttery Crisp Layers: Honestly, the leaf lard makes it flakier than any shortening I’ve tried, with that rich, old-school taste that’s hard to beat.
- Endless Pie Possibilities: Sweet or savory, this crust handles it all—apple pies, pot pies, even a quick galette for last-minute guests.
- Budget Stretcher: A bag of lard costs pennies and makes multiple crusts, so I save money without skimming on quality.
Step-by-Step Instructions for Pie Crust with Lard
Master the technique for creating the flakiest, most tender crust with these precise steps.
Step 1: Combine Dry Ingredients for Stability
In a large mixing bowl, whisk together the 2.5 cups All-Purpose Flour, 1 tsp Kosher Salt, and 1 tbsp Granulated Sugar. This even distribution of salt and sugar ensures consistent flavor throughout the crust.
The sugar adds a subtle sweetness that balances the richness of the leaf lard, while the salt enhances all the flavors. Make sure to break up any lumps in the flour for a uniform texture.
Step 2: Cut in Cold Fat for Flaky Layers
Add the 0.75 cup Leaf Lard and 4 tbsp Unsalted Butter to the flour mixture. Using a pastry cutter or two forks, work the cold fats into the dry ingredients until the mixture resembles coarse crumbs with pea-sized pieces of lard and butter visible.
This step is critical for flakiness—visible fat pieces create the layers that separate during baking. Work quickly to keep the fats cold, as warm fat will melt and ruin the texture. The butter adds richness and depth of flavor, complementing the leaf lard’s natural properties.
Step 3: Bind with Liquid for Perfect Dough
Create a well in the center of the mixture and add 1 tbsp Apple Cider Vinegar and 0.5 cup Ice Water, 1 tablespoon at a time. Use a fork to gently mix the liquid into the flour mixture, stopping as soon as the dough begins to come together.
The vinegar tenderizes the gluten, resulting in a more delicate crust, while the ice water keeps everything cold and prevents premature gluten development. The dough should be shaggy and slightly crumbly—do not overwork it, or the crust will become tough rather than flaky.
Step 4: Rest and Chill for Optimal Texture
Divide the dough into two equal portions and shape each into a disk. Wrap them tightly in plastic wrap and refrigerate for at least 1 hour, or up to 2 days. Chilling allows the gluten to relax and the fats to solidify, making the dough easier to roll out.
This rest period also gives the liquid time to fully hydrate the flour, ensuring a more uniform texture. When ready to use, let the dough sit at room temperature for 10-15 minutes to soften slightly before rolling. This prevents cracking and ensures even thickness throughout the crust.
Pro Tips For Making Pie Crust Recipe With Lard
- Keep Lard Ice-Cold: Chill your leaf lard for at least 30 minutes before using—this prevents it from melting into the flour too soon. I learned this the hard way after my first few crusts came out tough instead of flaky.
- Skip the Overmixing: Stop mixing as soon as the dough comes together, even if it looks a little shaggy. Overworking develops gluten, and that’s the fastest way to a dense, chewy crust instead of a tender one.
- Use Leaf Lard Only: Regular lard or shortening won’t give you the same texture—leaf lard is purer and has a higher melting point, which means a crispier, more reliable crust. My grandmother swore by this, and she was right.
- Rest the Dough: Give it a solid 30 minutes in the fridge before rolling—this lets the gluten relax and the lard firm up again. Sounds tedious, but it actually changes the outcome.
Serving Suggestions for This Recipe
🥘 Plating Styles
A lard-based pie crust shines in any setting! For casual gatherings, serve slices on rustic wooden boards or vintage plates to highlight the golden, flaky texture. Formal presentations call for elegant porcelain dishes with a dusting of powdered sugar or a drizzle of caramel. For a buffet, pre-slice the pie and arrange it on a tiered stand for easy access.
🎯 Garnishing Techniques
Enhance your pie’s visual appeal with simple yet striking garnishes. A sprinkle of fresh herbs like mint or thyme adds a pop of color, while a dollop of whipped cream or a scoop of vanilla ice cream complements the buttery richness. For fruit pies, a lattice crust or cut-out shapes on top create a show-stopping effect.
⏰ Portion Sizes
For individual servings, cut the pie into generous wedges, ensuring each slice has a crisp edge. For a family-style presentation, serve the whole pie at the table with a pie server for a communal experience. Mini pies or hand pies are perfect for portion control and easy handling at parties.
🌡️ Serving Temperature
Let your pie rest for 10–15 minutes after baking to allow the filling to set. Serve warm for gooey fillings like apple or peach, or at room temperature for custard-based pies. Use a sharp knife dipped in hot water for clean slices, and always wipe the blade between cuts.
Nutrition Facts

- 6 Egg Cake Recipe with Oil: Light as Air With Buttery Moisture - October 4, 2026
- 4 Bean Casserole Recipe: One-Pan Heartiness With Smoky Paprika Depth - October 4, 2026
- 3-Ingredient Keto Mug Cake Recipe: Microwave Magic in 2 Minutes - October 4, 2026