
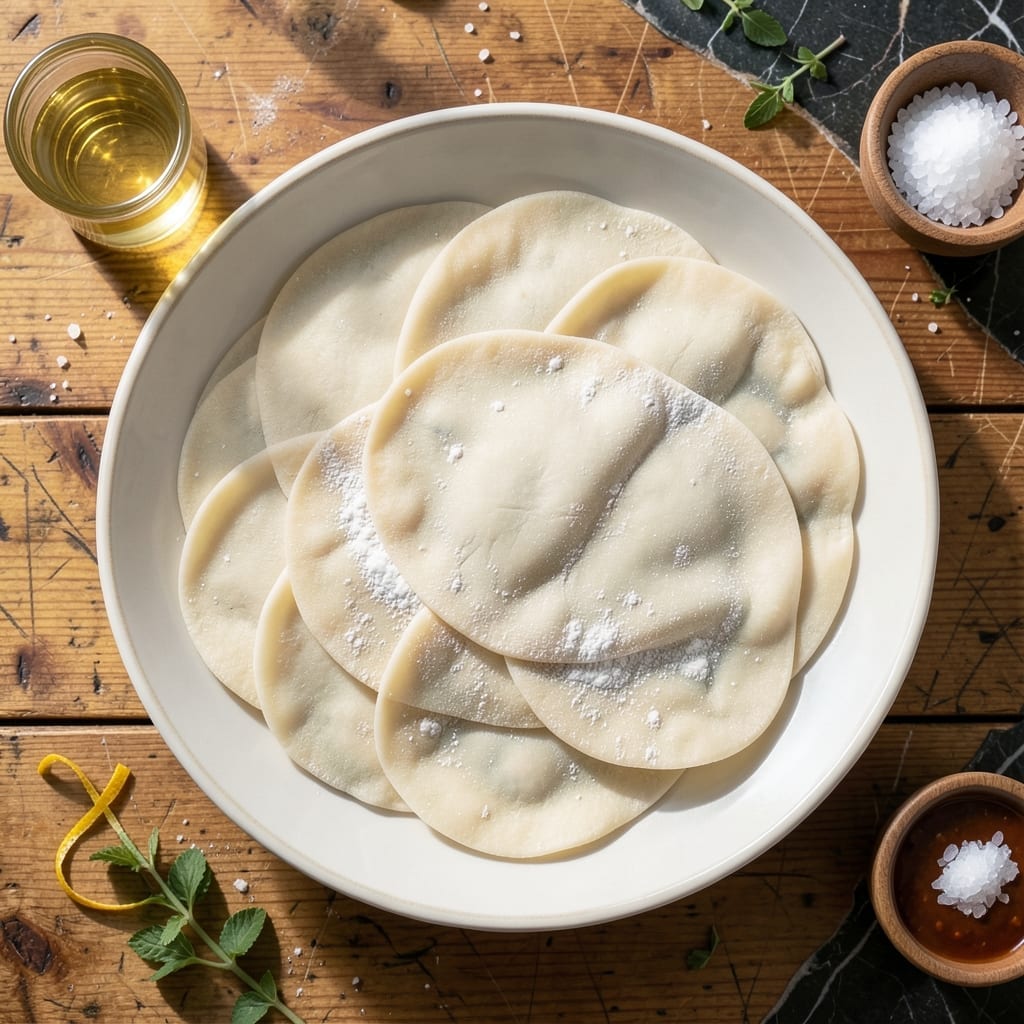
Making homemade potsticker wrappers transforms your dumpling game with thin and elastic dough that store-bought versions can’t match.
This recipe uses just four simple ingredients and a resting period to develop the perfect texture. The dough should be smooth, pliable, and strong enough to hold fillings without tearing.
With a little practice, you’ll roll out consistent circles that cook up tender yet sturdy. The key is patience—don’t rush the resting or rolling steps.
Once mastered, these wrappers elevate any potsticker filling to restaurant-quality results at home.
Ingredients for Potsticker Wrappers
Just four pantry staples create thin, elastic dough for restaurant-quality wrappers at home.
| Ingredient | Amount | Notes |
|---|---|---|
| All-Purpose Flour 🌾 | 2 cups | Plus extra for dusting |
| Warm Water 💧 | ¾ cup | Approximately 110°F |
| Neutral Oil 🫒 | 1 tbsp | Vegetable or canola |
| Salt 🧂 | ½ tsp | Fine sea salt |
The flour is the foundation—King Arthur or Gold Medal all-purpose give consistent results. Measure by weight if possible (240g for 2 cups), but volume works fine. Warm water activates the gluten, so use a thermometer for precision (110°F is ideal). Neutral oil keeps the dough supple; avoid strongly flavored oils like olive. Salt enhances flavor and strengthens the gluten network.
No all-purpose flour? Bread flour works but yields a slightly chewier wrapper. Replace oil with melted vegetable shortening if needed. Water temperature can be eyeballed—warm to the touch, not hot. For gluten-free versions, a 1:1 blend with xanthan gum is necessary, but texture will differ from traditional wrappers.
The dough rests for 30 minutes at room temperature before rolling. Store unused wrappers in an airtight container with parchment between layers. They keep in the fridge for 2 days or frozen for 1 month. Bring to room temperature before using frozen wrappers.
Why You’ll Love This Recipe
- No-Fuss Dough: I just mix flour, warm water, and a pinch of salt—no resting, no fancy techniques.
- Subtle Richness: The neutral oil gives them a tender bite that lets the filling shine.
- Endless Fillings: I’ve stuffed them with pork, veggies, even leftover turkey—so versatile.
- Pennywise Staple: Four ingredients I always have, and they’re cheaper than store-bought.
Step-by-Step Instructions for Potsticker Wrappers
Master this technique and you’ll produce wrappers with the perfect balance of thinness and elasticity every time.
Step 1: Combine Dry Ingredients
In a large mixing bowl, whisk together the 2 cups All-Purpose Flour and 0.5 tsp Salt until evenly distributed. This ensures the seasoning will be consistent throughout the dough rather than concentrated in one area.
I always sift my flour first to break up any lumps and create a smoother texture in the final wrappers. The fine sea salt dissolves completely during mixing, so you won’t encounter any grainy bits when rolling out the dough.
Step 2: Form the Dough
Create a well in the center of the flour mixture and pour in the 0.75 cup Warm Water and 1 tbsp Neutral Oil. The water should be approximately 110°F—warm enough to activate the gluten but not so hot it cooks the flour.
Using a wooden spoon or your hands, gradually incorporate the flour into the liquid until a shaggy dough forms. The neutral oil adds elasticity to the dough, making it easier to roll thin without tearing. You’ll notice the dough starts to pull away from the sides of the bowl as it comes together.
Step 3: Knead to Develop Gluten
Turn the dough out onto a lightly floured surface and knead for 8-10 minutes until smooth and elastic. The dough should spring back slowly when pressed with a finger—this indicates proper gluten development.
If the dough feels too sticky, add small amounts of flour, but be sparing. Too much additional flour will make the wrappers tough. Conversely, if it feels too dry, add warm water 1 teaspoon at a time until the dough becomes pliable. The ideal consistency is slightly tacky but not sticky.
Step 4: Rest the Dough
Shape the dough into a ball, place it in a clean bowl, and cover with a damp towel or plastic wrap. Let it rest at room temperature for 30 minutes. This resting period allows the gluten to relax, making the dough much easier to roll out thinly.
During this time, the flour fully hydrates and the dough’s internal structure becomes more uniform. You’ll notice the dough becomes softer and more pliable after resting. This step is crucial for achieving wrappers that are thin yet strong enough to hold fillings without tearing.
Step 5: Roll and Cut the Wrappers
Divide the rested dough into 4 equal portions and roll each into a long cylinder about 1 inch in diameter. Cut each cylinder into 8 equal pieces, giving you 32 pieces total for your 4 servings.
Roll each piece into a ball, then flatten with your palm. Using a rolling pin on a lightly floured surface, roll each piece into a thin circle about 3-4 inches in diameter. The edges should be slightly thinner than the center to ensure even cooking. Dust with additional flour as needed to prevent sticking, but brush off any excess before using.
Pro Tips For Making Potsticker Wrappers
- Knead Longer: I learned this the hard way—knead the dough for at least 8-10 minutes until it’s smooth and elastic, otherwise your wrappers will tear when you roll them out.
- Use Hot Water: Sounds weird, but it works: swap warm water for just-boiled water (about 190°F) to create wrappers that are stretchier and less likely to crack.
- Rest the Dough: After kneading, let the dough rest for 30 minutes under a damp towel—this relaxes the gluten so it rolls out thin without springing back.
- Dust Lightly: Resist the urge to overload with flour when rolling; a light dusting keeps the wrappers tender and prevents that dry, chalky texture.
Serving Suggestions for potsticker wrappers
Dipping Sauces
Serve these wrappers with a classic soy-vinegar dip—mix 3 tbsp soy sauce, 1 tbsp rice vinegar, 1 tsp sesame oil, and ½ tsp chili oil. The tangy-salty balance enhances the dumplings’ savory filling. 💛
Steaming Presentation
For a traditional look, arrange finished potstickers on a platter lined with lettuce leaves or cabbage leaves. The green base contrasts beautifully with golden-brown wrappers. Stack in a spiral or crescent pattern for visual appeal.
Pan-Fried Crisp
To highlight the texture, pan-fry until the bottoms are golden and crispy. Serve immediately with crispy side down. The contrast between tender wrappers and crunchy bottoms is irresistible. Use medium-high heat for 3-4 minutes per side.
Garnishing Tips
Top with thin-sliced green onions and toasted sesame seeds for extra flavor and color. A drizzle of chili oil adds heat and sheen. Fresh cilantro works too if you prefer a herbaceous note.
Family Style
Place a large platter in the center of the table for shared dining. Provide small bowls of dipping sauces and let everyone serve themselves. This encourages conversation and makes the meal more interactive.
Leftovers Storage
Store cooked potstickers in an airtight container in the fridge for up to 3 days. Reheat in a skillet with 1 tbsp water covered for 2-3 minutes to restore moisture. 🔥
Nutrition Facts
Frequently Asked Questions
Can I use bread flour instead of all-purpose?
Yes, but bread flour creates a slightly chewier wrapper. For best results, stick with all-purpose for the classic thin, tender texture.
Why does the dough need to rest for 30 minutes?
Resting relaxes the gluten, making the dough easier to roll thin. Skipping this step risks tough, springy wrappers that tear.
Can I make the wrappers ahead of time?
Store uncooked wrappers in an airtight container with parchment between layers. They keep in the fridge for 2 days or frozen for 1 month.
What’s the ideal thickness for the wrappers?
Aim for circles about 3-4 inches wide with edges slightly thinner than the center. This ensures even cooking and a tender bite.

- 6 Egg Cake Recipe with Oil: Light as Air With Buttery Moisture - October 4, 2026
- 4 Bean Casserole Recipe: One-Pan Heartiness With Smoky Paprika Depth - October 4, 2026
- 3-Ingredient Keto Mug Cake Recipe: Microwave Magic in 2 Minutes - October 4, 2026