
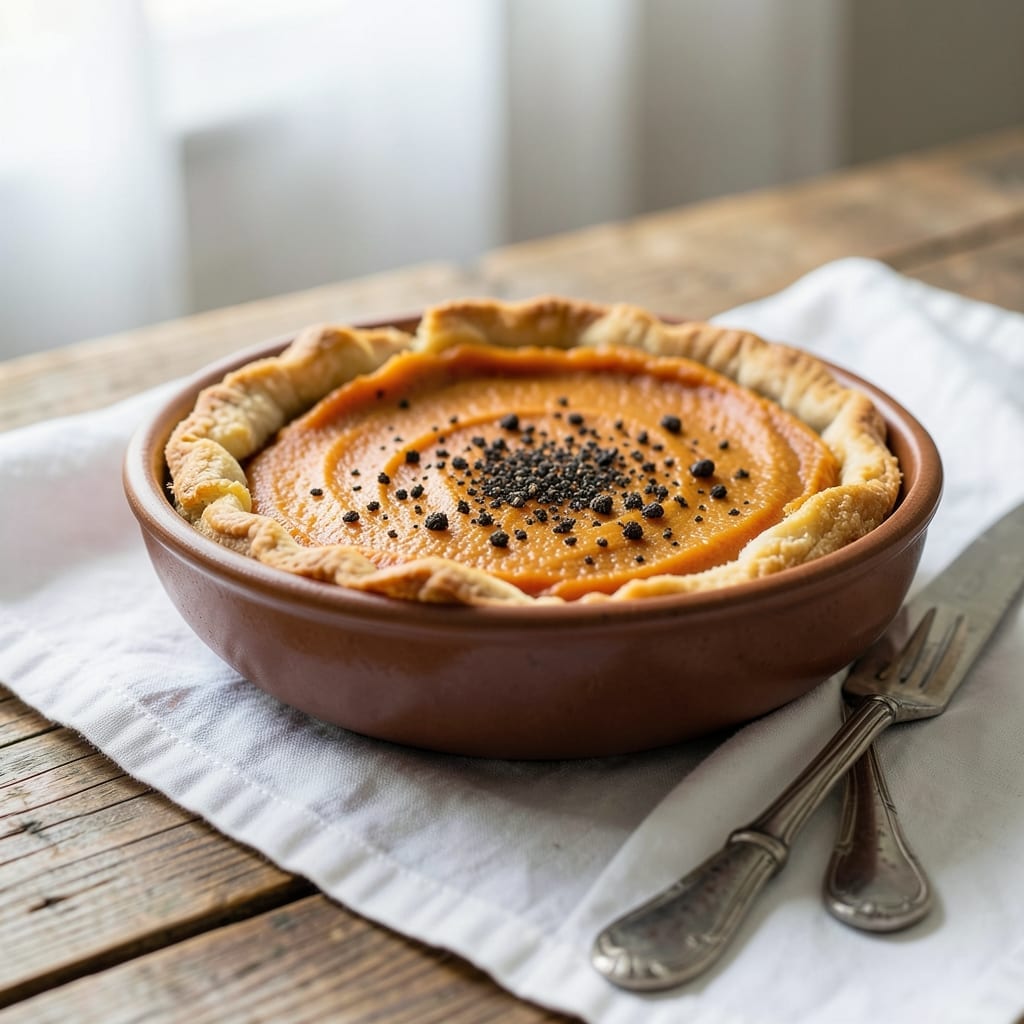
This classic pie delivers a velvety spiced custard in a buttery crust, all with the convenience of canned pumpkin. The filling comes together smoothly with just the right balance of cinnamon, nutmeg, and ginger.
Baking at the proper temperature ensures a flaky base and perfectly set filling. The result is a dessert that’s rich, aromatic, and worthy of any holiday table.
Ingredients for Pumpkin Pie Recipe with Canned Pumpkin
A velvety spiced custard meets buttery crust with canned pumpkin convenience for a perfect holiday dessert.
| Ingredient | Amount | Notes |
|---|---|---|
| Canned Pumpkin Puree 🎃 | 15 oz | Not pumpkin pie filling |
| Evaporated Milk 🥛 | 12 oz | Full-fat for creaminess |
| Large Eggs 🥚 | 2 whole | Room temperature preferred |
| Granulated Sugar 🍚 | ¾ cup | Fine white granulated |
| Light Brown Sugar 🟤 | ¼ cup | Packed, for depth |
| Ground Cinnamon 🌿 | 1 tsp | Freshly ground if possible |
| Ground Ginger 🌿 | ½ tsp | Warm and pungent |
| Ground Nutmeg 🌰 | ¼ tsp | Freshly grated for best aroma |
| Ground Cloves 🌿 | 0.125 tsp | Use sparingly |
| Salt 🧂 | ½ tsp | Fine sea salt preferred |
| Unbaked Pie Crust 🥧 | 1 whole | 9-inch deep-dish preferred |
| Unsalted Butter 🧈 | 2 tbsp | Melted for brushing crust |
The canned pumpkin must be pure pumpkin puree—Libby’s is the gold standard for consistent texture and flavor. Evaporated milk adds richness without curdling; Carnation is widely available. The crust should be cold when you start—Pillsbury refrigerated works, but homemade flaky pastry takes this to the next level. Look for deep-dish crusts to accommodate the full filling.
No evaporated milk? Heavy cream at half the volume works, though the texture shifts slightly. For spice swaps, pumpkin pie spice blend at 1.75 tsp replaces the individual spices. Brown sugar can be all granulated in a pinch, but you’ll lose some caramel depth. For a dairy-free version, coconut milk substitutes beautifully for the evaporated milk.
The pie keeps 3-4 days at room temperature (covered) or 1 week refrigerated. Freeze for up to 2 months—thaw overnight in the fridge before serving. The crust stays flakiest if you avoid overbaking; pull it when the center has a slight jiggle.
Why You’ll Love This Recipe
- No-Fuss Prep: I just dump the canned pumpkin, sugars, and eggs in a bowl—no peeling or chopping required.
- Rich, Spiced Sweetness: The mix of granulated and light brown sugar with the pumpkin puree gives it that deep, caramel-like warmth.
- Holiday Staple: It’s my go-to for Thanksgiving, but honestly, I make it for random Tuesdays too.
Step-by-Step Instructions for Pumpkin Pie
Master the technique for a silky custard with a perfectly flaky crust every time.
Step 1: Prepare the Pie Crust
Press the unbaked pie crust into a 9-inch deep-dish pie plate, ensuring it fits snugly against the bottom and sides. Trim any excess dough hanging over the edge, then crimp the edges with your fingers or a fork for a decorative finish.
Prick the bottom and sides of the crust all over with a fork to prevent air bubbles during baking. Chill the prepared crust in the refrigerator for 15 minutes while you preheat the oven to 425°F. This resting step helps maintain the crust’s structure for that coveted flaky texture.
Step 2: Mix the Spiced Pumpkin Custard
In a large mixing bowl, whisk together the 15 oz Canned Pumpkin Puree, 0.75 cup Granulated Sugar, and 0.25 cup Light Brown Sugar until smooth. The light brown sugar adds depth and a subtle molasses note to the filling.
Add the 2 whole Large Eggs, 12 oz Evaporated Milk, 1 tsp Ground Cinnamon, 0.5 tsp Ground Ginger, 0.25 tsp Ground Nutmeg, 0.125 tsp Ground Cloves, and 0.5 tsp Salt. Whisk vigorously for 1-2 minutes until the mixture is completely homogeneous and slightly thickened. The spices should be fully incorporated with no visible streaks.
Step 3: Fill and Pre-Bake the Crust
Pour the pumpkin custard mixture into the chilled pie crust, filling it to the brim. The deep-dish crust should accommodate all the filling without spilling. Smooth the surface with a spatula to ensure even baking.
Bake at 425°F for 15 minutes to set the edges of the custard. Watch for the crust to begin turning a light golden color—this initial high heat jump-starts the cooking process and helps prevent a soggy bottom. Avoid opening the oven door during this time to maintain consistent heat.
Step 4: Bake Until Set
Reduce the oven temperature to 350°F and continue baking for 40-50 minutes. The filling is done when the center is just set but still has a slight jiggle when gently shaken. A knife or toothpick inserted near the center should come out clean, with only a few moist crumbs clinging.
If the crust begins to brown too quickly, cover the edges with a pie shield or strips of aluminum foil to protect them from over-browning. This ensures the crust achieves that perfect flaky texture without burning.
Step 5: Cool and Finish
Remove the pie from the oven and let it cool completely on a wire rack for at least 2 hours. This cooling period is critical—it allows the custard to fully set and develop its silky texture. Slicing too soon will result in a runny filling.
Once cooled, brush the crust lightly with the 2 tbsp Unsalted Butter, melted, to add a subtle sheen and enhance the flaky layers. Serve at room temperature for the best flavor and texture. Each slice should showcase a firm yet creamy custard encased in a golden, crisp crust.
Pro Tips For Making Pumpkin Pie Recipe With Canned Pumpkin
- Pre-bake the crust: Blind-bake your pie crust for 8-10 minutes at 375°F before adding the filling—this prevents the soggy bottom that ruins so many pumpkin pies.
- Drain the pumpkin: After opening the can, drain the pumpkin puree in a fine-mesh strainer for 10 minutes to remove excess liquid, which makes for a denser, creamier pie.
- Skip the overmixing: Whisk the eggs and sugars just until combined, then fold in the pumpkin and milk—overmixing adds air, which can cause cracks in the finished pie.
- Use room-temp eggs: Take your eggs out of the fridge 30 minutes before starting—cold eggs don’t incorporate as smoothly into the batter, leaving streaks instead of a silky texture.
Serving Suggestions for Leftovers
🍽️ Plating Styles
For a casual vibe, serve slices on rustic stoneware or wooden boards for a cozy, homey feel. A formal presentation calls for elegant white porcelain plates with a dusting of powdered sugar and a drizzle of caramel. At a buffet, place the whole pie on a raised stand with a pie server for easy slicing, letting guests help themselves.
🎨 Garnishing Techniques
Enhance your pie with whipped cream or a scoop of vanilla ice cream for a classic touch. For a gourmet flair, add candied pecans or a sprinkle of cinnamon. Use a stencil to dust cocoa powder or nutmeg in intricate patterns, or top with fresh mint leaves for a pop of color.
🍰 Portion Sizes
For individual servings, cut thin slices (about 1/12 of the pie) for a light dessert option, or opt for generous wedges (1/8 of the pie) for a heartier treat. Family-style serving works well for gatherings—place the pie at the center of the table with a sharp knife for easy sharing.
🌡️ Serving Temperature
Let the pie cool completely (about 2 hours) before slicing to ensure clean cuts. Serve at room temperature for the best texture, or warm individual slices for 10-15 seconds in the microwave for a cozy touch. If chilled, allow it to sit at room temperature for 20-30 minutes before serving.
Nutrition Facts

- 6 Egg Cake Recipe with Oil: Light as Air With Buttery Moisture - October 4, 2026
- 4 Bean Casserole Recipe: One-Pan Heartiness With Smoky Paprika Depth - October 4, 2026
- 3-Ingredient Keto Mug Cake Recipe: Microwave Magic in 2 Minutes - October 4, 2026