
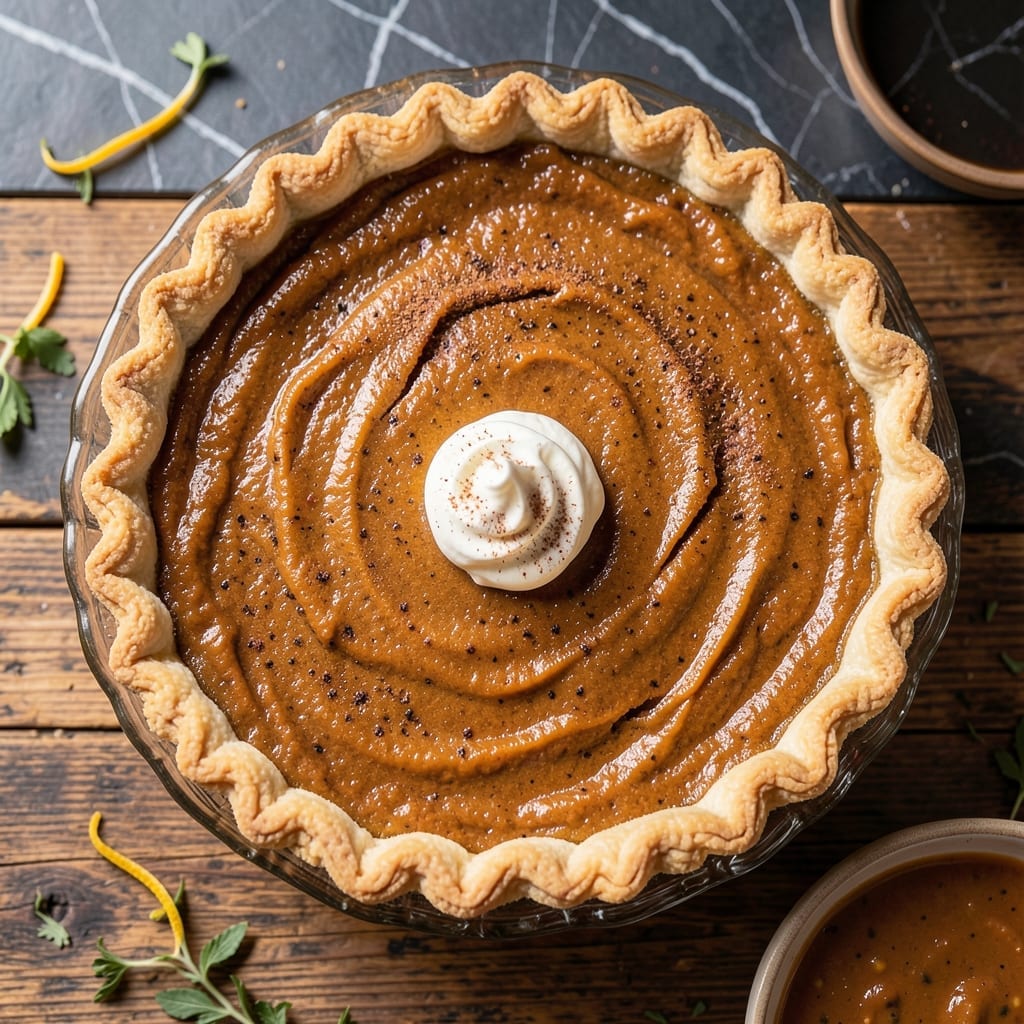
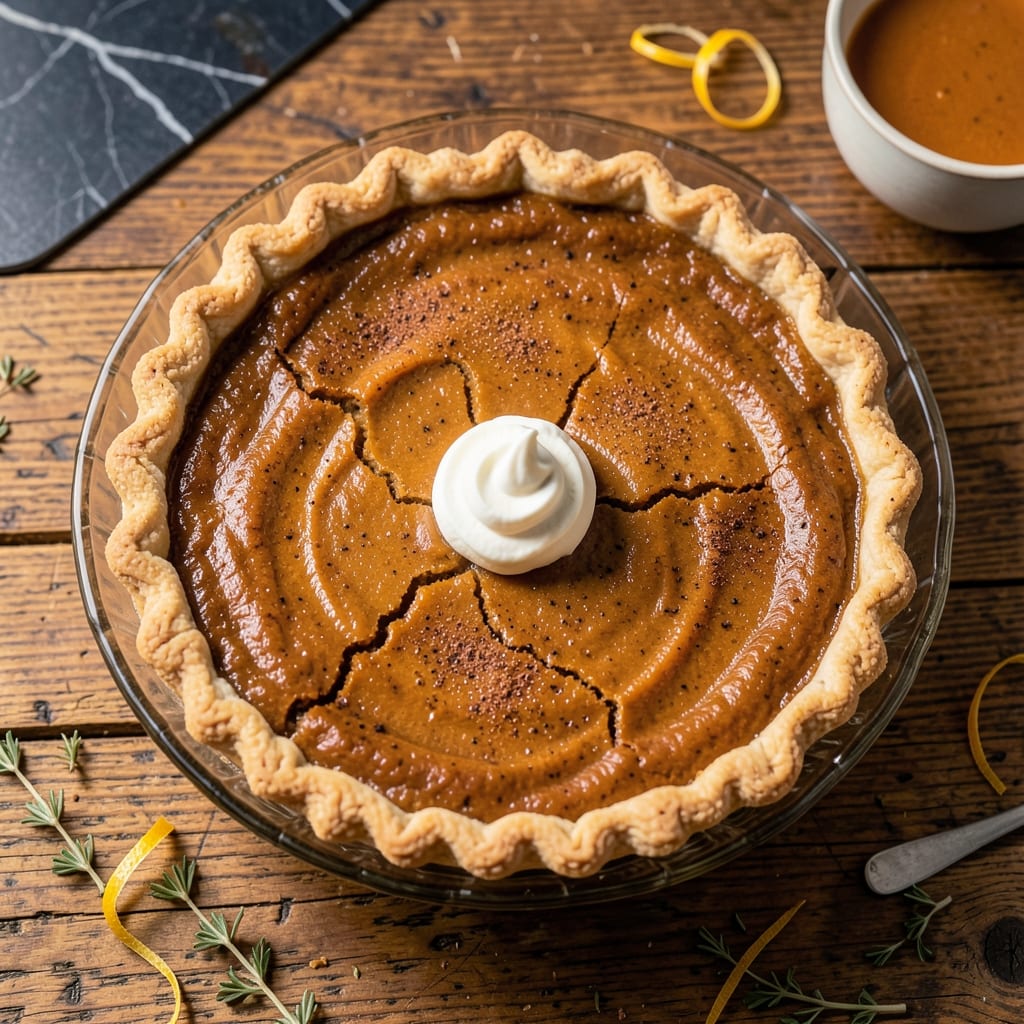
This classic dessert delivers a silky spiced custard with the perfect balance of sweetness and warmth. The evaporated milk creates an ultra-smooth texture that sets beautifully in a flaky crust.
Every slice offers rich pumpkin flavor with just the right amount of spice. This proven method ensures a creamy filling that holds its shape when sliced, making it ideal for holiday gatherings.
Ingredients for Pumpkin Pie Recipe with Evaporated Milk
Classic ingredients deliver that silky spiced custard in every slice of this dessert.
| Ingredient | Amount | Notes |
|---|---|---|
| Pumpkin Puree 🎃 | 2 cups | Canned or fresh, unsweetened |
| Evaporated Milk 🥛 | 1 ⅓ cup | 1 can (12 oz), undiluted |
| Granulated Sugar 🍚 | ¾ cup | Fine white sugar preferred |
| Light Brown Sugar 🟤 | ½ cup | Packed firmly into cup |
| Large Eggs 🥚 | 2 whole | Room temperature, lightly beaten |
| Ground Cinnamon 🌿 | 1 tsp | Freshly ground for best flavor |
| Ground Ginger 🌿 | ½ tsp | Powdered for even distribution |
| Ground Nutmeg 🌰 | ¼ tsp | Freshly grated if possible |
| Ground Cloves 🌿 | ¼ tsp | Use sparingly for balance |
| Salt 🧂 | ½ tsp | Fine table salt |
| Unbaked Pie Crust 🥧 | 1 whole | 9-inch, standard depth |
| Vanilla Extract 🌿 | 1 tsp | Pure vanilla, not imitation |
[recipeingredientscaler]
The evaporated milk is non-negotiable for that signature texture—Carnation brand is the standard, but any unsweetened canned variety works. Libby’s pumpkin puree offers consistent flavor and thickness, though fresh roasted sugar pumpkin is exceptional if you’re feeling ambitious. For the crust, Pillsbury refrigerated is foolproof, but a homemade flaky lard-free version elevates the dish significantly (use vegetable shortening or butter for vegetarian compliance).
No evaporated milk? Heavy cream reduced by half gets close, though the texture won’t be identical. Brown sugar can be swapped for white in a pinch (add 1 tbsp molasses per cup for depth). For spice flexibility, pumpkin pie spice blend at 1.75 tsp replaces the individual spices. Eggs are essential for structure—no vegan substitutes here without reformulating the entire custard base.
The filled pie keeps 3-4 days refrigerated, though it’s best served within 2 days for optimal texture. Freeze the baked pie for up to 2 months—thaw overnight in the fridge before serving. Always store with plastic wrap pressed directly against the surface to prevent a skin from forming.
Why You’ll Love This Recipe
- One Bowl Wonder: I just dump the pumpkin puree, sugars, eggs, and evaporated milk in one bowl, whisk, and pour—no fuss, no extra dishes.
- Velvety Smooth Crust: The evaporated milk gives it that rich, silky texture that makes every bite feel like a hug.
- Holiday or Tuesday: Honestly, I make this for Thanksgiving and random weeknights when I crave that cozy spice.
- Leftovers? Yes Please: It tastes even better the next day, and my family fights over the last slice.
Step-by-Step Instructions for Pumpkin Pie With Evaporated Milk
Master the technique for a perfectly set custard with a flaky crust that holds its shape when sliced.
Step 1: Prepare and Pre-Bake the Pie Crust
Press the unbaked pie crust into a standard 9-inch pie dish, ensuring it fits snugly against the bottom and sides. Trim any excess dough hanging over the edge, then crimp the edges decoratively with your fingers or a fork.
For a flaky base that resists sogginess, pre-bake the crust. Line it with parchment paper and fill with pie weights or dried beans. Bake at 375°F for 15 minutes, then remove the weights and parchment, and bake for an additional 5-7 minutes until the edges are just beginning to turn light golden brown.
Step 2: Whisk Together the Wet Ingredients
In a large mixing bowl, combine the 2 cups Pumpkin Puree, 1.333 cup Evaporated Milk, 2 whole Large Eggs, and 1 tsp Vanilla Extract. Whisk vigorously until the mixture is smooth and fully homogeneous—this ensures no streaks of egg or pumpkin remain.
The evaporated milk is key here; its concentrated proteins create a denser, creamier custard than regular milk. I always use room temperature eggs to prevent the custard from seizing up when it hits the hot crust.
Step 3: Incorporate Sugars and Spices
Add the 0.75 cup Granulated Sugar, 0.5 cup Light Brown Sugar, 1 tsp Ground Cinnamon, 0.5 tsp Ground Ginger, 0.25 tsp Ground Nutmeg, 0.25 tsp Ground Cloves, and 0.5 tsp Salt to the wet mixture. Whisk until the sugars fully dissolve and the spices are evenly distributed.
The brown sugar adds depth with its molasses notes, while the balanced spice blend—cinnamon forward with supporting ginger, nutmeg, and cloves—delivers that classic pumpkin pie warmth. Taste the filling at this stage; it should be sweet with a subtle spice bite, but not overpowering.
Step 4: Pour Filling into Crust and Bake
Place the pre-baked pie crust on a rimmed baking sheet (to catch any spills) and pour the filling into the crust. The filling should come just below the crimped edge—overfilling can cause spillage and a soggy crust during baking.
Bake at 425°F for 15 minutes, then reduce the heat to 350°F and bake for an additional 40-50 minutes. The pie is done when the edges are set but the center still has a slight jiggle—it will finish setting as it cools.
Step 5: Cool and Set Before Slicing
Remove the pie from the oven and transfer it to a wire rack. Let it cool at room temperature for 1 hour, then refrigerate for at least 4 hours or overnight. This cooling period is non-negotiable for a clean slice.
The custard will firm up significantly as it chills, and the flavors will meld and deepen. Serve chilled or at room temperature with whipped cream. The crust should remain flaky, and the filling should be silky smooth with no cracks.
Pro Tips For Making Pumpkin Pie Recipe With Evaporated Milk
- Pre-Bake the Crust: Blind-bake your crust for 8-10 minutes at 375°F before adding the filling—I learned this the hard way after too many soggy bottoms ruined my pies.
- Warm the Evaporated Milk: Take the chill off the evaporated milk by letting it sit in warm water for 10 minutes; it blends smoother into the eggs and sugar without curdling.
- Skip the Overmixing: Stir the filling just until combined—overmixing adds air and can cause cracks in your finished pie.
- Use Canned Pumpkin: Fresh pumpkin sounds nice, but canned puree gives consistent texture and moisture; after burning three batches with stringy fresh pumpkin, I finally switched.
Dietary Considerations for This Recipe
Keto-Friendly Options
To adapt this pumpkin pie recipe with evaporated milk for a keto diet, replace sugar with a low-carb sweetener like erythritol or monk fruit. Use almond flour or coconut flour for the crust to reduce carbs. Evaporated milk can stay, but opt for full-fat to keep it keto-compliant. 💪
Gluten-Free Modifications
For a gluten-free version, swap the traditional crust for a gluten-free pie crust made with almond or oat flour. Ensure all spices and evaporated milk are certified gluten-free to avoid cross-contamination. The filling itself is naturally gluten-free! 🥗
Allergen Information
This recipe contains dairy (evaporated milk) and eggs. For a dairy-free version, use coconut milk instead of evaporated milk. If eggs are a concern, try a flaxseed or chia egg substitute for binding.
Vegetarian Adaptations
This pumpkin pie recipe with evaporated milk is already vegetarian, as it contains no meat. Just double-check that your crust doesn’t contain lard or animal-based shortenings. A vegan butter crust works perfectly if needed.
Low-Sodium Options
To reduce sodium, use unsalted butter in the crust and low-sodium canned pumpkin. Skip added salt in the filling, and rely on warm spices like cinnamon and nutmeg for flavor. 📊
Nutrition Facts

- 6 Egg Cake Recipe with Oil: Light as Air With Buttery Moisture - October 4, 2026
- 4 Bean Casserole Recipe: One-Pan Heartiness With Smoky Paprika Depth - October 4, 2026
- 3-Ingredient Keto Mug Cake Recipe: Microwave Magic in 2 Minutes - October 4, 2026