
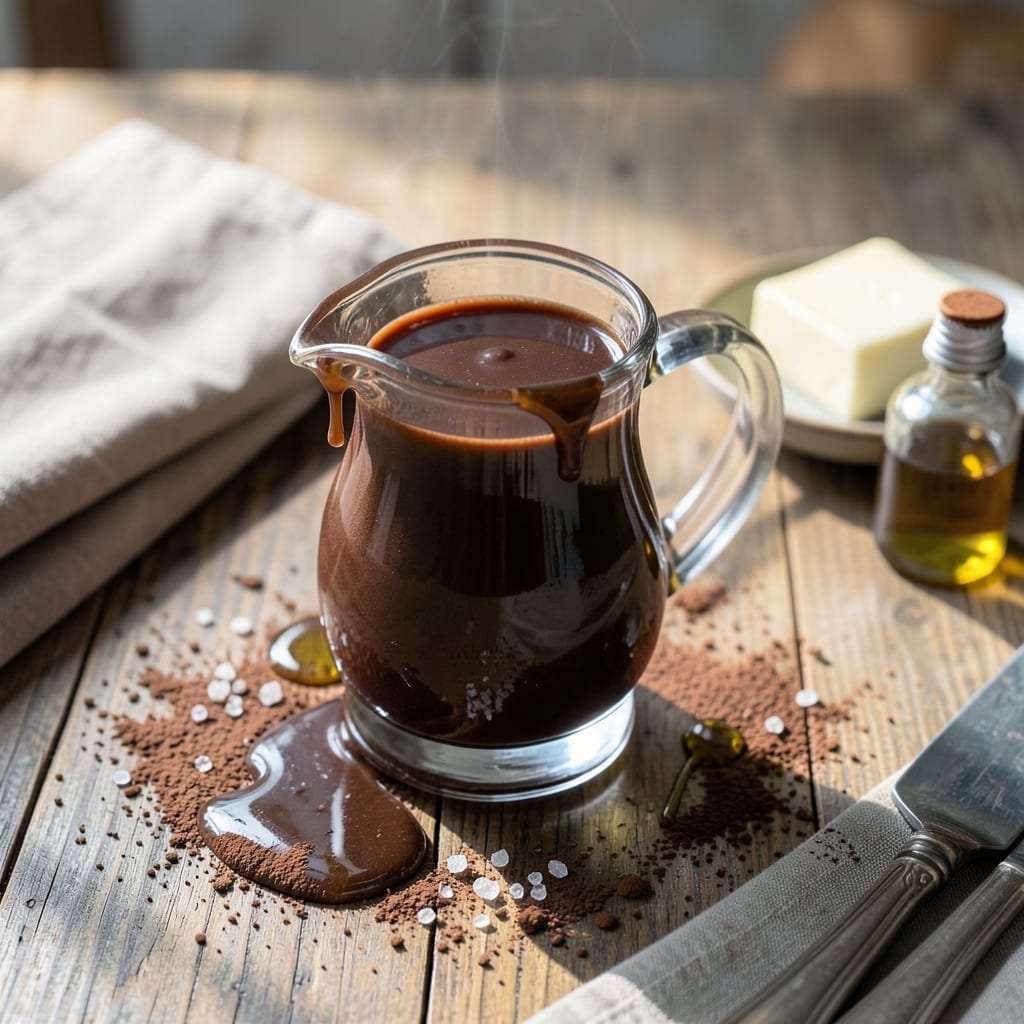
This chocolate syrup recipe transforms basic ingredients into a rich velvety sauce that elevates any dessert. No specialty equipment is needed—just a saucepan and a few minutes of attention.
The process is straightforward: cocoa powder, sugar, and water combine to create a smooth, glossy syrup that drizzles beautifully. A pinch of salt enhances the chocolate depth without adding sweetness.
What you’ll get is a versatile condiment perfect for ice cream, pancakes, or fruit. It stores easily in the fridge, ready to pour whenever a chocolate craving strikes.
Make a double batch—this disappears quickly and keeps well for weeks.
Ingredients for Recipe Chocolate Syrup
Seven simple ingredients create this rich, velvety chocolate syrup for desserts and more.
| Ingredient | Amount | Notes |
|---|---|---|
| Unsweetened Cocoa Powder 🍫 | ½ cup | Dutch-processed for smoother flavor |
| Granulated Sugar 🥣 | 1 cup | White or raw cane sugar |
| Water 💧 | 1 cup | Filtered for best taste |
| Salt 🧂 | ¼ tsp | Fine sea salt preferred |
| Vanilla Extract 🌿 | 1 tsp | Pure vanilla for depth |
| Unsalted Butter 🧈 | 2 tbsp | Optional for shine and richness |
| Light Corn Syrup 🧈 | ¼ cup | Prevents crystallization |
The cocoa powder is critical here. Hershey’s Special Dark or Ghirardelli Dutch-processed deliver the deepest flavor. Avoid instant cocoa mixes—they contain sugar and additives that throw off the balance. Granulated sugar dissolves evenly, but organic raw cane sugar adds subtle caramel notes. For the water, filtered is best to avoid any off-flavors from tap water.
No Dutch-processed cocoa? Natural cocoa powder works but may require a pinch of baking soda to neutralize acidity. Skip the butter? Coconut oil at a 1:1 ratio maintains the gloss. Out of corn syrup? Honey or agave can substitute, though the texture will differ slightly. Vanilla is optional but highly recommended—it rounds out the chocolate beautifully.
Store in an airtight container in the fridge for up to 3 weeks. The syrup will thicken when chilled—microwave 10-15 seconds to restore pourability. Freezing isn’t recommended as it can separate.
Why You’ll Love This Recipe
- 5-Minute Magic: I can make this while my coffee brews—just cocoa, sugar, water, and a splash of vanilla.
- Rich & Deep: The unsweetened cocoa gives it that dark, velvety chocolate punch without being cloying.
- Ice Cream’s BFF: Drizzle it over sundaes, stir into milk, or dunk fruit in it—honestly, I use it daily.
- Pantry Staples: No fancy ingredients, and a batch lasts me weeks in the fridge.
Step-by-Step Instructions for Chocolate Syrup
This method ensures a smooth, glossy syrup with perfect consistency every time.
Step 1: Combine Dry Ingredients and Water
In a medium saucepan, whisk together the 0.5 cup Unsweetened Cocoa Powder, 1 cup Granulated Sugar, and 0.25 tsp Salt until no lumps remain. The fine texture of Dutch-processed cocoa ensures a smoother final product.
Gradually pour in the 1 cup Water while continuing to whisk. This step prevents clumping and creates a uniform mixture. Place the saucepan over medium heat and stir until the cocoa and sugar fully dissolve, which should take about 2-3 minutes.
Step 2: Bring to a Gentle Simmer
Once the mixture is smooth, add the 0.25 cup Light Corn Syrup. Stir well to incorporate—this ingredient is critical for preventing sugar crystallization and ensuring a velvety texture.
Increase the heat to medium-high and bring the mixture to a gentle boil. Watch for small bubbles forming at the edges, then spreading across the surface. Reduce heat to low and let it simmer for 5 minutes, stirring occasionally to avoid scorching.
Step 3: Incorporate Butter and Vanilla
Remove the saucepan from heat and immediately stir in the 2 tbsp Unsalted Butter and 1 tsp Vanilla Extract. The butter adds a subtle richness and a glossy sheen, while the vanilla deepens the chocolate flavor.
Allow the mixture to sit undisturbed for 1-2 minutes—this lets the butter melt completely and the flavors meld. The syrup should now have a thick, pourable consistency. If it appears too thin, return it to low heat for an additional 1-2 minutes.
Step 4: Cool and Store
Transfer the syrup to a heatproof jar or bottle and let it cool to room temperature, which takes about 30 minutes. As it cools, it will thicken slightly but remain pourable.
Store the chocolate syrup in an airtight container in the refrigerator for up to 2 weeks. For best results, warm it slightly before serving to restore its smooth, drizzling consistency. This recipe yields enough for 4 servings, perfect for desserts or beverages.
Pro Tips For Making Recipe Chocolate Syrup
- Simmer, Don’t Boil: Keep the heat at a gentle simmer—boiling can make the syrup seize up or turn grainy. I learned this the hard way after my first batch looked like chocolate sand.
- Whisk Cocoa First: Mix the cocoa powder with a little cold water first to dissolve the lumps before adding heat. Sounds tedious, but it prevents those stubborn clumps that ruin the texture.
- Skip the Salt Skip: Even though it’s just a pinch, salt actually changes the outcome by balancing the sweetness. My grandmother swore by this, and she was right.
- Rest Before Vanilla: Let the syrup cool for 2-3 minutes before stirring in the vanilla extract—high heat can mute its flavor. I was skeptical until I tried it.
Best Sauces and Condiments for These Flavors
Classic Pairings
Drizzle this over vanilla ice cream—about 2 tbsp per scoop creates the perfect ratio. I love it on warm brownies too, where the heat makes the syrup extra gooey. A pinch of flaky salt on top takes it to the next level.
Breakfast Delights
Transform your morning pancakes or waffles with a ¼ cup swirl. The syrup pools beautifully in those little crevices. French toast gets a decadent upgrade when dipped in this before serving.
Fruit Enhancements
Strawberries and chocolate are a match made in heaven. Toss 1 cup sliced strawberries with 1 tbsp syrup for a quick dessert. Banana splits become extraordinary with this drizzled over the fruit and ice cream. 🍓
Beverage Boosters
Stir 1 tbsp into warm milk for homemade chocolate milk that puts store-bought to shame. It also elevates coffee drinks—try 2 tbsp in your morning latte for a mocha twist.
Baking Uses
Use as a glaze for bundt cakes or drizzle over cheesecake slices. Brush it on pound cake layers before adding frosting for extra moisture. I’ve even used it as a filling for thumbprint cookies.
Savory Surprise
Trust me on this: a light drizzle over chili or mole sauce adds incredible depth. The sweetness balances spicy dishes beautifully. Start with 1 tsp and adjust to taste. 💡
Nutrition Facts
Frequently Asked Questions
Can I use natural cocoa powder instead of Dutch-process?
Yes, but add ⅛ tsp baking soda to neutralize acidity. Natural cocoa may taste slightly sharper. Dutch-process gives the smoothest flavor though.
How long does homemade syrup last?
Stored in an airtight container in the fridge, it keeps for 2-3 weeks. Warm briefly to restore pourability if it thickens.
Why did my syrup turn grainy?
Sugar crystallized—likely from not dissolving fully before boiling. Stir constantly over medium heat until smooth. Corn syrup helps prevent this.
Can I make this sugar-free?
Use 1:1 sugar substitute like erythritol, but texture may differ. Add ¼ tsp xanthan gum to help thicken.

- 6 Egg Cake Recipe with Oil: Light as Air With Buttery Moisture - October 4, 2026
- 4 Bean Casserole Recipe: One-Pan Heartiness With Smoky Paprika Depth - October 4, 2026
- 3-Ingredient Keto Mug Cake Recipe: Microwave Magic in 2 Minutes - October 4, 2026