
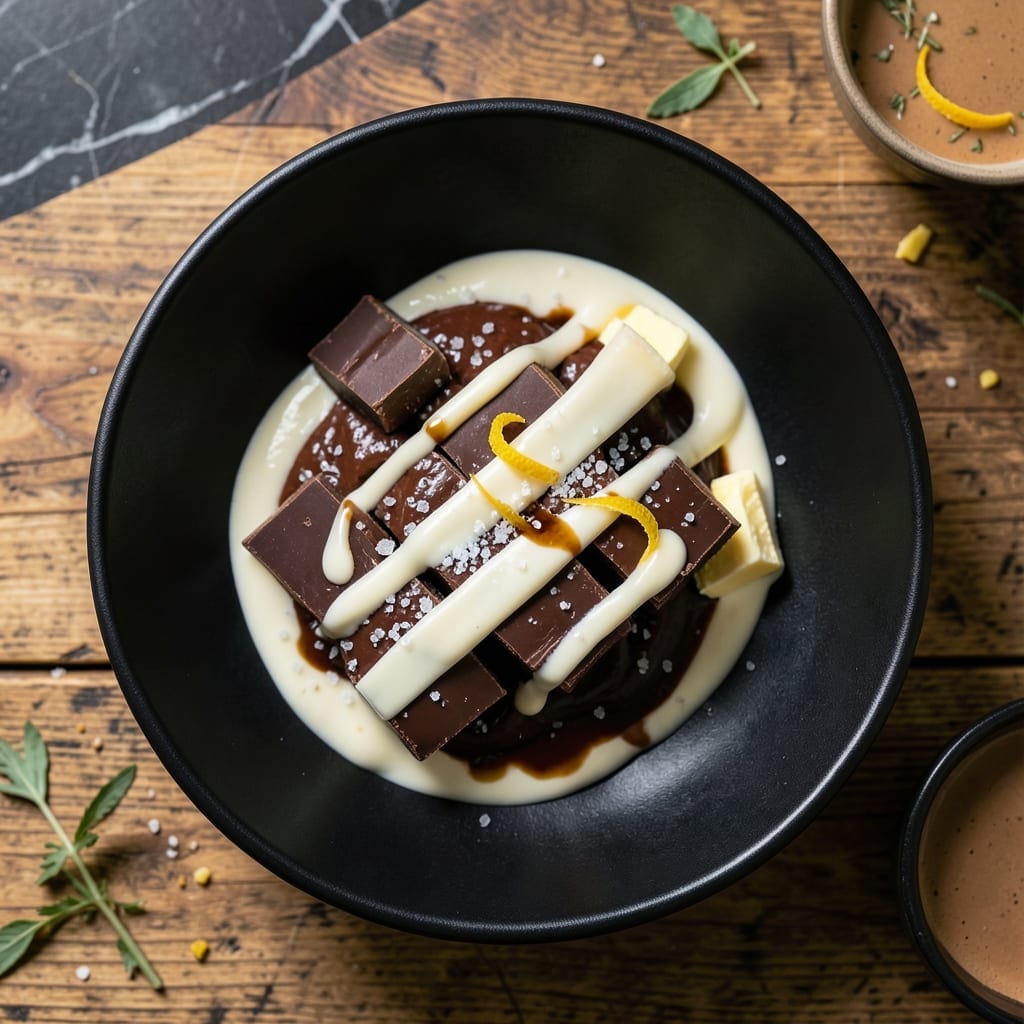
This recipe transforms simple ingredients into a luxurious dark chocolate experience that rivals any artisanal confection. The key lies in precise temperature control and quality cocoa selection.
What makes this creation special is its balance of deep chocolate intensity with a velvety texture. The process requires patience but rewards with restaurant-quality results that melt perfectly on the tongue.
You’ll achieve a glossy finish and a snap that signals proper tempering. The final product offers complex flavor notes that develop beautifully over time.
Serve as a standalone treat or incorporate into more elaborate desserts. This method ensures consistent professional quality every time.
Ingredients for Recipe Dark Chocolate
Luxurious dark chocolate demands quality cocoa and precise tempering for professional results every time.
| Ingredient | Amount | Notes |
|---|---|---|
| High-Quality Dark Chocolate 🍫 | 12 oz | 70% cocoa minimum, chopped |
| Cocoa Butter 🧈 | 4 oz | Food-grade, for tempering |
| Heavy Cream 🥛 | ½ cup | Full-fat for richness |
| Unsalted Butter 🧈 | 2 tbsp | European-style preferred |
| Granulated Sugar 🍚 | 2 tbsp | Fine grain for smoothness |
| Vanilla Extract 🌿 | 1 tsp | Pure, not imitation |
| Sea Salt 🧂 | ¼ tsp | Fine flakes for balance |
| Espresso Powder ☕ | ½ tsp | Enhances chocolate depth |
| Corn Syrup 💧 | 1 tbsp | Light, for gloss |
| Pistachios 🌰 | ¼ cup | Chopped, for garnish |
| Dried Apricots 🍑 | ¼ cup | Chopped, optional addition |
| Gold Leaf ✨ | 1 sheet | Edible, for decoration |
The chocolate quality is non-negotiable here. Valrhona or Callebaut are professional standards, but Ghirardelli 70% works beautifully for home cooks. Cocoa butter must be food-grade—Whole Foods or specialty baking shops carry it. Look for blocks over chips for better melt control. Temperature precision requires an instant-read thermometer, not guesswork.
No cocoa butter? Substitute additional chocolate at a 1:1 ratio, but tempering becomes trickier. Heavy cream can be coconut cream for dairy-free (use full-fat). The espresso powder isn’t optional—it amplifies chocolate flavor without tasting like coffee. Medjool dates can replace the apricots if you prefer chewier texture. Always use pure vanilla; imitation leaves a chemical aftertaste.
Store finished chocolate in a cool, dark place (68-70°F) for up to 2 weeks. Avoid refrigeration—it causes sugar bloom. Wrap tightly in parchment, then foil. Pistachios add crunch but soften over time, so garnish just before serving. The flavor actually improves after 48 hours as notes meld.
Why You’ll Love This Recipe
- 5-Minute Melt: Honestly, it’s just chopping chocolate, heating cream, and stirring—no fancy steps, no stress.
- Velvet Smoothness: That first bite with the cocoa butter and dark chocolate? Rich, deep, and impossibly smooth.
- Gift-Worthy Treat: I bring these truffles to parties, and suddenly I’m everyone’s favorite person.
Step-by-Step Instructions for Dark Chocolate
Master the tempering and molding techniques for professional-quality chocolate with rich, glossy results.
Step 1: Temper the Chocolate Base
Chop the 12 oz High-Quality Dark Chocolate into uniform pieces and combine with 4 oz Cocoa Butter in a heatproof bowl. Place over a pot of barely simmering water, ensuring the bowl doesn’t touch the water to prevent overheating.
Stir gently with a silicone spatula until the chocolate reaches 115°F. Remove from heat and cool to 80°F, then reheat to 88-90°F for proper tempering. This controlled process ensures a stable crystal structure for a glossy finish and satisfying snap.
Step 2: Infuse Flavor and Sweetness
In a small saucepan, warm the 0.5 cup Heavy Cream, 2 tbsp Granulated Sugar, 2 tbsp Unsalted Butter, 1 tsp Vanilla Extract, 0.25 tsp Sea Salt, 0.5 tsp Espresso Powder, and 1 tbsp Corn Syrup over medium heat.
Stir until the sugar dissolves and the mixture just begins to simmer. Remove from heat and let cool slightly before incorporating into the tempered chocolate. This infusion deepens the chocolate’s complexity with subtle coffee notes and balanced sweetness.
Step 3: Combine and Mold
Gradually pour the warm cream mixture into the tempered chocolate, stirring gently in a figure-eight motion until fully emulsified. Avoid vigorous stirring to prevent air bubbles. The mixture should be smooth, glossy, and free of streaks.
Pour into molds or spread evenly on a parchment-lined tray. Tap the molds lightly on the counter to remove air pockets and ensure an even surface. The chocolate will begin to set within 10-15 minutes at room temperature but requires 1 hour to fully harden.
Step 4: Garnish and Finish
Once the chocolate is nearly set but still slightly tacky, sprinkle the 0.25 cup Pistachios and 0.25 cup Dried Apricots evenly over the surface, pressing lightly to adhere. For an elegant touch, apply the 1 sheet Gold Leaf delicately with a dry brush or your fingertips.
Allow the chocolate to fully set at room temperature for 1 hour or refrigerate for 20 minutes for faster results. The finished product should have a glossy sheen, a firm snap, and a velvety texture that melts smoothly on the tongue.
Pro Tips For Making Recipe Dark Chocolate
- Temper the Chocolate: Melt the dark chocolate and cocoa butter over a double boiler at no more than 115°F, then cool to 80°F before reheating to 88°F—I learned this the hard way after my first three batches turned out dull and streaky.
- Use Full-Fat Cream: Skip the light cream; the fat in heavy cream is non-negotiable for that silky texture, especially when balancing the bitterness of high-quality dark chocolate.
- Avoid Water Contact: Even a drop of water can seize your chocolate, so make sure all utensils and bowls are bone-dry before starting—my grandmother swore by this, and she was right.
- Add Butter Last: Fold in the unsalted butter at the very end, off the heat, to keep the mixture smooth and glossy without splitting.
Common Mistakes When Making recipe dark chocolate
Overheating Chocolate
Never exceed 115°F when melting chocolate. Even 5°F higher can cause seizing, creating a grainy texture. I use a digital thermometer clipped to the bowl for precise monitoring. 🌡️
Skipping Tempering
Untempered chocolate lacks that professional snap and gloss. The process of heating, cooling, and reheating to 88-90°F ensures stable cocoa butter crystals. It takes patience but makes all the difference.
Water Contact
Even a drop of water can seize your chocolate. Ensure all utensils are completely dry, and avoid steam from the double boiler. I learned this the hard way—ruined a whole batch once.
Rushing Cooling
Letting chocolate set at room temperature (1 hour) produces the best texture. Refrigerating can cause sugar bloom, creating those white streaks. If you must speed it up, 20 minutes in the fridge is the max.
Poor Stirring
Stir gently in figure-eights to avoid air bubbles. Vigorous stirring incorporates air, leading to a dull finish. Use a silicone spatula for smooth, even mixing.
Ignoring Ingredient Quality
Using low-quality chocolate or cocoa butter ruins the final product. Stick with Valrhona or Callebaut for reliable results. The cocoa percentage matters too—70% minimum for depth of flavor. 💫
Nutrition Facts
Frequently Asked Questions
Can I substitute milk chocolate?
Not recommended for this recipe. Milk chocolate has lower cocoa content and added sugars that disrupt tempering. Stick with 70%+ dark chocolate for best texture and flavor.
What if my chocolate turns dull?
This means it wasn’t tempered properly. Reheat to 88-90°F and cool slowly to 80°F, then reheat to working temperature. The gloss will return.
How should I store leftovers?
Wrap tightly in parchment, then foil. Store in a cool, dark place at 68-70°F for up to 2 weeks. Never refrigerate—it causes sugar bloom.
Can I make this dairy-free?
Yes! Use coconut cream instead of heavy cream, and ensure your dark chocolate is dairy-free. The espresso powder and vanilla remain the same.

- 6 Egg Cake Recipe with Oil: Light as Air With Buttery Moisture - October 4, 2026
- 4 Bean Casserole Recipe: One-Pan Heartiness With Smoky Paprika Depth - October 4, 2026
- 3-Ingredient Keto Mug Cake Recipe: Microwave Magic in 2 Minutes - October 4, 2026