
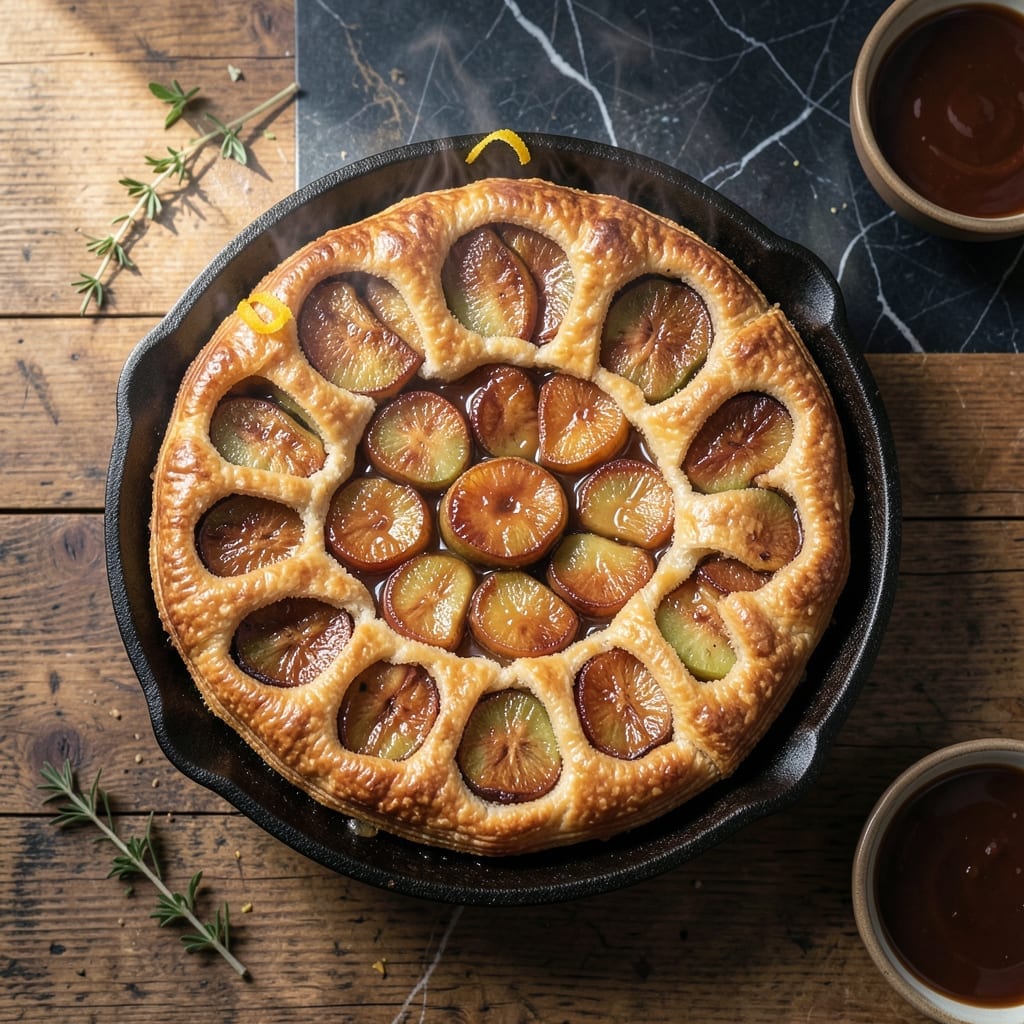
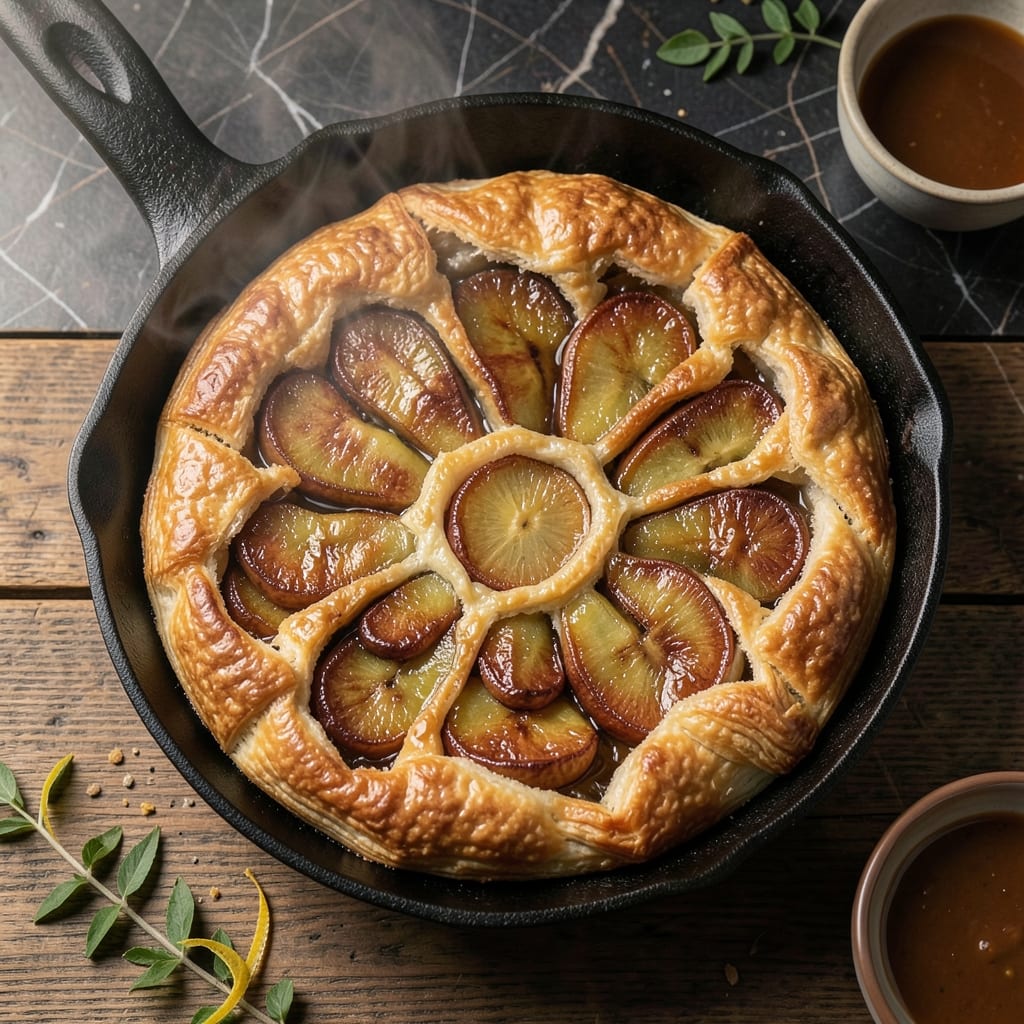
This classic French dessert turns simple ingredients into an elegant caramelized masterpiece. The apples cook in a buttery sugar crust before being inverted to reveal a golden, glossy top.
With a flaky pastry base and tender fruit, this dish proves that the best desserts often come from the most straightforward techniques. The contrast of warm, soft apples against crisp pastry is irresistible.
Ingredients for Recipe for Apple Tatin
Simple, elegant ingredients create this French caramelized classic with minimal effort.
| Ingredient | Amount | Notes |
|---|---|---|
| Granny Smith Apples 🍏 | 6 whole | Peeled, cored, quartered |
| Unsalted Butter 🧈 | ½ cup | Cut into small cubes |
| Granulated Sugar 🍚 | ¾ cup | Divided for caramel and pastry |
| All-Purpose Flour 🌾 | 1 ½ cups | Sifted for pastry dough |
| Ice Water 💧 | ¼ cup | For flaky pastry texture |
| Salt 🧂 | ¼ tsp | Fine sea salt preferred |
| Lemon Juice 🍋 | 1 tbsp | Freshly squeezed for brightness |
| Vanilla Extract 🌿 | 1 tsp | Pure vanilla for depth |
| Ground Cinnamon 🌶️ | ½ tsp | Optional for spiced variation |
| Puff Pastry 🥧 | 1 sheet | Store-bought or homemade |
The apples are the star—Granny Smith holds shape best during caramelization. Look for firm fruit with bright green skin (no bruises or soft spots). Trader Joe’s or a local orchard are great sources. For the butter, Plugrá or Kerrygold give superior richness. The pastry should be all-butter puff for authentic flavor. If making your own, ensure the butter stays cold throughout.
No Granny Smith? Honeycrisp or Braeburn work too, but may soften more. Swap puff pastry for rough puff or shortcrust in a pinch— texture differs but still delicious. For a deeper caramel, use light brown sugar instead of granulated. Skip the cinnamon if you prefer classic French style. The lemon juice prevents browning and brightens the caramel.
Assemble just before baking—puff pastry loses flakiness if left raw too long. Store finished tatin at room temperature for 2 days, or freeze for up to 1 month. Reheat in oven to restore crispness. Always invert while warm to prevent sticking.
Why You’ll Love This Recipe
- One Pan Magic: I love how it all comes together in a single skillet—no extra bowls, no fuss.
- Tart Meets Sweet: The Granny Smith apples keep it bright while the buttery caramel sauce makes it irresistible.
- Crowd Pleaser: Honestly, it’s my go-to for dinner parties or a lazy Sunday dessert.
- Leftovers? Unlikely: Between us, the crispy edges and warm apples disappear fast—but if they don’t, they’re just as good cold.
Step-by-Step Instructions for Apple Tatin
Master this classic French dessert with caramelized apples and buttery pastry in just a few precise steps.
Step 1: Prepare the Apples
Peel, core, and quarter the 6 whole Granny Smith Apples. As you work, place the cut pieces in a bowl with 1 tbsp Lemon Juice and toss to coat. This prevents browning and adds a bright note to balance the caramel.
I always use Granny Smith for their firm texture and tart flavor, which holds up beautifully to the caramelization process. The lemon juice also enhances their natural acidity, creating a perfect contrast with the rich caramel.
Step 2: Create the Caramel Base
In a 9-inch oven-safe skillet, melt the 0.5 cup Unsalted Butter over medium heat. Once melted, add 0.5 cup of the Granulated Sugar (reserving 0.25 cup for later) and cook undisturbed for 5-7 minutes until the mixture turns a deep amber color.
Resist the urge to stir—this can cause the sugar to crystallize. Instead, gently swirl the pan occasionally for even cooking. When the caramel reaches the right color, immediately remove from heat to prevent burning. The mixture will continue cooking from residual heat.
Step 3: Arrange the Apples
Working quickly, carefully arrange the apple quarters in the caramel, rounded side down, in a circular pattern. Pack them tightly—you should be able to fit all 6 whole Granny Smith Apples in a single layer. Sprinkle with the 0.5 tsp Ground Cinnamon if using.
Return the skillet to medium-low heat and cook for 15-20 minutes, occasionally spooning the caramel over the apples. You’ll know they’re ready when the apples soften slightly and the caramel thickens to a syrupy consistency.
Step 4: Add the Pastry and Bake
While the apples cook, roll out the 1 sheet Puff Pastry to a 10-inch circle (about 1/8-inch thick). Place it over the apples, tucking the edges down around the fruit. Prick the pastry all over with a fork to allow steam to escape.
Transfer the skillet to a preheated 400°F oven and bake for 25-30 minutes until the pastry is golden brown and puffed. The edges should be deeply caramelized when you peek through the oven door.
Step 5: Invert and Serve
Remove from the oven and let rest for 5 minutes. This brief pause allows the caramel to thicken slightly, making inversion easier. Place a serving plate larger than your skillet over the top, then carefully and confidently flip the entire assembly.
If any apples stick to the pan, simply rearrange them on the pastry. Let cool for 10 minutes before serving to allow the caramel to set. Serve warm with vanilla ice cream or lightly sweetened whipped cream to complement the tart apples and rich caramel.
Pro Tips For Making Recipe For Apple Tatin
- Caramelize Fully: Let the sugar and butter cook until deep amber—about 8-10 minutes on medium heat. I learned this the hard way after pulling it too early and ending up with pale, watery apples.
- Pack Apples Tight: Arrange the Granny Smith slices in a snug, overlapping spiral. Sounds fussy, but it stops them from shifting while baking and keeps the tatin intact when you flip it.
- Skip the Cold Pan: Always start with a warm skillet when adding the sugar and butter. After burning two batches, I finally figured out cold pans make the sugar seize up and clump.
- Use Ice Water: That 1-2 tablespoons of ice water in the crust isn’t optional—it keeps the flour from turning into a dry, crumbly mess. My grandmother swore by this, and she was right.
Essential Equipment for recipe for apple tatin
Must-Have Tools
To nail the perfect apple tatin, you’ll need a few key items. A 10-inch ovenproof skillet (preferably cast iron or stainless steel) is non-negotiable—this is where the caramelization magic happens 🔥. A sharp chef’s knife and peeler will make prepping the apples a breeze, ensuring even slices for consistent cooking.
Don’t forget a wooden spoon for stirring the caramel and a heatproof spatula to safely flip the tatin onto a serving plate. These basics guarantee a smooth process and professional results.
Nice-to-Have
For extra precision, consider a kitchen scale to measure ingredients accurately, especially sugar and butter. A mandoline slicer can help achieve paper-thin, uniform apple slices for an elegant finish ✨. If you love baking, a pastry brush is handy for coating the puff pastry with egg wash.
An infrared thermometer takes the guesswork out of caramel temperature, ensuring it’s just right before adding the apples. These tools elevate your tatin from great to exceptional.
Budget Alternatives
No ovenproof skillet? Use a heavy-bottomed frying pan (as long as it’s oven-safe) for similar results. A paring knife works in place of a chef’s knife for peeling and slicing, though it may take a bit longer. For caramel stirring, any long-handled spoon will do the trick.
Skip the mandoline and use a steady hand with your knife—just aim for thin, even slices. With these swaps, you can still create a delicious apple tatin without breaking the bank 💡.
Nutrition Facts

- 6 Egg Cake Recipe with Oil: Light as Air With Buttery Moisture - October 4, 2026
- 4 Bean Casserole Recipe: One-Pan Heartiness With Smoky Paprika Depth - October 4, 2026
- 3-Ingredient Keto Mug Cake Recipe: Microwave Magic in 2 Minutes - October 4, 2026