
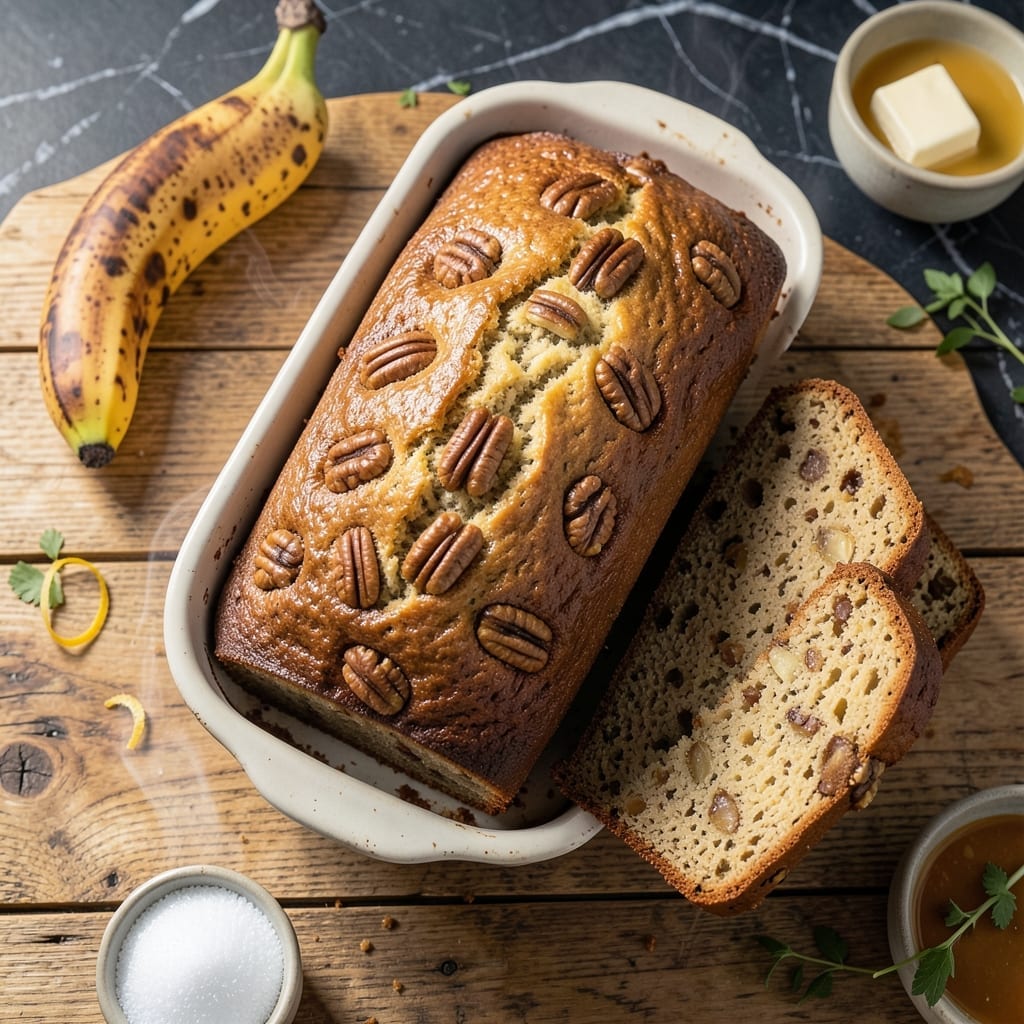
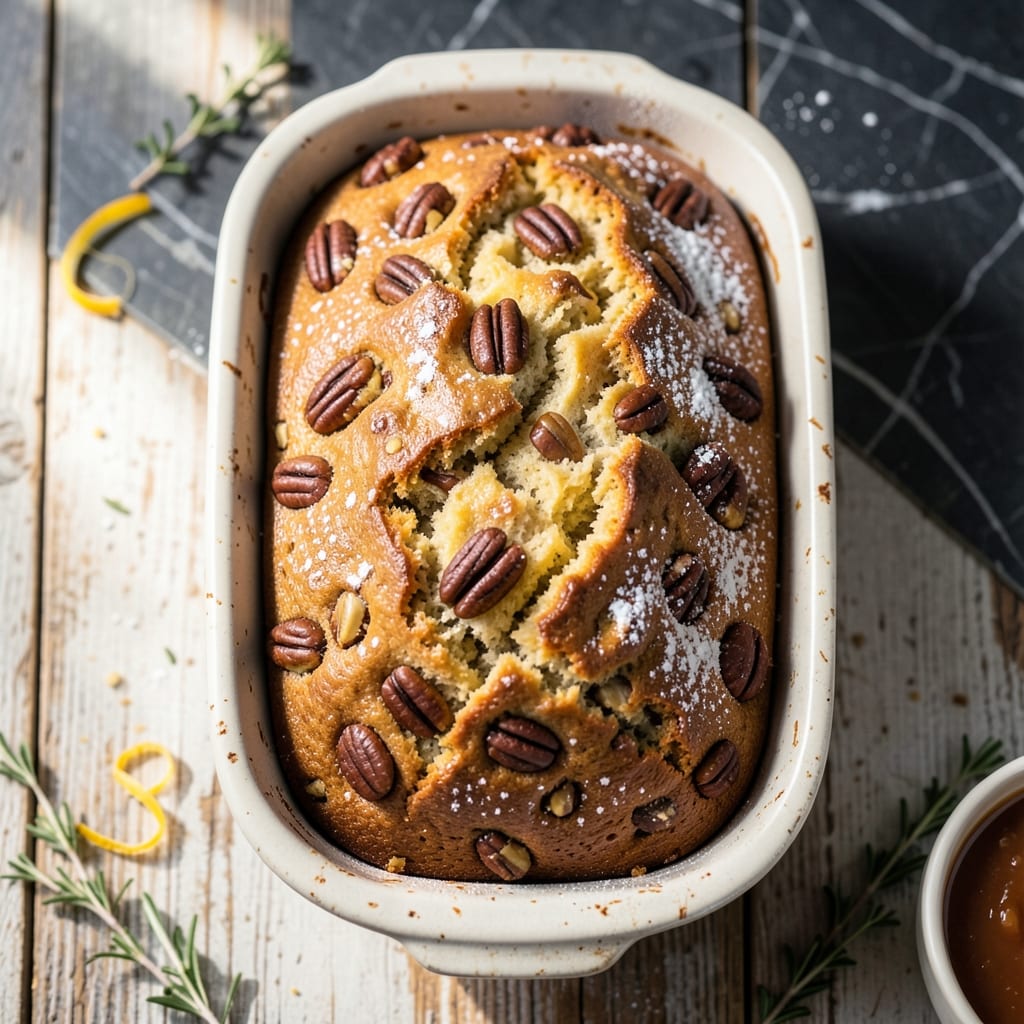
This banana nut bread simplifies baking with self-rising flour for perfect rise and texture. The one-bowl method saves time while delivering rich banana flavor and a satisfying walnut crunch.
With just 10 minutes of prep, you’ll have a moist, golden loaf ready for breakfast or dessert. The walnuts add texture, balancing the sweetness of ripe bananas in every slice.
Ingredients for Recipe for Banana Nut Bread Made with Self Rising Flour
Self-rising flour streamlines this one-bowl banana walnut bread with pantry staples and minimal prep.
| Ingredient | Amount | Notes |
|---|---|---|
| Ripe Bananas 🍌 | 3 whole | Very ripe with brown spots |
| Self-Rising Flour 🌾 | 2 cups | All-purpose substitute requires leavening |
| Granulated Sugar 🧈 | ¾ cup | White or light brown sugar |
| Large Eggs 🥚 | 2 whole | Room temperature preferred |
| Vegetable Oil 🫒 | ½ cup | Or melted butter for richness |
| Vanilla Extract 🌿 | 1 tsp | Pure for best flavor |
| Walnuts 🌰 | 1 cup | Chopped, toasted optional |
| Ground Cinnamon 🌶️ | 1 tsp | Adds warm spice notes |
| Salt 🧂 | ½ tsp | Balances sweetness |
| Baking Soda 🧂 | ½ tsp | Omit if using self-rising flour |
The self-rising flour is the key here—White Lily or Martha White are reliable choices at most grocery stores. For best texture, ensure your bananas are heavily speckled (the blacker the peel, the sweeter the bread). The walnuts should be fresh—Diamond of California brand keeps well in the freezer. If your flour isn’t self-rising, you’ll need to add baking powder and salt separately (but that defeats the purpose of this shortcut).
No walnuts? Pecans or almonds work equally well. Short on bananas? Applesauce at a 1:1 ratio keeps it moist. Brown sugar can replace white for deeper flavor. The oil is flexible—coconut or canola are great swaps. If using butter instead of oil, cool it slightly after melting to avoid cooking the eggs. Self-rising flour substitutes require 1.5 tsp baking powder + 0.5 tsp salt per cup.
This bread stays fresh at room temperature for 2-3 days wrapped tightly. For longer storage, refrigerate up to 1 week or freeze slices for 3 months. Slice before freezing for easy single servings (just toast straight from the freezer).
Why You’ll Love This Recipe
- One Bowl Wonder: I just dump everything in, mix, and pour—no sifting, no fuss, thanks to the self-rising flour doing the work for me.
- Warm Spiced Sweetness: Those ripe bananas and a hint of nuttiness make every slice taste like a cozy hug, and the sugar caramelizes just enough on top.
- Breakfast or Snack: Honestly, I bake a loaf on Sunday and we grab slices all week—equally good with coffee or as a lunchbox treat.
- Pantry Hero: Between us, I always have these ingredients on hand, and it’s the easiest way to use up those spotted bananas before they go bad.
Step-by-Step Instructions for Banana Nut Bread Made With Self Rising Flour
This one-bowl method delivers moist, tender bread with minimal effort and maximum walnut crunch.
Step 1: Prepare and Mash the Bananas
Peel the 3 whole Ripe Bananas and place them in a large mixing bowl. Using a fork, mash them until mostly smooth with a few small lumps remaining. The bananas should be very ripe with brown spots for optimal sweetness and moisture.
I find that mashing them directly in the mixing bowl saves a step and reduces cleanup. The texture should be thick but pourable, almost like a chunky applesauce. This forms the base of your batter and provides natural sweetness.
Step 2: Combine Wet Ingredients
To the mashed bananas, add the 0.75 cup Granulated Sugar, 2 whole Large Eggs, 0.5 cup Vegetable Oil, and 1 tsp Vanilla Extract. Whisk these together until the mixture is uniform and slightly ribbony.
The vegetable oil ensures a moist crumb, while the eggs provide structure. Make sure the eggs are at room temperature to prevent the oil from solidifying when mixed. The vanilla extract adds depth of flavor that complements the bananas beautifully.
Step 3: Incorporate Dry Ingredients and Walnuts
Sift the 2 cups Self-Rising Flour, 1 tsp Ground Cinnamon, 0.5 tsp Salt, and 0.5 tsp Baking Soda directly into the wet mixture. Gently fold everything together with a spatula until just combined—avoid overmixing, as this can make the bread dense.
Now, fold in the 1 cup Walnuts until evenly distributed. The walnuts add texture and a rich, nutty flavor that pairs perfectly with the bananas. If you prefer extra crunch, reserve a small handful of walnuts to sprinkle on top before baking.
Step 4: Bake to Golden Perfection
Pour the batter into a greased 9×5-inch loaf pan and smooth the top with a spatula. Preheat your oven to 350°F and bake for 50-60 minutes, or until a toothpick inserted into the center comes out clean or with a few moist crumbs.
The bread is done when the top is deep golden brown and the edges have pulled away slightly from the pan. If the top begins to brown too quickly, tent the pan loosely with aluminum foil to prevent over-browning.
Step 5: Cool and Serve
Remove the bread from the oven and let it cool in the pan for 10 minutes. Then, transfer it to a wire rack to cool completely. This cooling period allows the bread to set and makes it easier to slice.
Once cooled, slice and serve. The bread will keep at room temperature in an airtight container for up to 3 days. For longer storage, wrap slices individually and freeze for up to 3 months.
Pro Tips For Making Recipe For Banana Nut Bread Made With Self Rising Flour
- Mash Bananas Well: I learned this the hard way—lumpy banana chunks make uneven texture. Use a fork and go for a smooth, pudding-like consistency before mixing.
- Check Your Flour: Self-rising flour loses potency over time. If your batch is older than 6 months, add 1/4 teaspoon extra baking powder per cup to guarantee rise.
- Skip Overmixing: Stir just until the flour disappears—about 15-20 folds. Overmixing develops gluten, and you’ll end up with a dense, chewy loaf instead of tender.
- Test with a Skewer: Start checking at 45 minutes. A clean skewer or toothpick means it’s done, but if it comes out with wet batter, give it another 5-7 minutes.
Health Benefits of This Dish
Rich in Essential Nutrients
This banana nut bread packs a punch with potassium from bananas, which supports heart health and muscle function. 🥗 The walnuts add a dose of omega-3 fatty acids, great for brain health and reducing inflammation. Together, these ingredients make every bite both tasty and nourishing!
Boosts Energy Naturally
Thanks to the natural sugars in bananas and the fiber from nuts, this bread provides a steady energy release. 💪 It’s a perfect snack to keep you going without the crash of refined sugars. Plus, the B vitamins in walnuts help convert food into fuel, making it a smart choice for busy days.
Supports Heart Health
Walnuts are loaded with antioxidants and healthy fats that promote cardiovascular wellness. 📊 Combined with the dietary fiber in bananas, this bread can help lower cholesterol levels and reduce the risk of heart disease. It’s a delicious way to take care of your ticker!
Nutrition Facts

- 6 Egg Cake Recipe with Oil: Light as Air With Buttery Moisture - October 4, 2026
- 4 Bean Casserole Recipe: One-Pan Heartiness With Smoky Paprika Depth - October 4, 2026
- 3-Ingredient Keto Mug Cake Recipe: Microwave Magic in 2 Minutes - October 4, 2026