
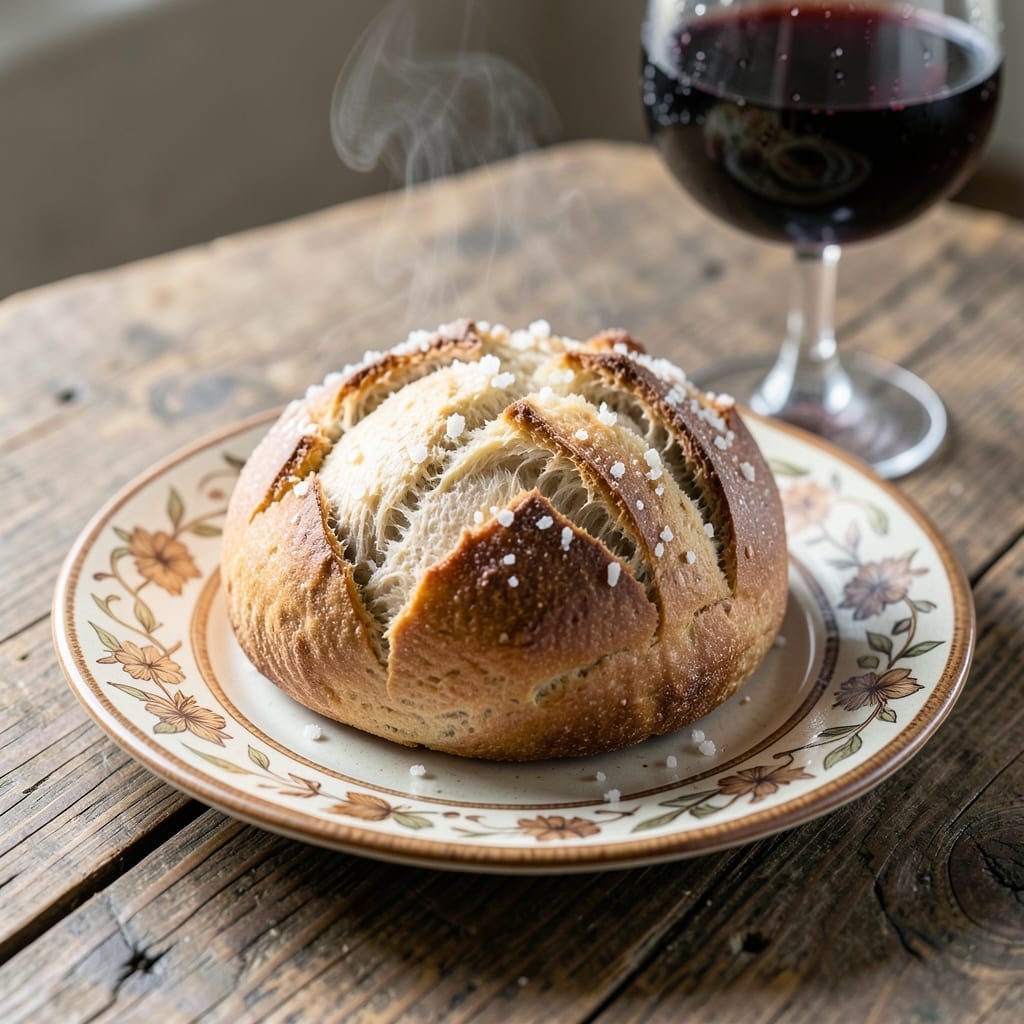
This no-yeast bread delivers perfectly fluffy results with minimal effort. Self-rising flour does all the work, eliminating the need for proofing or waiting.
You’ll have a warm, golden loaf ready in under an hour. The texture is soft yet sturdy, ideal for sandwiches or serving with soup.
Ingredients for Recipe for Bread Made with Self Rising Flour
A short list of pantry staples and fridge basics brings this loaf together effortlessly.
| Ingredient | Amount | Notes |
|---|---|---|
| Self-Rising Flour 🌾 | 3 cups | All-purpose self-rising variety |
| Plain Greek Yogurt 🥛 | 1 cup | Full-fat for moisture and tenderness |
| Milk 🥛 | ½ cup | Whole milk recommended |
| Honey 🍯 | 2 tbsp | For subtle sweetness |
| Unsalted Butter 🧈 | 2 tbsp | Melted, for richness |
| Large Egg 🥚 | 1 whole | Room temperature preferred |
| Salt 🧂 | ½ tsp | Fine sea salt |
| Vanilla Extract 🌿 | 1 tsp | Pure for best flavor |
| Baking Powder 🧂 | 1 tsp | Ensures extra lift |
| Olive Oil 🫒 | 1 tbsp | For greasing the pan |
The flour is the backbone here. Self-rising flour already has the leavening built in, so no need to add baking powder separately (though I still toss in a teaspoon for extra lift). Look for White Lily or Martha White at your grocery store—both are reliable. The Greek yogurt adds moisture and a slight tang, balancing the sweetness from the honey. Full-fat is ideal, but 2% works in a pinch (just don’t go fat-free).
No Greek yogurt? Sour cream at the same amount gives a similar texture. Out of honey? Maple syrup or granulated sugar can step in—just dissolve the sugar in the warm milk first. If you’re avoiding dairy, a vegan yogurt alternative works, but the texture might be slightly denser. The egg helps bind everything, but you can skip it if needed (the bread will just be a tad crumbly).
This loaf stays fresh wrapped in foil at room temperature for 2 days. For longer storage, slice and freeze—it toasts up beautifully. Keeps in the freezer for 3 months (worth the extra effort to double the batch).
Why You’ll Love This Recipe
- No Fuss Mixing: I just stir the self-rising flour, Greek yogurt, milk, honey, and melted butter together—no yeast, no proofing, no waiting.
- Sweet and Tangy: The honey adds a gentle sweetness while the Greek yogurt gives it that subtle tang I crave in every bite.
- Breakfast to Brunch: It’s just as good toasted for a quick breakfast as it is warm with jam for a lazy weekend brunch.
- Budget Stretch: A bag of self-rising flour and a tub of yogurt make two loaves for the price of one bakery bread.
Step-by-Step Instructions for Bread Made With Self Rising Flour
This no-yeast method comes together quickly with minimal effort required.
Step 1: Combine Wet Ingredients
In a large mixing bowl, whisk together the 1 cup Plain Greek Yogurt, 0.5 cup Milk, 2 tbsp Honey, melted 2 tbsp Unsalted Butter, 1 whole Large Egg, 0.5 tsp Salt, and 1 tsp Vanilla Extract until smooth.
The honey adds subtle sweetness while the yogurt and butter create a tender crumb. Make sure your butter is fully melted but not hot—you want it to incorporate smoothly without cooking the egg.
I always use room temperature egg here because it blends more evenly into the wet mixture, preventing any cold spots that could affect the final texture.
Step 2: Create the Dry Mixture
In a separate bowl, combine the 3 cups Self-Rising Flour and 1 tsp Baking Powder. The self-rising flour already contains baking powder and salt, but the extra teaspoon ensures a good rise for this denser bread.
Whisk these dry ingredients thoroughly to distribute the baking powder evenly. This step prevents pockets of concentrated leavening that could create uneven texture in your finished loaf.
Step 3: Mix and Prepare the Dough
Gradually add the dry ingredients to the wet mixture, stirring with a wooden spoon or silicone spatula until just combined. The dough will be thick and slightly sticky—don’t overmix or you’ll develop too much gluten, making the bread tough.
You’ll know it’s ready when you see no more dry flour streaks, but the surface will still look slightly shaggy. This is perfect. The batter should be thick enough to hold its shape when scooped.
Step 4: Bake to Golden Perfection
Preheat your oven to 375°F. Grease a 9×5-inch loaf pan with the 1 tbsp Olive Oil, making sure to coat all surfaces. This prevents sticking and helps create a golden crust.
Transfer the dough to the prepared pan, smoothing the top with a wet spatula. Bake for 45-50 minutes or until the top is golden brown and a toothpick inserted in the center comes out clean with just a few moist crumbs.
If the top browns too quickly, tent loosely with aluminum foil during the last 15 minutes of baking. The internal temperature should reach 200°F when fully baked.
Step 5: Cool and Serve
Remove the bread from the oven and let it cool in the pan for 10 minutes. This allows the structure to set before removing it to a wire rack to cool completely.
Resist the temptation to slice too soon—the bread continues to cook internally as it cools. Wait at least 30 minutes before slicing for the best texture. The crust should be firm to the touch and the loaf should sound hollow when tapped on the bottom.
Serve warm or at room temperature. This bread has a tender crumb with a slightly crisp crust, and the subtle sweetness from the honey makes it perfect for toast or sandwiches.
Pro Tips For Making Recipe For Bread Made With Self Rising Flour
- Warm the Milk: Heat the milk to just lukewarm—around 110°F—before mixing. I learned this the hard way after killing my yeast-free rise by using cold milk straight from the fridge.
- Use Full-Fat Yogurt: Skip the low-fat Greek yogurt here; the full-fat version adds richness and tenderness to the crumb. After making dry, dense loaves with lighter yogurt, I finally switched and never looked back.
- Don’t Overwork the Dough: Mix just until the flour disappears—over-kneading toughens the bread since self-rising flour already has the leavening built in. My first few loaves were bricks because I treated it like traditional yeast dough.
- Brush with Melted Butter: Right after pulling the bread from the oven, brush the top with melted unsalted butter. Sounds simple, but it adds a glossy crust and extra flavor without overpowering the honey’s sweetness.
Pro Cooking Tips for This Recipe
💡 Heat Control
Preheat your oven to 425°F (220°C) for the best rise. Self-rising flour bread bakes faster than traditional loaves, so avoid opening the oven door during the first 15 minutes. This ensures a steady heat for a golden, even crust.
🌡️ Texture Tips
For a tender crumb, avoid overmixing the dough. Stir just until the ingredients combine. If the top browns too quickly, tent the loaf with foil during the last 10 minutes of baking to prevent over-browning.
✨ Flavor Boosters
Enhance flavor by brushing the top with melted butter or olive oil before baking. Add a pinch of sugar or honey to the dough for subtle sweetness, or sprinkle seeds like sesame or poppy on top for extra crunch.
🎯 Timing Secrets
Self-rising flour speeds up the process, so check for doneness at 20-25 minutes. The bread is ready when it sounds hollow when tapped or reaches an internal temp of 190°F (88°C). Let it cool for 10 minutes before slicing to preserve texture.
Nutrition Facts

- 6 Egg Cake Recipe with Oil: Light as Air With Buttery Moisture - October 4, 2026
- 4 Bean Casserole Recipe: One-Pan Heartiness With Smoky Paprika Depth - October 4, 2026
- 3-Ingredient Keto Mug Cake Recipe: Microwave Magic in 2 Minutes - October 4, 2026