
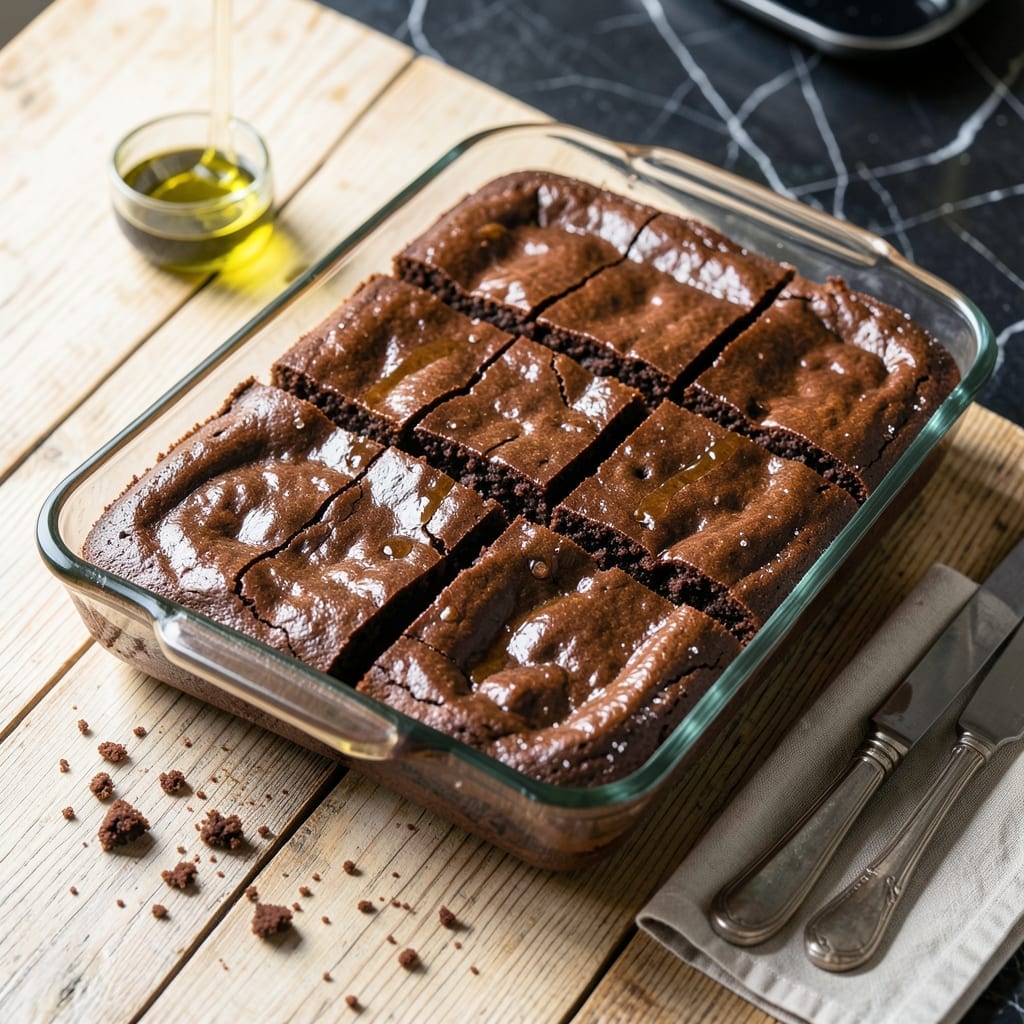
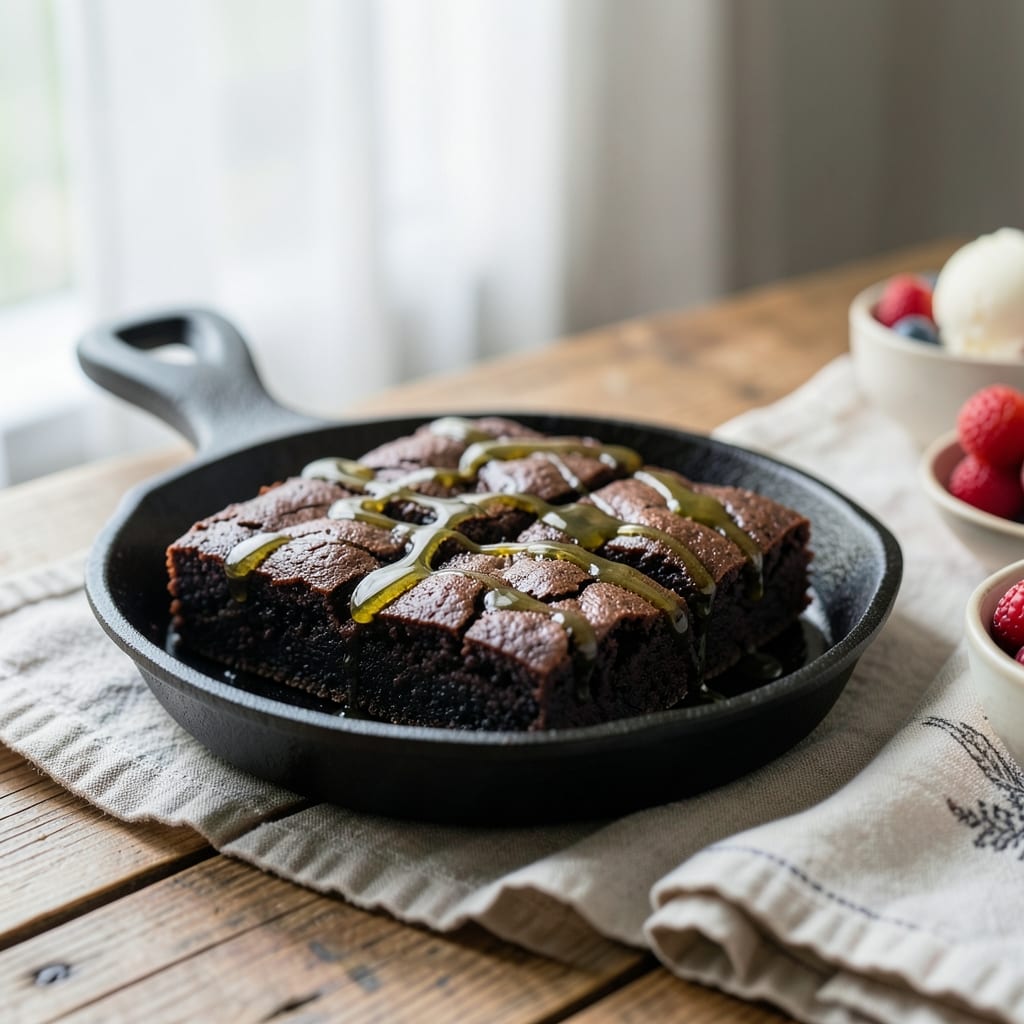
There’s nothing quite like the deep, chocolatey richness of brownies made from scratch. This recipe delivers a fudgy center with that coveted crackly top, all with simple pantry staples.
No boxed mixes here—just real cocoa, butter, and sugar transformed into a dessert that outshines any bakery version. The secret lies in precise mixing and baking for perfect texture every time.
Ingredients for Recipe for Brownies Made from Scratch
Simple pantry staples transform into rich, fudgy brownies with crackly tops.
| Ingredient | Amount | Notes |
|---|---|---|
| Unsalted Butter 🧈 | 1 cup | Melted and cooled slightly |
| Granulated Sugar 🍚 | 2 cups | Fine white sugar preferred |
| Large Eggs 🥚 | 4 whole | Room temperature for best texture |
| Vanilla Extract 🌿 | 2 tsp | Pure vanilla, not imitation |
| All-Purpose Flour 🌾 | 1 cup | Spoon and level, do not scoop |
| Unsweetened Cocoa Powder 🍫 | ¾ cup | High-quality Dutch-process preferred |
| Salt 🧂 | ½ tsp | Fine sea salt or table salt |
| Baking Powder 🧂 | ¼ tsp | Ensures proper rise |
| Semi-Sweet Chocolate Chips 🍫 | 1 cup | Optional for extra richness |
| Chopped Walnuts 🌰 | ½ cup | Optional, lightly toasted |
[recipeingredientscaler]
The cocoa powder is critical for that deep chocolate flavor. Dutch-process cocoa (like Hershey’s Special Dark or Guittard) delivers the richest results, but natural cocoa works too. Use a high-quality brand—cheap cocoa tastes chalky. The butter should be unsalted so you control the salt content. Most supermarkets carry everything you need in the baking aisle.
No Dutch-process cocoa? Use natural cocoa plus a pinch of baking soda to mimic the effect. Out of semi-sweet chips? Bittersweet chocolate chopped into chunks works perfectly. For a gluten-free version, swap the all-purpose flour for a 1:1 gluten-free blend. The walnuts can be omitted or replaced with pecans (or leave them out entirely for nut-free).
Store brownies in an airtight container at room temperature for up to 5 days. For longer storage, freeze for up to 3 months. Slice before freezing for easy single servings. The texture improves after a day as the flavors meld.
Why You’ll Love This Recipe
- One Bowl Wonder: I just dump melted butter, sugar, eggs, and vanilla in a single bowl, stir in the flour, and we’re halfway to dessert.
- Fudgy Perfection: That buttery richness with the vanilla depth? It’s the reason my kids hover near the oven.
- Feeds a Crowd: Between us, a 9×13 pan disappears fast at potlucks, picnics, or lazy Sunday afternoons.
- Budget Friendly: All-purpose flour and everyday sugar keep my wallet happy and my cookie jar full.
Step-by-Step Instructions for Brownies Made From Scratch
Master these precise techniques for dense, fudgy brownies with that coveted crackly top.
Step 1: Melt and Combine the Butter and Sugar
Begin by melting the 1 cup Unsalted Butter in a saucepan over low heat, then transfer it to a large mixing bowl. Allow it to cool slightly for 5 minutes—it should be warm but not hot to the touch.
Add the 2 cups Granulated Sugar to the melted butter and whisk vigorously until fully incorporated. This creates a glossy base that contributes to the signature crackly top. The mixture should be smooth with no sugar granules visible.
Step 2: Incorporate Eggs and Vanilla
Add the 4 whole Large Eggs, one at a time, whisking well after each addition. This gradual incorporation ensures a stable emulsion and prevents the mixture from curdling. The batter will thicken noticeably and become pale in color.
Stir in the 2 tsp Vanilla Extract until evenly distributed. I always use pure vanilla extract—its complex flavor profile enhances the chocolate depth. This is the stage where the batter should be thick and ribbon-like when the whisk is lifted.
Step 3: Sift and Fold in Dry Ingredients
In a separate bowl, sift together the 1 cup All-Purpose Flour, 0.75 cup Unsweetened Cocoa Powder, 0.5 tsp Salt, and 0.25 tsp Baking Powder. Sifting prevents lumps and ensures even distribution of the leavening agent.
Gently fold the dry ingredients into the wet mixture using a silicone spatula. Mix just until no flour streaks remain—overmixing develops gluten and results in cakey brownies. The batter will be thick and fudgy at this point.
Step 4: Add Chocolate Chips and Nuts
Fold in the 1 cup Semi-Sweet Chocolate Chips until evenly distributed. For extra richness, I reserve a handful to sprinkle on top before baking. If using, fold in the 0.5 cup Chopped Walnuts as well.
The chopped walnuts should be lightly toasted beforehand to enhance their nuttiness. This step adds texture contrast to the dense brownie base. The final batter will be thick, glossy, and studded with chocolate and nuts.
Step 5: Bake to Fudgy Perfection
Pour the batter into a parchment-lined 9×13-inch baking pan, spreading it evenly with the spatula. Bake in a preheated 350°F oven for 25-30 minutes. The brownies are done when the edges pull away slightly from the pan and a toothpick inserted in the center comes out with a few moist crumbs.
Avoid overbaking—they’ll continue setting as they cool. Let them cool completely in the pan on a wire rack for 1 hour before slicing. This ensures clean cuts and allows the flavors to meld. The top should have a beautiful, crackly crust with a fudgy interior.
Pro Tips For Making Recipe For Brownies Made From Scratch
- Melt Butter Slowly: Use low heat to melt the butter—high heat can cause it to separate or burn, which ruins the texture of your brownies.
- Room-Temp Eggs: Take the eggs out 30 minutes before baking; they’ll incorporate better into the batter and give you a smoother, richer result.
- Don’t Overmix: Once you add the flour, stir just until combined—overmixing develops gluten, and nobody wants cakey brownies.
- Pull Early: Take them out when a toothpick has a few moist crumbs, not clean; they’ll finish setting as they cool and stay fudgy.
Serving Suggestions for This Dish
🥘 Plating Styles
For a casual feel, serve your brownies directly from the baking pan, cut into squares and stacked on a rustic wooden board. A formal presentation calls for individual plates with a single brownie, dusted with powdered sugar and paired with a scoop of vanilla ice cream. For a buffet, arrange them in a tiered stand or a decorative platter for easy access.
🍫 Garnishing Techniques
Enhance the visual appeal with drizzled chocolate or caramel sauce for a glossy finish. Fresh berries like raspberries or strawberries add a pop of color and tartness. For a touch of elegance, sprinkle with edible gold leaf or crushed nuts like pecans or hazelnuts. A light dusting of powdered sugar or cocoa powder can also elevate the presentation.
🔪 Portion Sizes
For individual servings, cut the brownies into 2×2-inch squares, perfect for single portions. If serving family-style, larger 3×3-inch pieces work well, allowing guests to share. For events, consider mini brownie bites (1×1-inch) for easy, bite-sized treats that guests can enjoy without a plate.
⏰ Serving Temperature
Let your brownies cool completely in the pan for at least 1 hour before slicing to ensure clean cuts and a firm texture. For the best flavor, serve them at room temperature, where the fudgy richness truly shines. If you prefer a warm treat, reheat individual pieces in the microwave for 10-15 seconds and pair with a scoop of ice cream for a decadent experience.
Nutrition Facts

- 6 Egg Cake Recipe with Oil: Light as Air With Buttery Moisture - October 4, 2026
- 4 Bean Casserole Recipe: One-Pan Heartiness With Smoky Paprika Depth - October 4, 2026
- 3-Ingredient Keto Mug Cake Recipe: Microwave Magic in 2 Minutes - October 4, 2026