
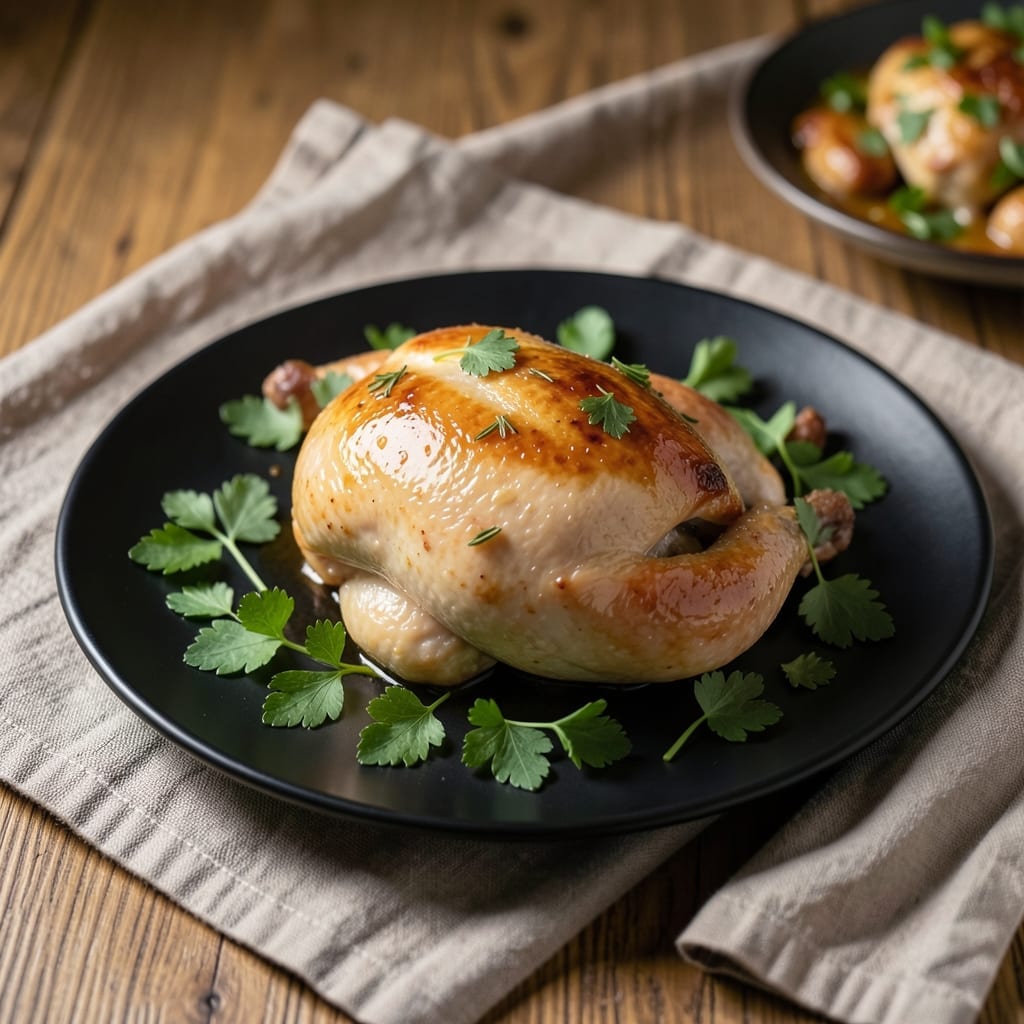
Preserving chicken through canning is a practical way to extend its shelf life while maintaining quality and safety.
This method ensures you have ready-to-use protein for quick meals, with a process that follows tested preservation guidelines.
Ingredients for Recipe for Canning Chicken
Quality chicken, canning salt, and a few pantry staples create this safe preservation method.
| Ingredient | Amount | Notes |
|---|---|---|
| Chicken Breast 🍗 | 4 lb | Boneless, skinless, trimmed of fat |
| Chicken Thighs 🍗 | 2 lb | Boneless, skinless, trimmed of fat |
| Canning Salt 🧂 | 1 tsp | Non-iodized, per quart jar |
| Water 💧 | 12 cups | Boiling, for hot pack method |
| White Vinegar 🍶 | 2 tbsp | 5% acidity, for acidification |
| Black Peppercorns 🌶️ | 1 tsp | Optional, for flavor |
| Bay Leaves 🍃 | 2 whole | Optional, for aroma |
| Garlic Cloves 🧄 | 4 cloves | Peeled, optional for flavor |
| Onion 🧅 | 1 whole | Peeled, quartered, optional |
| Lemon Juice 🍋 | 2 tbsp | Bottled, 5% acidity, for acidification |
The chicken quality is paramount for safe canning. Use fresh, high-quality chicken breast and thighs—avoid previously frozen if possible. Purchase from reputable butchers or grocery stores like Whole Foods or Publix for assurance of freshness. Trim all visible fat, as it can affect preservation. For best results, process within 2-3 days of purchase (the fresher, the better the final product).
Canning salt is essential—iodized table salt can discolor the chicken. For acidification, both white vinegar and bottled lemon juice work (never fresh, as acidity varies). No vinegar? Lemon juice at double the amount substitutes well. Optional flavorings like garlic, onion, or bay leaves add depth but aren’t required for safety. Always follow USDA-approved guidelines.
Processed jars are shelf-stable for 12-18 months in a cool, dark place. Once opened, refrigerate and use within 3-4 days. Label jars with the date and rotate your stock—oldest first. Never store near heat sources or in direct sunlight (it degrades quality faster).
Why You’ll Love This Recipe
- Set It and Forget: I toss the chicken, salt, and vinegar in jars, seal them, and the pressure canner does the rest—no babysitting required.
- Juicy Every Time: The vinegar keeps the breast meat tender and the thighs fall-apart rich, so it never tastes dried out.
- Pantry Superhero: I pull a jar for quick tacos, soups, or casseroles without thawing or last-minute grocery runs.
- Budget Stretcher: A bulk pack of chicken turns into shelf-stable meals that last months, saving me both money and fridge space.
Step-by-Step Instructions for Canning Chicken
This method ensures safe, shelf-stable chicken using proper pressure canning techniques.
Step 1: Prepare the Chicken and Jars
Begin by thoroughly washing the 4 lb Chicken Breast and 2 lb Chicken Thighs under cold water. Trim any remaining fat or connective tissue, then cut into uniform pieces that fit comfortably into your canning jars.
Sterilize your quart jars and lids by boiling them for 10 minutes. Keep them hot until ready to use. This step prevents contamination and ensures proper sealing. Meanwhile, bring the 12 cups Water to a boil for the hot pack method.
Step 2: Pack the Chicken into Jars
Divide the chicken pieces evenly among the prepared jars, leaving 1-inch headspace at the top. For each quart jar, add 1 tsp Canning Salt, ½ tsp Black Peppercorns, ½ Bay Leaf, 1 clove Garlic Cloves, and ¼ whole Onion if using these optional flavorings.
Ladle the boiling 12 cups Water over the chicken, maintaining the 1-inch headspace. Add ½ tbsp White Vinegar and ½ tbsp Lemon Juice to each jar to ensure proper acidification. Remove any air bubbles by gently running a plastic spatula around the inside of the jar.
Step 3: Process in a Pressure Canner
Wipe the rims of the jars with a clean, damp cloth to ensure a good seal. Place the lids on the jars and screw on the bands until fingertip-tight. Do not overtighten, as air needs to escape during processing.
Place the jars in your pressure canner, ensuring they are not touching each other. Follow your canner’s manufacturer instructions for adding water and processing. For quart jars, process at 10-11 PSI for 90 minutes for weighted gauge canners or 11 PSI for 75 minutes for dial gauge canners, adjusting for altitude as necessary.
Step 4: Cool and Store
Once processing is complete, turn off the heat and allow the canner to cool naturally. Do not force-cool by running cold water over it, as this can cause jars to break. When the pressure returns to zero, wait an additional 5 minutes before opening the canner.
Remove the jars and place them on a towel-lined countertop to cool completely, undisturbed, for 12-24 hours. After cooling, check the seals by pressing the center of the lid—if it doesn’t pop, the jar is sealed. Label and store in a cool, dark place for up to 12 months.
Pro Tips For Making Recipe For Canning Chicken
- Use Thighs for Moisture: I learned this the hard way—chicken breast dries out in the canner. Thighs stay juicy and shred better after processing.
- Pre-Cook Slightly: Raw chicken can leave too much fat in the jars, so par-boil the pieces for 5-10 minutes first to render some out.
- Skip the Iodized Salt: Canning salt is pure and won’t cloud your brine, while iodized salt can turn the liquid murky and affect flavor.
- Add Vinegar Last: Pour the white vinegar into the jars right before sealing to prevent the acid from toughening the meat during prep.
Creative Variations of This recipe for canning chicken
🔥 Spicy Texas Style
Kick up the heat with a Texas-inspired twist! Add 1 tablespoon of smoked paprika, 1 teaspoon of cayenne pepper, and 2 cloves of minced garlic to each quart jar before packing the chicken. Use a hot brine made with 1 quart of water, 1/4 cup of apple cider vinegar, and 1 tablespoon of canning salt for a tangy, smoky flavor. Process as usual, and enjoy the bold, spicy kick in soups, tacos, or casseroles!
🍯 Sweet and Savory Fusion
For a unique flavor profile, try a sweet and savory blend. Mix 2 tablespoons of honey, 1 tablespoon of soy sauce, and 1 teaspoon of ground ginger into your brine. Add 1/2 teaspoon of black peppercorns and 1 bay leaf per jar for depth. This variation pairs perfectly with Asian-inspired dishes or as a topping for rice bowls.
🥗 Healthy Lighter Version
Cut back on sodium without sacrificing flavor. Use a low-sodium brine with 1 tablespoon of canning salt per quart of water. Add 1 teaspoon of lemon zest, 1 sprig of fresh rosemary, and 3-4 black peppercorns per jar for a bright, herbaceous taste. This lighter version is ideal for salads, wraps, or light meals.
🍂 Seasonal Twist
Embrace the flavors of fall with a cozy seasonal blend. Include 1 cinnamon stick, 2 cloves, and 1 star anise pod in each jar. Use a brine with 1/4 cup of apple cider and 1 tablespoon of brown sugar for warmth. This variation shines in hearty stews or as a filling for autumn-themed pies.
Nutrition Facts

- 6 Egg Cake Recipe with Oil: Light as Air With Buttery Moisture - October 4, 2026
- 4 Bean Casserole Recipe: One-Pan Heartiness With Smoky Paprika Depth - October 4, 2026
- 3-Ingredient Keto Mug Cake Recipe: Microwave Magic in 2 Minutes - October 4, 2026