
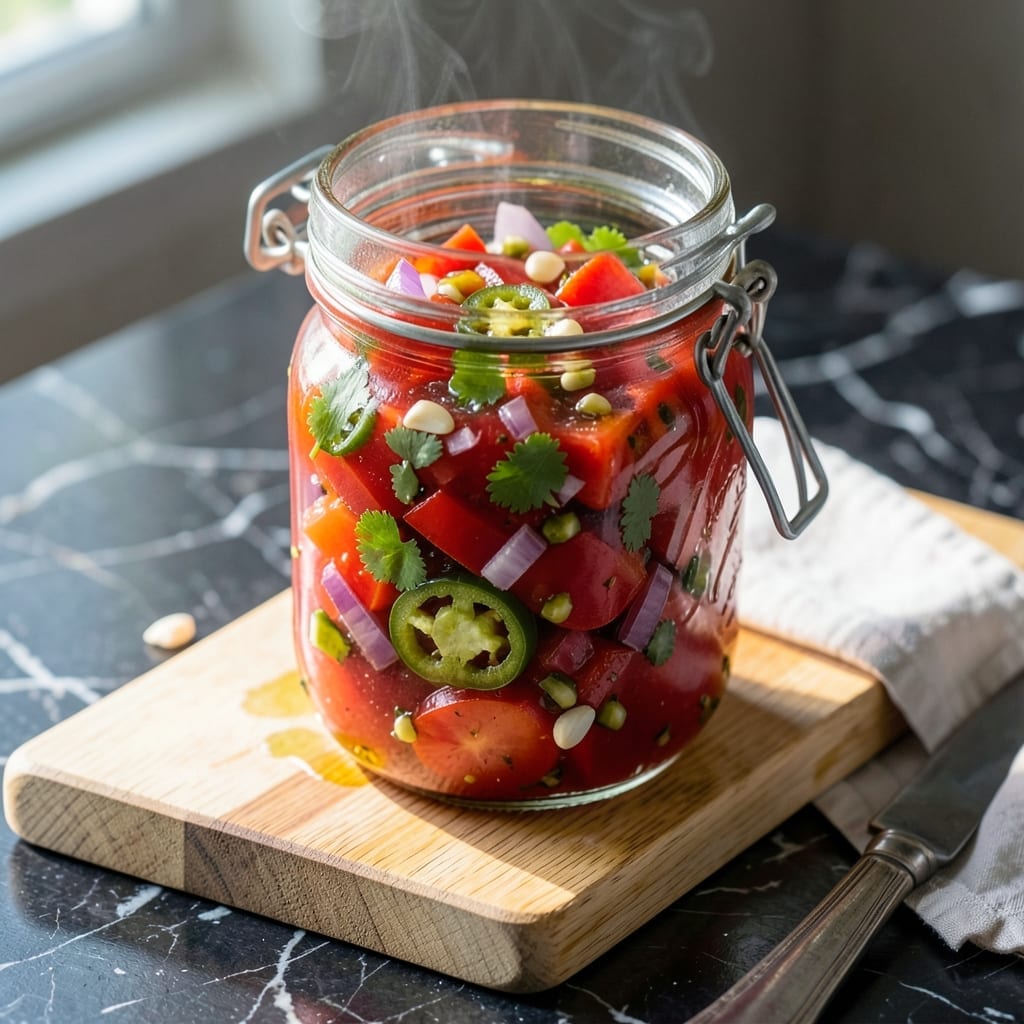
Preserving garden-fresh salsa at home is both rewarding and practical. This proven method locks in summer flavors while ensuring safe canning for long-term storage.
The process combines ripe tomatoes, peppers, and onions with simple seasonings. A water bath ensures the salsa remains shelf-stable without preservatives.
You’ll end up with a bright, zesty condiment that tastes better than store-bought. The texture stays vibrant, and the flavors deepen over time.
Perfect for gifting or keeping on hand for quick meals. Follow these steps for consistent, homemade results every time.
Ingredients for Recipe for Canning Homemade Salsa
Fresh garden vegetables and bright seasonings create this shelf-stable condiment with vibrant, lasting flavor.
| Ingredient | Amount | Notes |
|---|---|---|
| Roma Tomatoes 🍅 | 5 lb | Ripe, cored, peeled, chopped |
| Jalapeño Peppers 🌶️ | 4 whole | Seeds removed for milder heat |
| Red Onion 🧅 | 2 whole | Finely diced for texture |
| Garlic Cloves 🧄 | 6 cloves | Minced for even distribution |
| Cilantro 🌿 | 1 cup | Fresh, chopped, packed |
| Lime Juice 🍋 | ½ cup | Freshly squeezed for acidity |
| Apple Cider Vinegar 💧 | ¼ cup | 5% acidity required for canning |
| Salt 🧂 | 1 tbsp | Canning or pickling salt preferred |
| Ground Cumin 🌿 | 1 tsp | Toasted for enhanced flavor |
| Black Pepper 🌶️ | ½ tsp | Freshly ground preferred |
The tomatoes are critical here—Roma or paste tomatoes have the right meat-to-juice ratio for canning. Look for firm, unblemished produce at peak ripeness; farmers markets often have the best selection in late summer. Peppers should be glossy and free of soft spots. For onions, red varieties add color and mild bite. Always verify your vinegar is labeled 5% acidity—this is non-negotiable for safe preservation.
Need to adjust the heat? Reduce jalapeño seeds for milder salsa or add a pinch of cayenne for more kick. Short on cilantro? Flat-leaf parsley at half the amount works in a pinch (though the flavor differs). No fresh lime juice? Bottled works but use a trusted brand like Santiago or ReaLime. The cumin can be omitted if you dislike its earthy note, but it adds depth worth keeping.
Processed salsa keeps at room temperature for 12-18 months if properly canned and sealed. Once opened, refrigerate and use within 1 month. For best quality, store jars in a cool, dark place—pantries or cellars work perfectly. Always check seals before storing; any unsealed jars go straight to the fridge.
Why You’ll Love This Recipe
- Minimal Chopping: I love that it’s just tomatoes, peppers, and onion—no fancy knife skills needed.
- Fresh Pop: The cilantro and jalapeños give it that bright, zesty kick I can’t get from store-bought.
- Pantry Staple: Honestly, I can it in batches and have salsa ready for tacos, eggs, or chips anytime.
- Budget Friendly: Roma tomatoes are cheap in summer, and a big batch costs pennies compared to jarred.
Step-by-Step Instructions for Canning Homemade Salsa
Follow this tested method for safe, shelf-stable salsa that preserves garden-fresh flavor.
Step 1: Prepare and Blanch the Roma Tomatoes
Begin by coring and peeling the 5 lb Roma Tomatoes. To easily remove skins, score an X on the bottom of each tomato and blanch in boiling water for 30-60 seconds until the skin loosens. Immediately transfer to an ice bath to stop cooking.
The skins will slip off effortlessly with a paring knife or your fingers. Chop the tomatoes into uniform pieces for consistent texture in the finished salsa. This preparation ensures a smooth base and removes any bitter compounds from the skins.
Step 2: Process Aromatics and Peppers
Finely dice the 2 whole Red Onion to achieve a uniform texture. For the 4 whole Jalapeño Peppers, remove seeds and membranes for milder heat, then mince finely. Mince the 6 cloves Garlic Cloves until it resembles a paste for even distribution throughout the salsa.
Combine these aromatics in a large pot with the chopped tomatoes. The small, consistent pieces ensure every bite delivers balanced flavor without overwhelming heat or texture. Stir in the 1 tsp Ground Cumin at this stage to bloom its earthy notes.
Step 3: Combine and Simmer the Salsa Base
Add the 1 cup Cilantro, 0.5 cup Lime Juice, 0.25 cup Apple Cider Vinegar, 1 tbsp Salt, and 0.5 tsp Black Pepper to the pot. The vinegar and lime juice provide the necessary acidity for safe canning, while the cilantro adds freshness.
Bring the mixture to a boil, then reduce heat to maintain a gentle simmer. Cook for 10-15 minutes, stirring occasionally, until the salsa thickens slightly and the flavors meld. The liquid should reduce just enough to coat the back of a spoon lightly.
Step 4: Process for Canning
Ladle the hot salsa into sterilized jars, leaving ½-inch headspace. Remove any air bubbles by running a clean knife or bubble tool around the inside of each jar. Wipe the rims with a clean, damp cloth to ensure a proper seal.
Apply lids and rings, then process in a water bath canner for 15 minutes (adjust for altitude if necessary). The processing time ensures all potential bacteria are destroyed, making the salsa shelf-stable for up to 1 year.
Step 5: Cool and Verify Seals
After processing, transfer jars to a clean towel-lined surface and let them cool undisturbed for 12-24 hours. You should hear the satisfying “ping” of lids sealing as they cool.
Once fully cooled, check the seals by pressing the center of each lid—it should not pop up. Label the jars with the date and store in a cool, dark place. Any unsealed jars should be refrigerated and used within 1 week.
Pro Tips For Making Recipe For Canning Homemade Salsa
- Blanch the Tomatoes: Drop Roma tomatoes in boiling water for 30 seconds, then ice bath—makes peeling them a breeze and saves you 20 minutes of frustration.
- Wear Gloves: I learned this the hard way: always wear gloves when handling jalapeños, or you’ll regret it later when touching your face.
- Drain the Salsa: Let the salsa sit in a colander for 10-15 minutes before canning to remove excess liquid and prevent watery results.
- Use Fresh Cilantro: Sounds obvious, but dried cilantro won’t cut it—fresh bunches give that bright, vibrant flavor that makes homemade salsa shine.
Pro Cooking Tips for This Recipe
Acid Balance Check
Always verify your salsa has enough acidity for safe canning. The 0.5 cup lime juice and 0.25 cup apple cider vinegar in this recipe meet USDA guidelines. I use 5% acidity vinegar and fresh lime juice for reliable results. 🌡️
Jar Preparation
Sterilize jars by boiling them for 10 minutes before filling. Keep them hot until use to prevent thermal shock. I keep my jars warm in the canner while prepping the salsa. This ensures a proper seal every time.
Headspace Precision
Leave exactly ½-inch headspace at the top of each jar. Too much space can prevent sealing, while too little can cause overflow. I use a headspace tool for consistency, but a ruler works in a pinch.
Bubble Removal
After filling, run a clean plastic knife around the inside of each jar to release trapped air. This step prevents air pockets that could compromise the seal. I always check for bubbles near the jar’s edges where they’re most likely to hide.
Altitude Adjustments
If you live above 1,000 feet elevation, increase processing time. Add 5 minutes for 1,001-3,000 feet, 10 minutes for 3,001-6,000 feet, and 15 minutes for higher altitudes. I consult my local extension office for precise guidelines.
These adjustments ensure your salsa stays safe regardless of where you live. 💡
Nutrition Facts
Frequently Asked Questions
What kind of tomatoes work best?
Use Roma or paste tomatoes for ideal meat-to-juice ratio. Their thick flesh and low moisture content create a thicker, more flavorful salsa that holds up well during canning.
Can I adjust the heat level?
Reduce or remove jalapeño seeds for milder salsa, or add cayenne for extra kick. Taste as you go to achieve your preferred spice level before canning.
How long does canned salsa last?
Properly canned salsa stays fresh for 12-18 months in a cool, dark place. Once opened, refrigerate and use within 1 month for best quality.
Why is vinegar necessary?
Vinegar ensures safe acidity levels to prevent botulism. Stick to 5% acidity vinegar as specified in tested recipes for reliable preservation.

- 6 Egg Cake Recipe with Oil: Light as Air With Buttery Moisture - October 4, 2026
- 4 Bean Casserole Recipe: One-Pan Heartiness With Smoky Paprika Depth - October 4, 2026
- 3-Ingredient Keto Mug Cake Recipe: Microwave Magic in 2 Minutes - October 4, 2026