
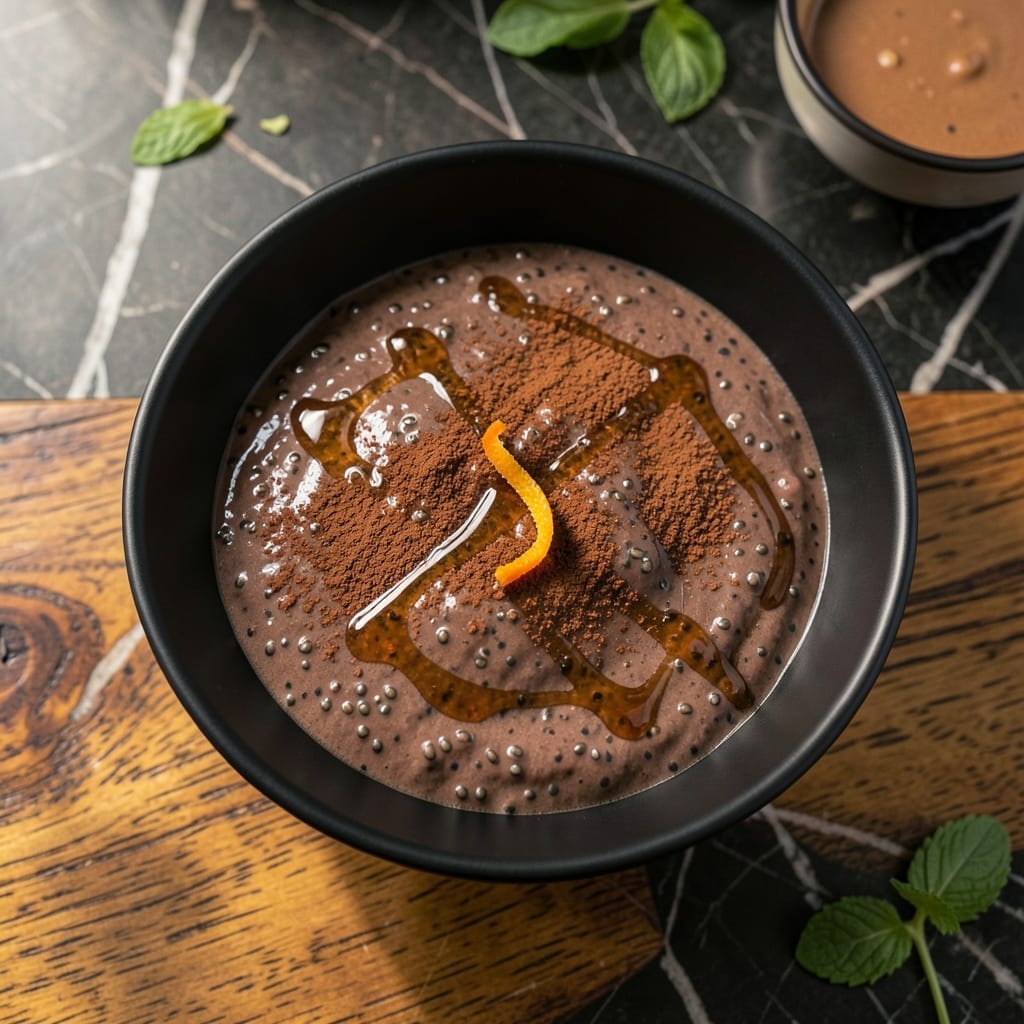
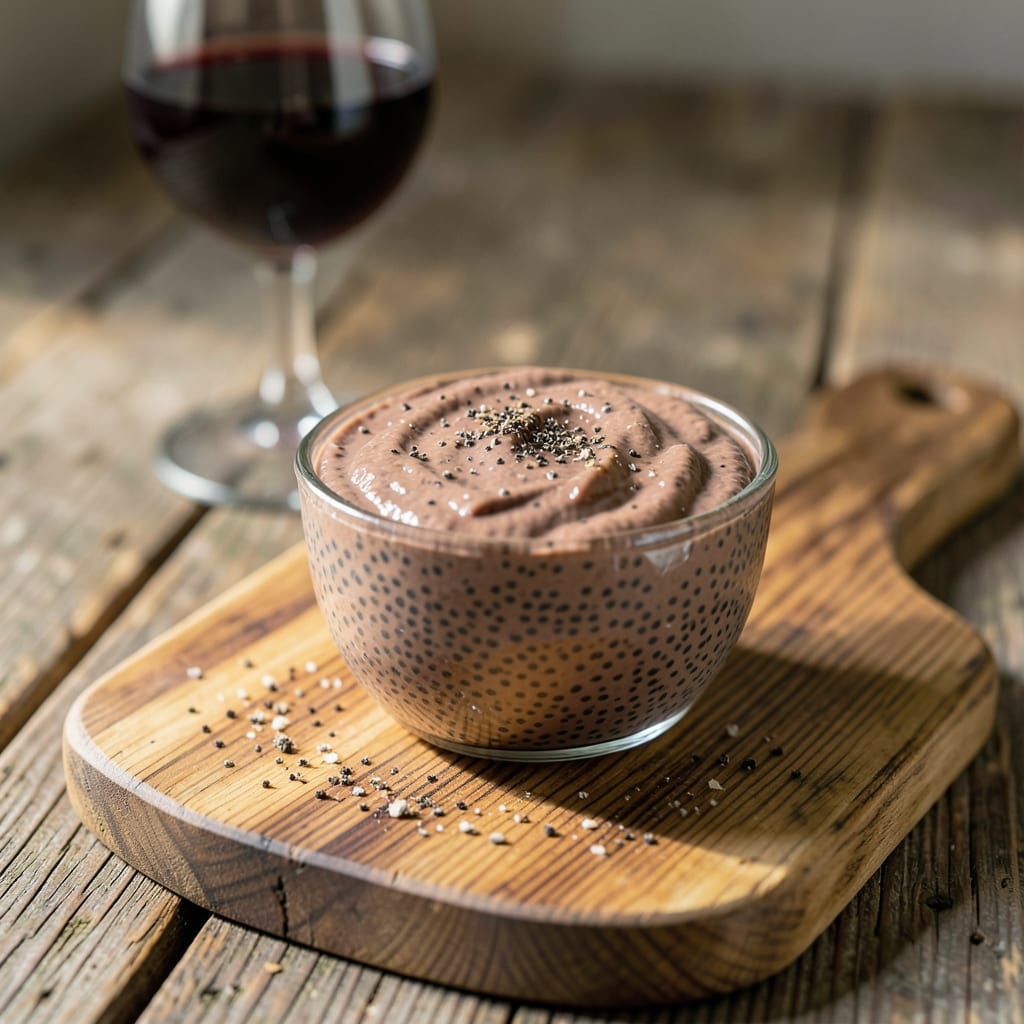
This chia seed pudding transforms simple ingredients into a decadent, vegan-friendly dessert that satisfies chocolate cravings effortlessly.
With just 4 hours of chilling time, you’ll achieve a rich, creamy texture that rivals traditional puddings—no cooking required.
Ingredients for Recipe for Chia Seed Chocolate Pudding
Simple pantry staples create this luxurious, no-bake vegan dessert with deep chocolate flavor.
| Ingredient | Amount | Notes |
|---|---|---|
| Chia Seeds 🌱 | ½ cup | Black or white variety |
| Unsweetened Cocoa Powder 🍫 | ¼ cup | Dutch-process for smoother flavor |
| Almond Milk 🥛 | 2 cups | Unsweetened preferred |
| Maple Syrup 🍁 | ⅓ cup | Or agave nectar for sweetness |
| Vanilla Extract 🌿 | 1 tsp | Pure vanilla for best flavor |
| Dark Chocolate Chips 🍫 | ¼ cup | Vegan, 70% cocoa or higher |
| Pinch of Salt 🧂 | 1 pinch | Enhances chocolate flavor |
| Coconut Oil 🥥 | 1 tbsp | Melted for creaminess |
| Cinnamon 🌿 | ¼ tsp | Ground, adds warmth |
| Espresso Powder ☕ | ½ tsp | Optional, deepens chocolate flavor |
[recipeingredientscaler]
The chia seeds are the foundation—bulk bins at Whole Foods or Sprouts offer the best prices. Look for organic black chia seeds for maximum gel-forming ability. The cocoa powder should be Dutch-process (like Hershey’s Special Dark or Guittard) for that smooth, rich chocolate taste. For almond milk, Silk or Califia Farms unsweetened versions work beautifully without overpowering the chocolate.
No almond milk? Oat milk or soy milk at a 1:1 ratio works perfectly. Out of maple syrup? Agave nectar or date syrup at the same amount. If you can’t find vegan chocolate chips, chop a vegan chocolate bar (like Enjoy Life or Hu Kitchen). The espresso powder is optional but highly recommended—it intensifies the chocolate without adding coffee flavor.
This pudding keeps 5 days in the fridge in an airtight container. The texture improves overnight. For longer storage, freeze for up to 3 months—thaw in the fridge before serving. Stir well before portioning as the chia seeds settle.
Why You’ll Love This Recipe
- 5-Minute Magic: No cooking, no fuss—just stir the chia seeds and cocoa into almond milk and let the fridge do the work.
- Decadent Yet Light: That rich chocolate taste from the cocoa and maple syrup feels indulgent, but it’s actually packed with fiber and protein.
- Meal Prep Hero: I make a big batch on Sunday and grab one every morning for a no-think breakfast that tastes like dessert.
- Budget-Friendly Luxe: A little goes a long way—chia seeds and cocoa stretch into four servings for pennies, and it feels like a treat.
Step-by-Step Instructions for Chia Seed Chocolate Pudding
This no-cook method delivers a decadent, velvety texture with minimal effort and maximum flavor.
Step 1: Bloom the Cocoa and Espresso Powders
In a saucepan, gently warm the 2 cups almond milk over low heat until small bubbles form at the edges. Remove from heat immediately—you want it warm, not simmering. This prevents scorching the delicate unsweetened cocoa powder.
Whisk in the 0.25 cup unsweetened cocoa powder, 0.5 tsp espresso powder, and 0.25 tsp cinnamon until completely smooth. The espresso powder deepens the chocolate flavor without adding coffee taste, while the cinnamon introduces a subtle warmth. Let this mixture steep for 5 minutes to fully develop the flavors.
Step 2: Create the Chocolate Base
Stir in the 0.33 cup maple syrup, 1 tsp vanilla extract, 1 tbsp coconut oil, and 1 pinch pinch of salt until the coconut oil is fully melted and the mixture is uniform. The coconut oil adds a luxurious mouthfeel, while the salt enhances all the chocolate notes.
Add the 0.25 cup dark chocolate chips and let them sit in the warm mixture for 1 minute to soften. Then whisk vigorously until the chocolate is completely melted and the base is glossy and smooth. This step ensures no grainy texture in your final pudding.
Step 3: Incorporate the Chia Seeds
Pour the chocolate mixture into a large bowl and let it cool for 10 minutes at room temperature. This cooling period prevents the chia seeds from clumping when added. Stir occasionally to release heat evenly.
Once cooled, add the 0.5 cup chia seeds and whisk thoroughly to distribute them evenly. The seeds will begin to swell almost immediately, so work quickly. Let the mixture sit for 5 minutes, then whisk again to break up any potential clumps.
Step 4: Chill and Set to Perfection
Cover the bowl with plastic wrap and refrigerate for at least 4 hours, or preferably overnight. The chia seeds will absorb the liquid, transforming it into a thick, pudding-like consistency. For the creamiest texture, give the mixture a good stir after the first 30 minutes of chilling.
You’ll know it’s ready when the pudding holds its shape when spooned and has a rich, velvety appearance. The surface should be smooth with visible chia seeds suspended throughout, not settled at the bottom.
Pro Tips For Making Recipe For Chia Seed Chocolate Pudding
- Stir Frequently Early: Whisk the mixture every 5-10 minutes for the first hour—this prevents those stubborn chia clumps that turn into sad, chewy bites.
- Bloom the Cocoa: Mix the cocoa powder with a splash of hot almond milk first to dissolve it completely; otherwise, you’ll get bitter chocolate flecks instead of smooth pudding.
- Skip the Fridge Rush: I learned this the hard way—letting it thicken at room temperature for 30 minutes before refrigerating gives it the perfect creamy texture, not a gummy one.
- Sweeten Last: Taste before adding all the maple syrup upfront—cocoa bitterness varies, and you might need less than you think to balance the flavors.
Essential Equipment for This Dish
Must-Have Tools
To whip up the perfect chia seed chocolate pudding, you’ll need a few key items. A mixing bowl is essential for combining your chia seeds, cocoa powder, and liquid base. Opt for a medium-sized bowl to ensure plenty of room for stirring without spills. A whisk or fork will help break up clumps, ensuring a smooth, lump-free texture. Don’t forget measuring cups and spoons for precision—chia pudding’s texture depends on the right ratios!
For storage, airtight containers or mason jars are ideal. These keep your pudding fresh and make it easy to layer flavors or toppings. If you prefer a single-serve approach, small ramekins work beautifully for individual portions.
Nice-to-Have
A fine-mesh strainer can be handy if you want ultra-smooth pudding, especially when using homemade nut milk. For a touch of elegance, a piping bag lets you artfully layer or swirl the pudding into glasses. If you love texture, a microplane is great for grating chocolate or zesting citrus to garnish your dessert.
For those who love gadgets, a blender can blend everything seamlessly, though it’s not necessary. A digital kitchen scale ensures precise measurements, which is a game-changer for consistent results.
Budget Alternatives
No fancy tools? No problem! A regular spoon and a standard bowl will do the trick for mixing. Instead of mason jars, repurpose empty yogurt containers or small Tupperware for storage. If you don’t have a whisk, a fork works just as well to stir and break up clumps.
For serving, everyday tea cups or small bowls add a charming, rustic touch. The beauty of chia pudding is its simplicity—you don’t need high-end equipment to make it delicious!
Nutrition Facts

- 6 Egg Cake Recipe with Oil: Light as Air With Buttery Moisture - October 4, 2026
- 4 Bean Casserole Recipe: One-Pan Heartiness With Smoky Paprika Depth - October 4, 2026
- 3-Ingredient Keto Mug Cake Recipe: Microwave Magic in 2 Minutes - October 4, 2026