
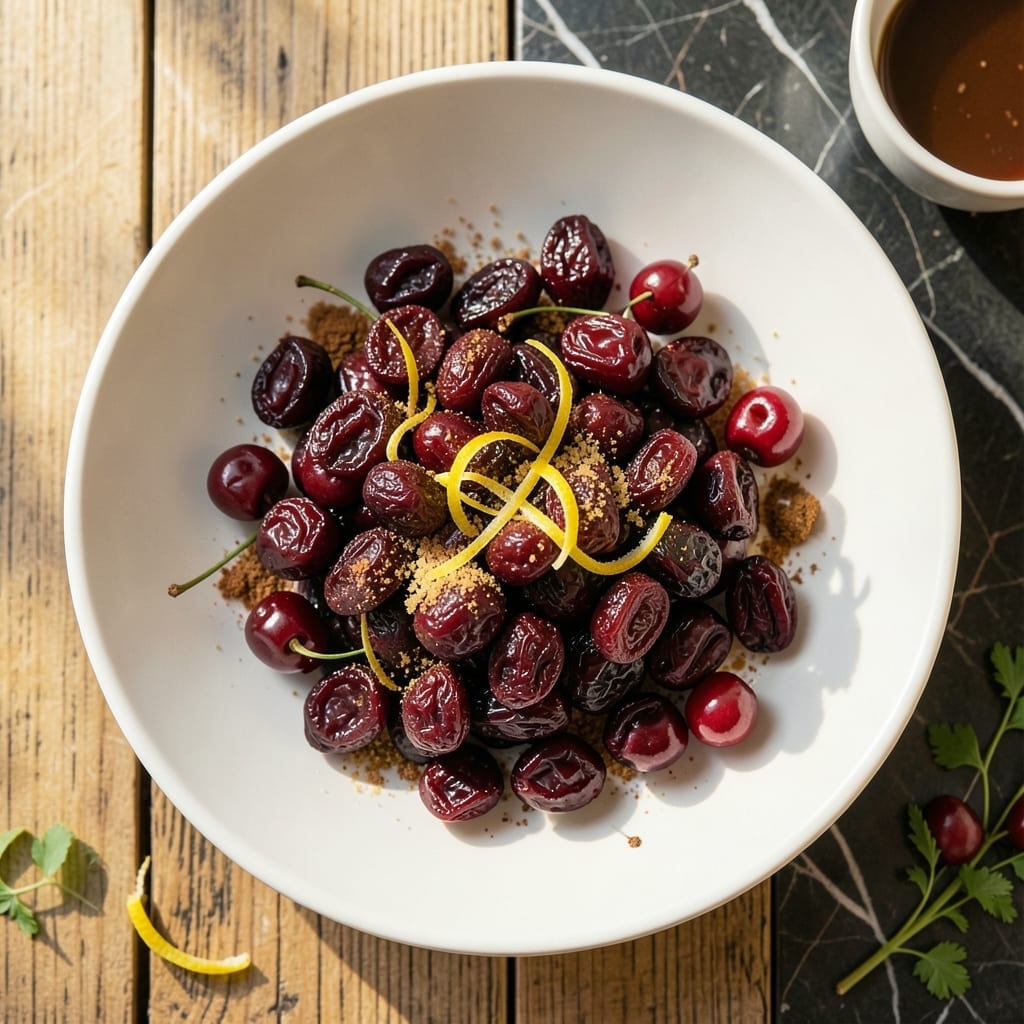
Drying cherries at home preserves their natural sweetness while intensifying their flavor, creating versatile ingredients for both sweet and savory dishes.
This method uses simple techniques to transform fresh cherries into chewy, concentrated morsels. Proper preparation and consistent heat ensure even drying without scorching.
The process requires minimal equipment—just a sharp knife, baking sheet, and oven. Pitting the fruit first prevents bitter notes in the finished product.
These dried cherries add depth to salads, baked goods, and trail mixes, delivering bursts of sweet-tart flavor in every bite.
Ingredients for Recipe for Dried Cherries
Fresh cherries and a few pantry staples transform into chewy, sweet-tart dried gems.
| Ingredient | Amount | Notes |
|---|---|---|
| Fresh Bing Cherries 🍒 | 4 cups | Pitted, stems removed |
| Lemon Juice 🍋 | 2 tbsp | Freshly squeezed for acidity |
| Water 💧 | 2 cups | For blanching cherries |
| Granulated Sugar 🍚 | ¼ cup | Optional for sweetening |
| Vanilla Extract 🌿 | 1 tsp | Pure extract preferred |
| Ground Cinnamon 🌶️ | ¼ tsp | Optional for spiced flavor |
| Salt 🧂 | 0.125 tsp | Fine sea salt preferred |
| Vegetable Oil 🫒 | 1 tsp | For preventing sticking |
The cherries are everything here. Bing cherries are ideal for their natural sweetness and meaty texture—Rainier cherries work too but are milder. Source them at peak season from farmers markets or well-stocked grocers like Whole Foods. Look for firm, deep-colored fruit without bruises. Avoid cherries that feel soft or have split skins, as they won’t dry evenly.
No fresh cherries? Frozen pitted cherries (thawed and patted dry) can work in a pinch, though they may take longer to dry. Skip the sugar if your cherries are very sweet, or use coconut sugar for a deeper flavor. The cinnamon is optional but adds warmth—cardamom or nutmeg make interesting substitutes. The lemon juice isn’t just for flavor—it helps preserve color.
Dried cherries keep in an airtight container at room temperature for 2 weeks, or extend shelf life to 6 months in the fridge. For longer storage, freeze them in a single layer first, then transfer to a bag. This prevents clumping and makes portioning easy.
Why You’ll Love This Recipe
- Set and Forget: I toss the cherries with sugar and lemon, then let the oven do the work while I fold laundry.
- Sweet-Tart Magic: That vanilla-kissed cherry flavor with just the right pucker from the lemon juice is ridiculous.
- Snack or Gift: I keep a jar in my pantry for trail mix or package it in little cellophane bags for hostess gifts.
- Pantry Staple: Dried cherries last for weeks, and they’re cheaper than store-bought with no mystery additives.
Step-by-Step Instructions for Dried Cherries
This dehydrating process transforms fresh cherries into concentrated, chewy morsels with intense flavor.
Step 1: Prepare and Blanch the Cherries
Begin by pitting and stemming the 4 cups Fresh Bing Cherries. I use a cherry pitter for efficiency, but a small paring knife works if you’re careful. Toss the pitted cherries with 2 tbsp Lemon Juice in a bowl—this prevents browning and enhances the tartness.
Bring 2 cups Water to a boil in a medium saucepan. Add the cherries and blanch for exactly 30 seconds, then immediately transfer them to an ice bath to stop the cooking process. This step helps preserve color and texture during drying. Drain thoroughly and pat dry with clean towels.
Step 2: Season the Cherries
In a large bowl, combine the 0.25 cup Granulated Sugar, 1 tsp Vanilla Extract, 0.25 tsp Ground Cinnamon, and 0.125 tsp Salt. Add the blanched cherries and toss gently until evenly coated. The sugar will draw out moisture while adding sweetness, and the vanilla and cinnamon provide depth.
Let the cherries marinate for 15-20 minutes to absorb the flavors. Stir occasionally to ensure even distribution of the seasoning mixture. The cherries should glisten slightly from the sugar syrup that forms.
Step 3: Arrange for Dehydrating
Lightly coat your dehydrator trays with 1 tsp Vegetable Oil to prevent sticking. Arrange the cherries in a single layer on the trays, ensuring they don’t touch each other. Proper spacing allows for even airflow and consistent drying.
If you notice any clumping from the sugar, gently separate the cherries with your fingers before placing them on the trays. This prevents them from drying into one large piece rather than individual dried cherries.
Step 4: Dehydrate at Low Temperature
Set your dehydrator to 135°F and dry the cherries for 8-12 hours. The exact time depends on your dehydrator’s efficiency and the cherries’ initial moisture content. Check periodically after 8 hours—they’re done when leathery but still slightly pliable, with no visible moisture when squeezed.
Rotate the trays halfway through the drying time for even results. The cherries will darken significantly and reduce to about one-quarter of their original size. They should feel dry to the touch but still have a slight give when pressed.
Step 5: Cool and Store Properly
Remove the dried cherries from the dehydrator and let them cool completely on the trays, which takes about 30-45 minutes. This cooling period allows any residual moisture to evaporate fully, preventing mold during storage.
Once cooled, transfer the cherries to an airtight container. They’ll keep at room temperature for up to 2 weeks, or in the refrigerator for 1 month. For longer storage, freeze for up to 6 months. The texture will be chewy with concentrated sweet-tart flavor perfect for baking or snacking.
Pro Tips For Making Recipe For Dried Cherries
- Pit First, Dry Faster: Remove all cherry pits before drying—leaving them in slows the process and can add a bitter taste. I learned this the hard way after my first batch took twice as long.
- Toss in Lemon: Lightly coat the cherries in lemon juice before drying to preserve their bright color. Sounds weird, but it works—my dried cherries went from dull to vibrant.
- Skip the Overcrowding: Spread cherries in a single layer on the dehydrator tray with space between each. After ruining a batch with soggy, uneven results, I finally figured out they need room to breathe.
- Sugar Lightly: Dust cherries with just a tablespoon of sugar per pound before drying—enough to enhance sweetness without making them syrupy. More isn’t better here, I was skeptical until I tried it.
Dietary Considerations for This recipe for dried cherries
Vegan Friendly
This creation is naturally vegan and contains no animal products. The ingredients focus entirely on plant-based components, making it suitable for strict vegan diets. I love how it delivers intense flavor without any dairy or meat. 💪
Gluten Free
All ingredients are inherently gluten-free, with no wheat, barley, or rye derivatives. Even the optional granulated sugar is safe unless you’re using a specialty variety with additives. Always check your sugar brand to be certain.
Nut Free
This recipe contains no nuts or nut derivatives, making it safe for those with nut allergies. The preparation process doesn’t risk cross-contamination either, as long as your workspace is clean.
Sugar Control
The 0.25 cup Granulated Sugar is optional, so you can reduce or omit it entirely. Naturally sweet Bing cherries often need no additional sweetener, especially if you plan to use these in baking where other sugars are present.
For a sugar-free version, replace it with 1-2 tbsp erythritol or your preferred sweetener. The flavor will be more tart, which works beautifully in savory applications.
Low Sodium
With only 0.125 tsp Salt in the entire batch, this is naturally low in sodium. You can eliminate the salt entirely without affecting the drying process. The cherries’ natural sweetness shines through without it. ✨
Nutrition Facts
Frequently Asked Questions
Do I need a dehydrator to make these?
No, an oven works too! Set it to the lowest temperature (170°F or below) and prop the door open slightly. Expect drying to take 12-18 hours with this method.
Why blanch the cherries first?
Blanching preserves color and texture while speeding up the drying process. The 30-second dip in boiling water helps break down the fruit’s skin, allowing moisture to escape more efficiently.
How can I tell when they’re fully dry?
They’re done when leathery but still pliable, with no moisture when squeezed. Properly dried cherries should be about 1/4 their original size and feel slightly tacky but not sticky.
Can I skip the sugar coating?
The sugar is optional and mainly adds sweetness. For tart dried cherries, omit it entirely. The natural sugars in the fruit will still caramelize slightly during drying.

- 6 Egg Cake Recipe with Oil: Light as Air With Buttery Moisture - October 4, 2026
- 4 Bean Casserole Recipe: One-Pan Heartiness With Smoky Paprika Depth - October 4, 2026
- 3-Ingredient Keto Mug Cake Recipe: Microwave Magic in 2 Minutes - October 4, 2026