
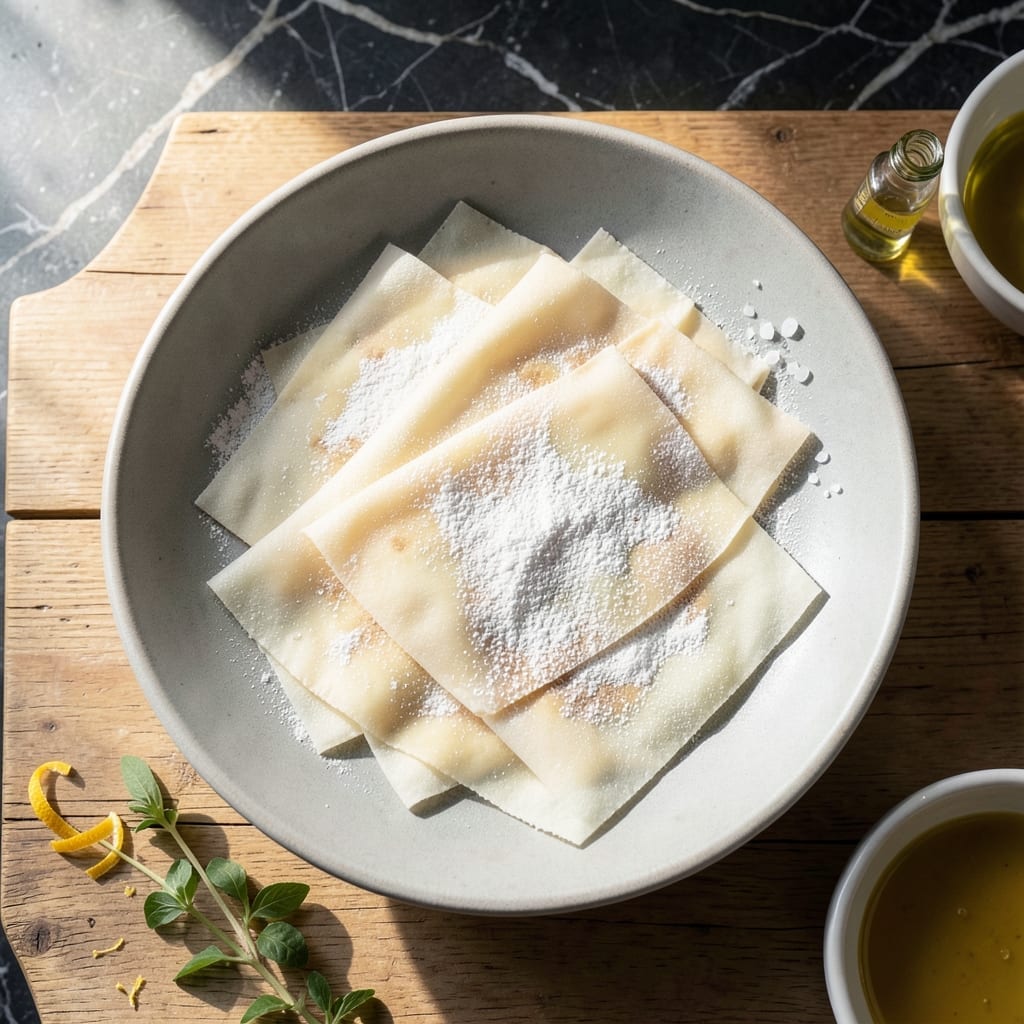
Homemade filo dough delivers the crispy, paper-thin layers that store-bought versions simply cannot match. This recipe demystifies the process, proving that achieving professional-quality results at home is entirely possible with the right technique.
The secret lies in the dough’s high hydration and minimal gluten development, which creates an incredibly elastic sheet that can be stretched to near-transparency. Resting the dough is crucial—this allows the gluten to relax, making it far easier to roll out without tearing.
With practice, you’ll produce sheets so thin they’re practically translucent, perfect for baklava, spanakopita, or any pastry requiring that signature flaky texture. The satisfaction of working with homemade filo is unmatched.
This recipe requires patience but rewards you with superior texture and flavor. The crispy results are well worth the effort.
Ingredients for Recipe for Filo Dough
Eight essential ingredients transform into delicate, elastic sheets for perfect pastries every time.
| Ingredient | Amount | Notes |
|---|---|---|
| All-Purpose Flour 🌾 | 2 cups | Plus extra for dusting |
| Water 💧 | ¾ cup | Warm, about 110°F |
| Extra-Virgin Olive Oil 🫒 | ¼ cup | For dough elasticity |
| White Vinegar 🍋 | 1 tbsp | Or lemon juice |
| Salt 🧂 | ½ tsp | Fine sea salt preferred |
| Cornstarch 🌾 | 2 tbsp | For dusting surfaces |
| Vegetable Oil 🫒 | ½ cup | For brushing layers |
| Unsalted Butter 🧈 | ½ cup | Melted for brushing |
The flour is the foundation—King Arthur or Bob’s Red Mill all-purpose deliver consistent results. High protein content (around 11-12%) provides the gluten structure needed for elasticity. The olive oil must be extra-virgin for both flavor and flexibility. Warm water activates the gluten properly; use a thermometer for precision (110°F is ideal for yeast-like activity without killing it).
No vinegar? Lemon juice works identically—it tenderizes the gluten slightly for easier rolling. Cornstarch prevents sticking better than flour alone; arrowroot powder is a good substitute. For brushing, ghee or coconut oil can replace butter if you’re avoiding dairy. The salt enhances flavor, but don’t skip it—Diamond Crystal is my go-to for its clean taste and easy dissolution.
Dough rests best in a lightly oiled bowl covered with plastic wrap at room temperature for 1-2 hours. Once rolled, use sheets immediately or refrigerate between parchment for 24 hours. Freezing isn’t recommended—it alters the texture irreparably.
Why You’ll Love This Recipe
- No-Fuss Mixing: I just stir flour, water, olive oil, vinegar, and salt—no fancy equipment or resting time. Honestly, it’s the simplest dough I’ve ever made.
- Subtle Tang: The white vinegar adds a gentle brightness that balances the richness of the olive oil beautifully.
- Endless Possibilities: I’ve used this for spanakopita, baklava, and even quick savory tarts. Between us, it’s my secret for last-minute impressive dishes.
- Budget Stretcher: A few pantry staples make enough dough for multiple meals, and it freezes like a dream for later.
Step-by-Step Instructions for Filo Dough
Achieve paper-thin, elastic sheets with this precise method for homemade dough.
Step 1: Combine Wet and Dry Ingredients
In a large mixing bowl, whisk together the 2 cups all-purpose flour and 0.5 tsp salt until evenly distributed. The salt strengthens the gluten network, giving your dough the structure it needs to stretch thin without tearing.
Create a well in the center and add the 0.75 cup warm water, 0.25 cup extra-virgin olive oil, and 1 tbsp white vinegar. The vinegar tenderizes the gluten slightly, making the dough more pliable for rolling.
Step 2: Knead Until Smooth and Elastic
Using a wooden spoon or dough whisk, gradually incorporate the wet ingredients into the flour until a shaggy dough forms. Turn it out onto a lightly floured surface—use 2 tbsp cornstarch for dusting instead of flour to prevent sticking without adding extra gluten.
Knead for 8-10 minutes by hand (or 5-6 minutes in a stand mixer with a dough hook) until the dough is silky smooth. It should bounce back when pressed with a finger, indicating proper gluten development. The dough will be slightly tacky but not sticky.
Step 3: Rest and Relax the Gluten
Divide the dough into 4 equal portions (about 6 oz each) and shape each into a ball. Lightly coat each ball with a bit of the 0.5 cup vegetable oil to prevent drying, then place them in a bowl and cover tightly with plastic wrap.
Let the dough rest at room temperature for 1 hour. This relaxation period allows the gluten strands to unwind, making the dough far easier to roll thin. If your kitchen is cool, you may need up to 90 minutes—the dough should feel noticeably more pliable after resting.
Step 4: Roll to Paper-Thin Sheets
Working with one portion at a time (keep others covered), roll the dough on a surface dusted with cornstarch to a 12-inch circle, about ⅛-inch thick. Dust both sides with more cornstarch to prevent sticking.
Now comes the critical step: stretch the dough by hand to paper-thin transparency. Drape it over your knuckles and gently pull outward in all directions. The dough should be nearly see-through when held to the light. If it tears, patch it immediately with a bit of extra dough.
Step 5: Layer and Brush for Crispy Results
For crispy pastries, layer 4-6 sheets of filo, brushing each with melted unsalted butter or vegetable oil between layers. Use a pastry brush for even coverage—this fat creates the flaky, crisp texture that defines great filo.
Keep unused dough covered with a damp towel to prevent drying. Work quickly but carefully, as the sheets dry out fast. Once assembled, bake immediately for maximum crispness, or refrigerate the stacked sheets (well-wrapped) for up to 24 hours before using.
Pro Tips For Making Recipe For Filo Dough
- Rest the Dough: After kneading, let the dough rest for at least 30 minutes under a damp towel—I learned this the hard way when my first few batches kept springing back.
- Use Warm Water: Mix the water and olive oil slightly warm, around 110°F, to help the gluten relax and make rolling easier.
- Skip the Over-Flouring: Resist the urge to dust too much flour on the surface while rolling; it makes the layers dry and brittle instead of crisp.
- Vinegar for Elasticity: Sounds weird, but the white vinegar actually changes the outcome by tenderizing the gluten, so don’t leave it out even if you’re skeptical.
Serving Suggestions for This recipe for filo dough
Sweet Endings
For dessert, use your homemade sheets to create classic baklava. Layer 8-10 sheets with chopped nuts (I prefer walnuts or pistachios) and honey syrup. The crisp texture holds up beautifully to the sweet filling.
Savory Starters
Make spanakopita triangles by filling sheets with a mix of spinach, feta, and dill. Fold into tidy parcels and bake at 375°F for 20-25 minutes until golden. These disappear fast at gatherings! 💫
Breakfast Delight
Try a savory filo pie with scrambled eggs and crumbled sausage. Layer 5-6 sheets in a greased pan, pour in the egg mixture, and bake at 350°F for 30 minutes. Perfect for weekend brunches.
Appetizer Ideas
Create crispy filo cups by pressing sheets into mini muffin tins. Bake at 375°F for 10-12 minutes, then fill with herbed cream cheese or hummus. These bite-sized treats are always a hit.
Storage Tip
Keep unused sheets covered with a damp towel between layers. They’ll stay pliable for 2-3 hours at room temperature. For longer storage, refrigerate between parchment for up to 24 hours.
Nutrition Facts
Frequently Asked Questions
Why does my dough keep tearing when stretching?
It likely needs more rest time. Let it sit for the full 1-2 hours so gluten relaxes. Also, use cornstarch for dusting instead of flour to prevent sticking.
Can I make this without a stand mixer?
Knead by hand for 8-10 minutes until smooth. The dough will be slightly tacky but should bounce back when pressed.
How thin should the sheets be?
Aim for near-transparency—you should see your hand through it. Stretch to about 12-inch circles, then pull gently over your knuckles.
Can I freeze leftover sheets?
Freezing isn’t recommended as it alters the texture. Instead, refrigerate between parchment for up to 24 hours.

- 6 Egg Cake Recipe with Oil: Light as Air With Buttery Moisture - October 4, 2026
- 4 Bean Casserole Recipe: One-Pan Heartiness With Smoky Paprika Depth - October 4, 2026
- 3-Ingredient Keto Mug Cake Recipe: Microwave Magic in 2 Minutes - October 4, 2026