
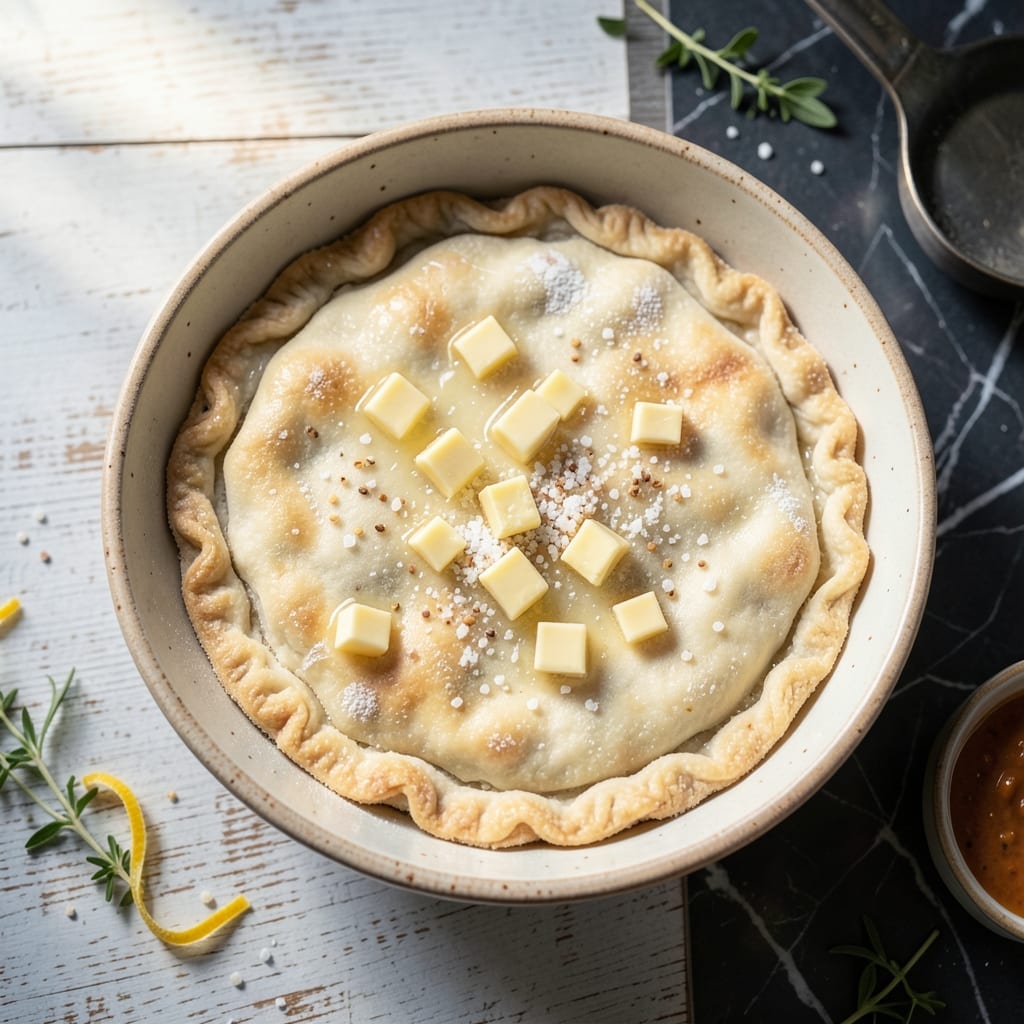
There’s nothing quite like the satisfying crunch of a perfectly crispy fried pie dough encasing a sweet, warm filling. This method transforms simple ingredients into golden pockets of delight with a texture that’s impossible to resist.
I’ve refined this technique to ensure consistent results—hot oil and the right dough thickness are key to achieving that signature shatteringly crispy exterior. The process is straightforward but requires attention to detail for the best outcome.
The dough fries up golden and flaky, creating a sturdy shell that holds its shape while remaining tender enough to bite through easily. Whether you fill them with fruit preserves or custard, the contrast between the crispy shell and soft filling is what makes these so special.
Best served warm, these fried pies make any occasion feel a little more celebratory. The recipe delivers on its promise of that perfect crunch every time.
Ingredients for Recipe for Fried Pie Dough
Crispy golden shells start with these flaky, buttery layers and a simple filling.
| Ingredient | Amount | Notes |
|---|---|---|
| All-Purpose Flour 🌾 | 2 ½ cups | Plus extra for dusting surface |
| Granulated Sugar 🍚 | 2 tbsp | Fine grain for even distribution |
| Salt 🧂 | 1 tsp | Fine sea salt preferred |
| Unsalted Butter 🧈 | ½ cup | Cold and cubed for flakiness |
| Ice Water 💧 | ⅓ cup | Keep it icy cold |
| Vegetable Shortening 🧈 | ¼ cup | For extra flaky layers |
| Neutral-Flavored Oil 🫒 | 4 cups | For deep frying (peanut or canola) |
| Large Egg 🥚 | 1 whole | For egg wash (optional) |
| Distilled White Vinegar 🍶 | 1 tsp | Tenderizes the dough slightly |
| Fruit Preserves 🍯 | 1 cup | For filling, any flavor |
| Powdered Sugar 🍬 | ¼ cup | For dusting finished pies |
The butter and shortening combo is non-negotiable for that shatteringly crisp texture. Use European-style butter (higher fat content) if you can find it—Plugrá or Kerrygold work beautifully. Vegetable shortening might seem old-school, but it creates those distinct flaky layers that butter alone can’t achieve. Keep everything cold, including your mixing bowl and utensils. I chill my flour for 30 minutes before starting (worth the extra step).
No shortening? All butter works in a pinch, but the texture won’t be quite as flaky. Swap the water for vodka at half the amount—alcohol evaporates during cooking, yielding extra crispness. For the filling, any thick jam or custard holds up best. Avoid runny preserves that might leak. The egg wash is optional but gives that professional golden sheen (use plant milk for a vegan version).
Dough can rest in the fridge for up to 2 days or freeze for 1 month. Fried pies are best eaten the same day but keep 24 hours in an airtight container. Reheat in a 350°F oven for 5-10 minutes to restore crispness. Never microwave—soggy disaster guaranteed.
Why You’ll Love This Recipe
- 5-Minute Dough: I mix the flour, butter, and ice water in one bowl—no resting, no fuss.
- Crisp & Flaky: The cold butter layers create that irresistible golden crunch with every bite.
- Sweet or Savory: I’ve stuffed these with jam, cheese, even leftover chili—endless possibilities.
- Pennywise Treat: A batch costs less than a coffee shop pastry and feeds the whole table.
Step-by-Step Instructions for Fried Pie Dough
This technique delivers the flakiest, crispiest golden shells that perfectly encase your sweet filling.
Step 1: Combine Dry Ingredients for Structure
In a large mixing bowl, whisk together the 2.5 cups all-purpose flour, 2 tbsp granulated sugar, and 1 tsp salt until evenly distributed. The sugar adds subtle sweetness to balance the filling, while the salt enhances all the flavors.
I always use fine sea salt here because it dissolves more evenly throughout the dough, ensuring consistent seasoning in every bite. This dry mixture forms the foundation of your crispy shell, so take a moment to whisk it thoroughly.
Step 2: Cut in Cold Fats for Maximum Flakiness
Add the 0.5 cup unsalted butter (cold and cubed) and 0.25 cup vegetable shortening to the flour mixture. Using a pastry cutter or your fingertips, work the fats into the flour until the mixture resembles coarse crumbs with pea-sized pieces of fat visible.
The key to incredible flakiness is keeping those fat pieces intact—they’ll create steam during frying that separates the dough into delicate layers. I like to work quickly with cold ingredients to prevent the butter from melting prematurely. The shortening adds an extra insurance policy for flakiness regardless of your kitchen’s temperature.
Step 3: Bind with Liquid and Rest the Dough
Create a well in the center of your flour mixture and add the 0.33 cup ice water and 1 tsp distilled white vinegar. The vinegar tenderizes the dough slightly without affecting flavor. Using a fork, gently stir until the dough just begins to come together.
Turn the dough out onto a lightly floured surface and knead just until smooth—about 30 seconds. Overworking develops gluten, which makes the fried dough tough rather than tender. Shape into a disc, wrap in plastic, and refrigerate for at least 1 hour. This rest relaxes the gluten and allows the fats to firm up, ensuring maximum flakiness when fried.
Step 4: Roll, Fill, and Seal the Pies
On a floured surface, roll the chilled dough to ⅛-inch thickness. Cut into 6-inch circles—I use a bowl as a guide. Place 2 tbsp fruit preserves in the center of each circle, leaving a ½-inch border. The filling should be thick enough to stay put but not so much that it leaks during frying.
Fold the dough over the filling to create half-moon shapes. Crimp the edges tightly with a fork to seal completely—this prevents the filling from escaping into the hot oil. For extra insurance, I brush the edges with a bit of water before crimping. If using, brush the tops with beaten large egg for added sheen, though this is optional for fried pies.
Step 5: Fry to Golden Perfection
Heat the 4 cups neutral-flavored oil in a deep, heavy pot to 350°F. The oil temperature is critical—too cool and the pies will absorb oil and become greasy; too hot and they’ll brown before cooking through. I maintain the temperature between 340-350°F throughout frying.
Fry the pies in batches for 3-4 minutes per side until they’re deep golden brown and crisp. Don’t crowd the pot—this lowers the oil temperature and leads to uneven cooking. Transfer to a paper towel-lined plate to drain. While still warm, dust generously with 0.25 cup powdered sugar. The residual heat helps the sugar adhere beautifully to the crispy surface.
Pro Tips For Making Recipe For Fried Pie Dough
- Chill the Dough: After mixing, wrap the dough and refrigerate for at least 30 minutes—I learned this the hard way when my first few pies turned out tough because the butter softened too soon.
- Ice Water Only: Use truly ice-cold water, about 3-4 tablespoons, to keep the butter from melting into the flour. Sounds obvious, but I’ve ruined dough by using tap water “just because it was cold.”
- Skip Overworking: Mix just until the dough comes together, even if it looks shaggy. Overworking develops gluten, and you’ll end up with chewy fried pies instead of flaky ones.
- Fry at 350°F: Maintain steady oil temperature—350°F is the sweet spot. Any hotter and the outside burns before the inside cooks; any cooler and the pies absorb oil like a sponge.
Make-Ahead Tips for This recipe for fried pie dough
Dough Prep Ahead
You can mix and rest the dough up to 2 days in advance. Wrap it tightly in plastic and store in the fridge. The flavors develop beautifully over time, and the cold dough is easier to roll out. I often prep mine the night before for stress-free frying the next day.
Form and Freeze
Assemble your pies completely, then freeze them on a parchment-lined tray for 1 hour before transferring to a freezer bag. They’ll keep for up to 1 month. Freezing raw ensures the crust stays crisp when fried from frozen.
Fry from Frozen
No need to thaw—just add 1-2 extra minutes to the frying time. I drop frozen pies directly into 350°F oil and watch for that perfect golden color. This method works surprisingly well and saves time on busy days. 💡
Pre-Fry Storage
If you prefer to fry in advance, let the pies cool completely before storing. They’ll stay crisp in an airtight container at room temperature for 24 hours. Avoid refrigerating as it introduces moisture that softens the crust.
Re-Crisp Trick
To revive day-old pies, place them on a wire rack in a 350°F oven for 5-10 minutes. This restores the shatteringly crisp texture without making them greasy. I dust with fresh powdered sugar after reheating.
Oil Management
Used frying oil can be strained and reused once if stored properly. Let it cool completely, then strain through a fine-mesh sieve into a clean jar. Keep it in a cool, dark place for up to 1 week. 🔥
Nutrition Facts
Frequently Asked Questions
What thickness should the dough be rolled to?
Roll it to ⅛-inch thickness for the perfect balance of crispness and sturdiness. Any thinner and it may tear; thicker dough won’t cook through properly. Use a ruler or thickness guide for accuracy.
Can I bake these instead of frying?
Baking won’t yield the same crisp texture, but you can try 375°F for 20-25 minutes. Brush with egg wash for browning. Frying is ideal for that classic shatteringly crisp shell.
How do I prevent filling from leaking?
Seal edges tightly with a fork and leave a ½-inch border. Use thick preserves, not runny ones. Chill filled pies 15 minutes before frying to firm up the filling.
Why did my pies turn out greasy?
Oil temperature was likely too low. Maintain 340-350°F and fry in small batches. Overcrowding the pot drops the temperature, causing oil absorption.

- 6 Egg Cake Recipe with Oil: Light as Air With Buttery Moisture - October 4, 2026
- 4 Bean Casserole Recipe: One-Pan Heartiness With Smoky Paprika Depth - October 4, 2026
- 3-Ingredient Keto Mug Cake Recipe: Microwave Magic in 2 Minutes - October 4, 2026