
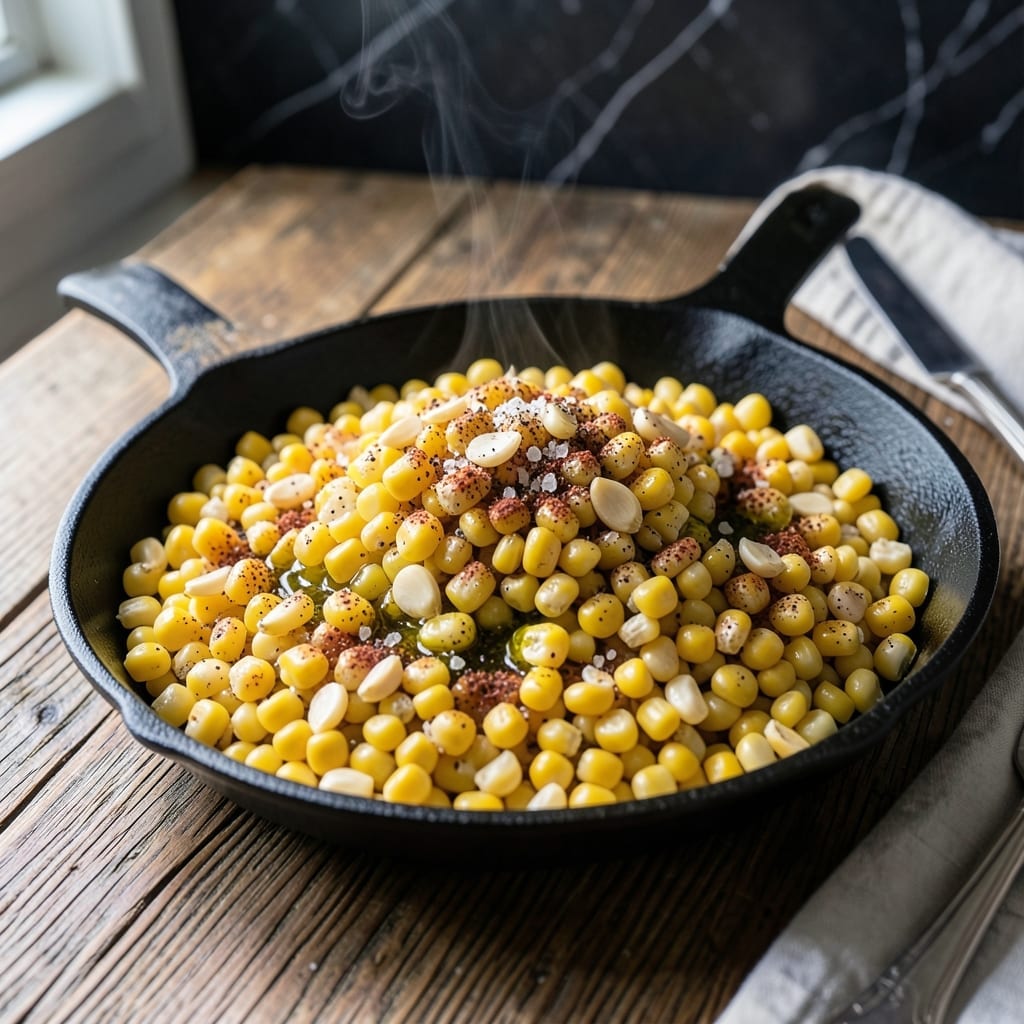
This recipe transforms frozen corn into a dish that tastes fresh from the summer harvest. The key is a simple technique that enhances natural sweetness without added sugar.
By sautéing the corn in a small amount of oil, we concentrate its flavor and add a subtle caramelized depth. The process takes less than 10 minutes from start to finish, making it an ideal last-minute side.
The result is tender, slightly crisp corn kernels with a vibrant yellow color. This method preserves the vegetable’s natural texture while elevating its taste.
Serve it as a standalone side or incorporate into other dishes. The versatility makes it a pantry staple.
Ingredients for Recipe for Frozen Corn
Transform frozen corn into a vibrant, sweet side with these pantry staples and fresh accents.
| Ingredient | Amount | Notes |
|---|---|---|
| Frozen Corn Kernels 🌽 | 4 cups | No need to thaw |
| Extra-Virgin Olive Oil 🫒 | 1 ½ tbsp | Or neutral oil like avocado |
| Garlic Cloves 🧄 | 3 cloves | Minced for even distribution |
| Sea Salt 🧂 | ½ tsp | Adjust to taste preference |
| Freshly Ground Black Pepper 🌶️ | ¼ tsp | Coarse grind preferred |
| Smoked Paprika 🌶️ | ½ tsp | Adds subtle depth of flavor |
| Fresh Cilantro 🌿 | 2 tbsp | Chopped, for garnish |
| Lemon Juice 🍋 | 1 tbsp | Freshly squeezed preferred |
| Red Pepper Flakes 🌶️ | ¼ tsp | Optional for heat |
| Vegan Butter 🧈 | 1 tbsp | Optional for richness |
| Onion Powder 🧅 | ¼ tsp | Enhances savory base |
The frozen corn is the star—look for organic or non-GMO at Trader Joe’s or Whole Foods for the best texture. Avoid brands with added salt or preservatives (the good stuff, not the sad freezer-burned kind). The olive oil should be something you’d drizzle on bread; California Olive Ranch is a reliable supermarket option. Fresh garlic is non-negotiable here—don’t even think about the jarred stuff.
No fresh cilantro? Fresh parsley or green onions work in a pinch. Out of smoked paprika? Regular paprika plus a pinch of cumin gets you close. Vegan butter isn’t mandatory, but Miyoko’s or Earth Balance add a nice richness. The lemon juice brightens everything—bottled works, but fresh is worth the extra minute. Skip the red pepper if serving kids (or wimps).
Leftovers keep 3-4 days in the fridge—reheat in a skillet to crisp up the kernels. Freezes beautifully for 2 months, though texture softens slightly. I always make a double batch; it disappears fast.
Why You’ll Love This Recipe
- Five-Minute Side: No thawing, no fuss—just toss frozen corn with olive oil and garlic, and it’s ready before the main dish hits the table.
- Garlic-Kissed Crunch: The sizzle of garlic in hot oil transforms plain corn into something rich and aromatic, with that perfect bite of sea salt.
- Weeknight MVP: I throw this together for quick dinners, potlucks, or even a lazy brunch—it pairs with literally everything.
- Pantry Hero: Frozen corn stays fresh for months, so I always have the makings of a fast, flavorful side without last-minute grocery runs.
Step-by-Step Instructions for Frozen Corn
This straightforward method transforms the ingredients into a flavorful dish with minimal effort.
Step 1: Sauté the Aromatics
Heat the 1.5 tbsp Extra-Virgin Olive Oil in a large skillet over medium heat. Once the oil shimmers, add the 3 cloves Garlic Cloves and sauté for 30-45 seconds until fragrant but not browned. Garlic burns easily, so keep it moving in the pan.
Add the 0.25 tsp Onion Powder, 0.5 tsp Smoked Paprika, and 0.25 tsp Red Pepper Flakes. Stir for 15-20 seconds to bloom the spices in the warm oil, releasing their full aroma. This builds the flavor foundation for the dish.
Step 2: Cook the Frozen Corn Kernels
Add the 4 cups Frozen Corn Kernels directly to the skillet without thawing. The frozen corn will initially lower the pan temperature, so increase the heat to medium-high to compensate. Stir well to coat the kernels in the spiced oil.
Cook for 8-10 minutes, stirring occasionally, until the corn is heated through and begins to develop light golden edges. The kernels should be tender with a slight bite, and any residual moisture should have evaporated. Avoid overcrowding the pan to ensure even cooking.
Step 3: Season and Finish
Sprinkle the 0.5 tsp Sea Salt and 0.25 tsp Freshly Ground Black Pepper evenly over the corn. Stir to distribute the seasonings, then add the 1 tbsp Vegan Butter (if using). Allow it to melt, then toss to coat every kernel in the glossy, savory mixture.
Cook for an additional 1-2 minutes to let the flavors meld. The corn should now be uniformly tender with a slight char on some kernels, and the sauce should lightly cling to each piece.
Step 4: Add Fresh Elements and Serve
Remove the skillet from heat and stir in the 1 tbsp Lemon Juice. The acidity will brighten the dish and balance the smoky, savory notes. Taste and adjust seasoning if needed—this is your final opportunity to refine the flavor profile.
Transfer the corn to a serving dish and garnish with the 2 tbsp Fresh Cilantro. Serve immediately while hot, as the flavors are most vibrant fresh from the pan. The cilantro adds a fresh, herbal contrast to the rich, warm spices.
Pro Tips For Making Recipe For Frozen Corn
- Skip the Thaw: Toss the frozen corn directly into the hot pan—thawing first makes it mushy and waters down the flavor. I learned this the hard way after ending up with a sad, soggy mess.
- Sear, Don’t Steam: Use medium-high heat and let the corn sit undisturbed for 2-3 minutes to get those golden, slightly charred edges. After burning three batches, I finally figured out that stirring too soon ruins the texture.
- Mince the Garlic Fine: Finely minced garlic distributes better and burns less than big chunks. My grandmother swore by this, and she was right—no one wants bitter, acrid bits in their corn.
- Salt in Stages: Add half the salt at the start and the rest at the end—this layers the flavor without overpowering the natural sweetness of the corn. Sounds weird, but it works.
Troubleshooting Perfect Results
Soggy Corn Fix
If your corn releases too much water, don’t stir it constantly. Let it sit undisturbed for 1-2 minutes at a time to allow moisture to evaporate. The key is patience—rushing leads to steamed rather than sautéed results. 💡
Burnt Garlic Rescue
Garlic burns fast in hot oil. If it browns too quickly, immediately lower heat to medium-low and add the corn early to cool the pan. Burnt garlic tastes bitter, so prevent it by keeping it moving in the oil.
Bland Flavor Fix
If the dish tastes flat, finish with an extra pinch of sea salt and a squeeze of lemon juice. These amplify natural sweetness. A dash of smoked paprika at the end also deepens the flavor profile.
Overcrowded Pan
Using a pan that’s too small steams the corn instead of browning it. If needed, cook in two batches to ensure each kernel gets direct heat contact. A 12-inch skillet works best for 4 cups of corn.
Charred Corn Prevention
Watch for dark brown spots forming on kernels. If they appear, reduce heat to medium and stir more frequently. Light golden edges are ideal; blackened spots mean the heat was too high for too long.
I often lower the heat halfway through cooking to maintain control. 🔥
Nutrition Facts
Frequently Asked Questions
Do I need to thaw the corn first?
No, cooking from frozen works best! Adding it directly to the hot pan helps create a light char. Thawing can make the kernels mushy.
What oil works best for this method?
Use 1.5 tbsp of a high-smoke-point oil like avocado or olive oil. These handle the medium-high heat without burning, giving you better flavor.
How do I prevent the corn from turning soggy?
Don’t overcrowd the pan and let it sit undisturbed for 1-2 minutes between stirs. This allows moisture to evaporate, keeping kernels crisp-tender.
Can I add other vegetables to this?
Yes! Bell peppers or onions work well. Add them with the garlic so they cook evenly. Keep the total volume under 5 cups for best results.

- 6 Egg Cake Recipe with Oil: Light as Air With Buttery Moisture - October 4, 2026
- 4 Bean Casserole Recipe: One-Pan Heartiness With Smoky Paprika Depth - October 4, 2026
- 3-Ingredient Keto Mug Cake Recipe: Microwave Magic in 2 Minutes - October 4, 2026