
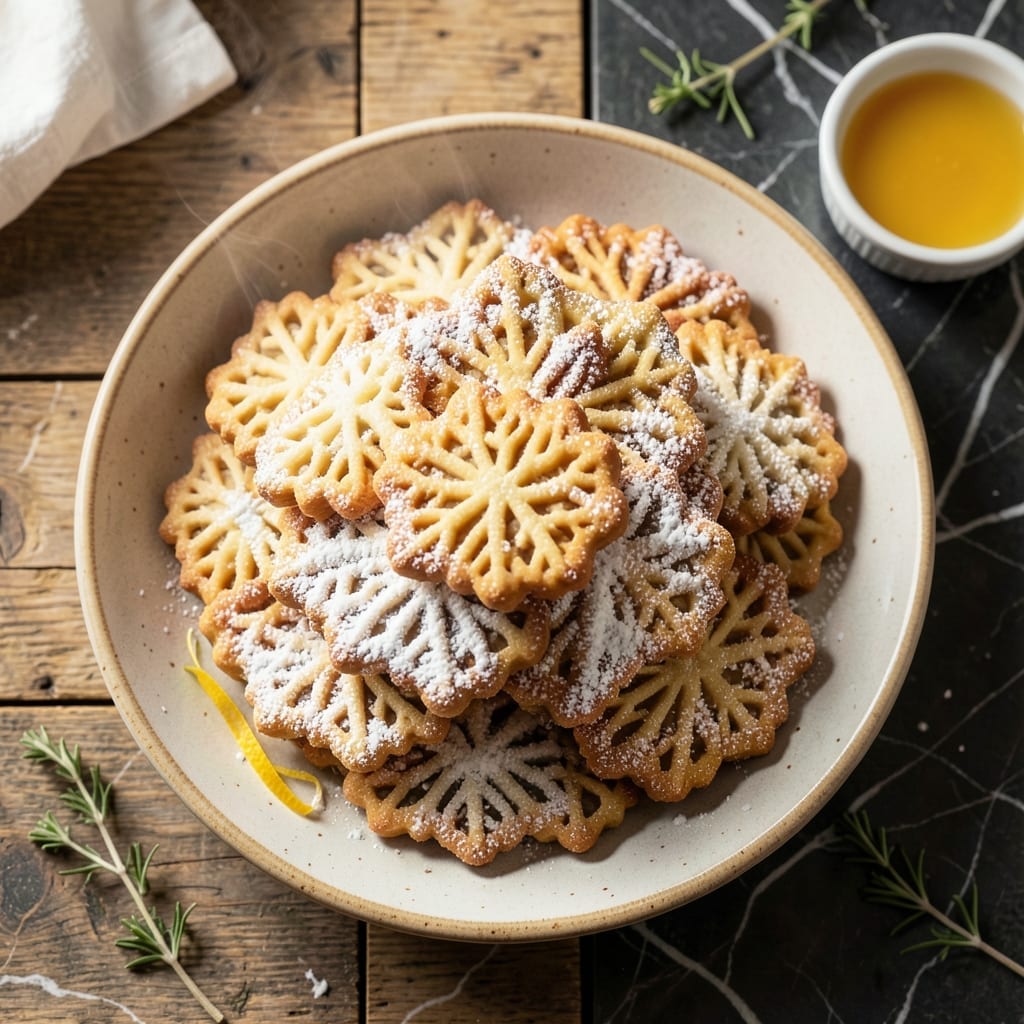
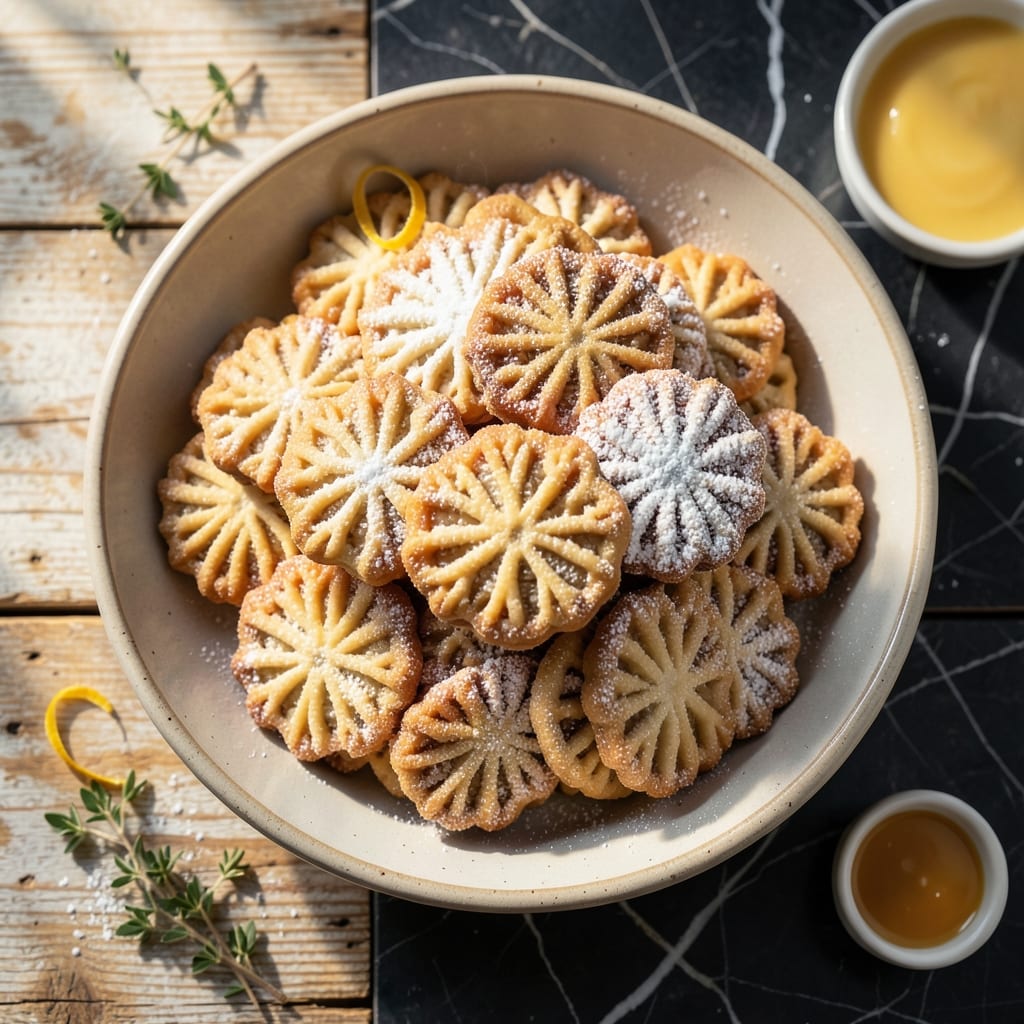
This traditional Italian cookie delivers crispy, delicate waffle patterns with a buttery vanilla flavor.
Using a pizzelle iron, the batter transforms into golden, lacy cookies that stay perfectly crunchy for days.
Ingredients for Recipe for Italian Pizzelle
These classic ingredients create golden, lacy waffle cookies with authentic Italian flavor.
| Ingredient | Amount | Notes |
|---|---|---|
| All-Purpose Flour 🌾 | 2 cups | Sifted for even texture |
| Granulated Sugar 🍚 | ¾ cup | Fine white sugar preferred |
| Unsalted Butter 🧈 | ½ cup | Melted and cooled slightly |
| Large Eggs 🥚 | 3 whole | Room temperature for best results |
| Pure Vanilla Extract 🌿 | 1 tbsp | High-quality for best flavor |
| Baking Powder 🧂 | 1 tsp | Ensures light, crisp texture |
| Salt 🧂 | ¼ tsp | Fine sea salt recommended |
| Anise Seed 🌿 | 1 tbsp | Traditional Italian flavoring |
| Lemon Zest 🍋 | 1 tsp | Freshly grated for brightness |
| Orange Zest 🍊 | 1 tsp | Freshly grated for depth |
| Powdered Sugar 🍚 | ½ cup | For dusting finished cookies |
[recipeingredientscaler]
The flour is the foundation here. King Arthur or Gold Medal all-purpose flour deliver consistent results. Use fine white sugar—coarse sugar won’t dissolve properly in the batter. The butter must be unsalted to control the flavor profile precisely. For best texture, ensure all ingredients are at room temperature before mixing.
No anise seed? Anise extract at one-third the amount works, or omit entirely for a vanilla-only version. The citrus zest is flexible—use just lemon or just orange if that’s what you have. For a richer flavor, brown the butter before cooling. Eggs are non-negotiable for structure, but ensure they’re fresh for optimal rise.
The batter keeps in the fridge for 24 hours if tightly covered. Baked pizzelle stay crisp for 5 days in an airtight container at room temperature. Dust with powdered sugar just before serving to keep them looking fresh.
Why You’ll Love This Recipe
- One-Bowl Wonder: I mix everything in a single bowl—flour, sugar, melted butter, eggs, and vanilla—then press and bake. No fuss, no extra dishes.
- Vanilla-Butter Magic: The combo of rich butter and pure vanilla gives these pizzelle that warm, nostalgic sweetness you just can’t fake.
- Holiday MVP: Between us, these are my secret weapon for Christmas cookie swaps, but they’re so good I make them year-round.
- Budget-Friendly Batch: A few pantry staples and less than an hour yield dozens of these crispy, delicate cookies—perfect for gifting or snacking.
Step-by-Step Instructions for Italian Pizzelle
Achieve perfectly crisp waffle cookies with this time-tested traditional method.
Step 1: Prepare the Batter Foundation
In a large mixing bowl, whisk together the 2 cups All-Purpose Flour, 1 tsp Baking Powder, and 0.25 tsp Salt until fully combined. Sifting the flour first, as noted in the ingredients, ensures the lightest possible texture in your finished cookies.
Create a well in the center of your dry ingredients. This traditional technique helps incorporate wet ingredients evenly without overmixing, which can develop gluten and make your pizzelle tough rather than delicate.
Step 2: Emulsify Wet Ingredients with Aromatics
In a separate bowl, beat the 3 whole Large Eggs with the 0.75 cup Granulated Sugar until pale and slightly thickened, about 3-4 minutes. The mixture should ribbon off the whisk when lifted.
Slowly drizzle in the 0.5 cup Unsalted Butter (melted and cooled) while continuing to whisk. Add the 1 tbsp Pure Vanilla Extract, 1 tbsp Anise Seed, 1 tsp Lemon Zest, and 1 tsp Orange Zest. The combination of citrus zests brightens the anise flavor, creating that authentic Italian profile.
Step 3: Combine and Rest the Dough
Gradually pour the wet mixture into the well of dry ingredients, stirring gently with a wooden spoon until just combined. The batter will be thick but pourable—similar to pancake batter. Be careful not to overmix; a few lumps are fine and will disappear during cooking.
Cover the bowl and let the batter rest at room temperature for 30 minutes. This resting period allows the flour to fully hydrate and the baking powder to activate, ensuring your pizzelle develop their characteristic crisp texture during cooking.
Step 4: Cook in Pizzelle Iron to Golden Perfection
Preheat your pizzelle iron according to manufacturer’s instructions (typically medium-high heat). Lightly brush the iron with oil or melted butter to prevent sticking, though most modern irons are non-stick.
Drop 1 tablespoon of batter onto each patterned section of the hot iron. Close the lid and cook for 30-45 seconds or until the cookies are golden brown and crisp. The exact time depends on your iron’s heat and the thickness of your batter.
Step 5: Cool and Finish with Powdered Sugar
Carefully remove the hot cookies with a fork and transfer to a wire rack to cool completely. They’ll crisp up further as they cool—this is normal and desired. Work in batches until all batter is used, brushing the iron with oil between batches if needed.
Once completely cooled, dust generously with 0.5 cup Powdered Sugar using a fine-mesh sieve. The contrast between the crisp cookie and the delicate sugar dusting is what makes pizzelle so special. Serve immediately or store in an airtight container for up to 1 week.
Pro Tips For Making Recipe For Italian Pizzelle
- Chill the Dough: After mixing, refrigerate the dough for at least 30 minutes—I learned this the hard way when my first batch spread too thin in the iron. The butter firms up, making it easier to handle and giving you cleaner designs.
- Use Room-Temp Eggs: Sounds weird, but it works: pulling eggs out of the fridge 30 minutes before mixing guarantees they emulsify better with the butter and sugar, so your pizzelle stay tender instead of dense.
- Preheat the Iron: Skip the waiting and preheat your pizzelle iron for a full 10 minutes before the first batch. I used to rush this part and wondered why my cookies were pale and greasy.
- Add Extra Vanilla: My grandmother swore by this, and she was right: double the vanilla extract to 2 teaspoons for a richer flavor that actually changes the outcome.
Essential Equipment for This Dish
Must-Have Tools
To make authentic Italian pizzelle, a pizzelle iron is non-negotiable. Electric models like the CucinaPro Pizzelle Press or Villaware Pizzelle Maker offer even heating and classic patterns. These irons feature two plates that press the batter into thin, crisp waffle cookies with traditional designs. Without one, achieving the signature texture and shape is nearly impossible.
You’ll also need a mixing bowl, whisk, and measuring cups for the batter. A sturdy spoon or spatula helps transfer the thick dough onto the hot iron efficiently.
Nice-to-Have
A stand mixer (like a KitchenAid) can save time and effort when combining ingredients, especially for large batches. A cooling rack keeps pizzelle crisp by allowing air circulation, preventing sogginess. For extra flair, a powdered sugar sifter adds a delicate finishing touch.
If you love decorating, consider a pastry brush for egg wash or melted butter applications before baking.
Budget Alternatives
If a pizzelle iron isn’t in your budget, check thrift stores or borrow one—older, cast-iron models (like Nonstick Pizzelle Irons) can work if well-seasoned. A hand mixer or even a fork can replace a stand mixer in a pinch. For cooling, a wire rack from a toaster oven or upside-down baking sheet can substitute.
While not ideal, these workarounds can help you try the recipe before investing in specialized tools. 💡
Nutrition Facts

- 6 Egg Cake Recipe with Oil: Light as Air With Buttery Moisture - October 4, 2026
- 4 Bean Casserole Recipe: One-Pan Heartiness With Smoky Paprika Depth - October 4, 2026
- 3-Ingredient Keto Mug Cake Recipe: Microwave Magic in 2 Minutes - October 4, 2026