
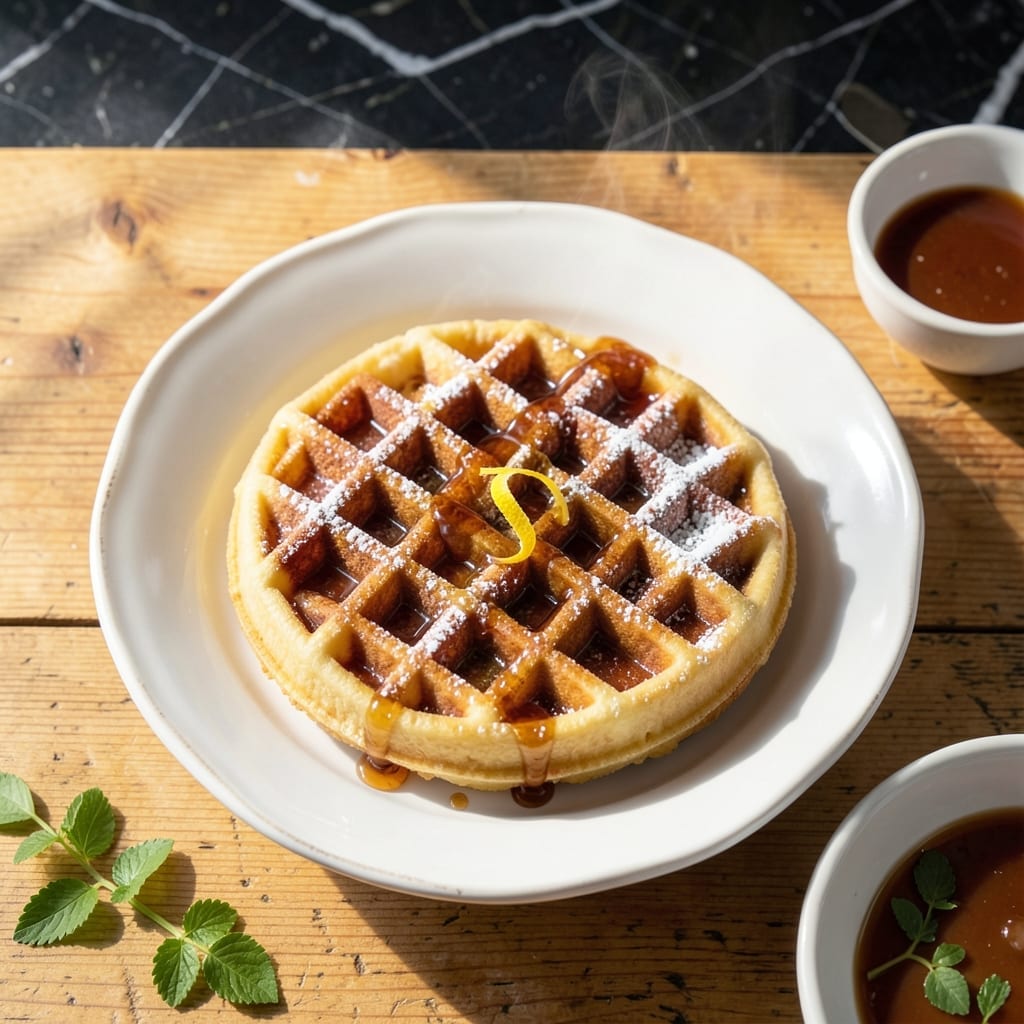
Some mornings call for waffles, not a full batch—just one perfectly crisp golden square. This recipe delivers exactly that with no leftovers or waste.
The secret lies in precise measurements and a hot waffle iron. A simple batter of flour, egg, milk, and baking powder comes together in minutes. Cook until steam stops and the exterior turns crispy.
What emerges is a single waffle with a tender interior and shatteringly crispy edges. The deep pockets are ideal for holding syrup, fruit, or whipped cream.
Top with berries, nuts, or a dusting of powdered sugar for a perfect single-serving breakfast.
Ingredients for Recipe for One Waffle
Eight simple ingredients for that perfect single crispy golden waffle with no leftovers.
| Ingredient | Amount | Notes |
|---|---|---|
| All-Purpose Flour 🌾 | ½ cup | Spoon and level for accuracy |
| Granulated Sugar 🍚 | 1 tbsp | Adds subtle sweetness |
| Baking Powder 🧂 | ½ tsp | Ensures proper rise |
| Salt 🧂 | ¼ tsp | Balances sweetness |
| Large Egg 🥚 | 1 whole | Room temperature preferred |
| Whole Milk 🥛 | ½ cup | Full-fat for richness |
| Vegetable Oil 🫒 | 2 tbsp | Or melted butter |
| Vanilla Extract 🌿 | ½ tsp | Pure vanilla recommended |
The flour is the foundation here. King Arthur all-purpose is my go-to for consistent results, but any brand works. Measure by spooning into the cup and leveling off—scooping directly from the bag packs it down. The baking powder needs to be fresh to get that lift. Check the expiration date if your waffles aren’t rising properly.
No whole milk? Any milk substitute works at a 1:1 ratio (oat milk is my favorite here). Out of vegetable oil? Melted butter at the same amount adds richness. Want it sweeter? Add another tablespoon of sugar. The vanilla can be skipped, but it adds that warm, bakery flavor. Homemade vanilla extract is worth the investment if you bake often.
Batter keeps in the fridge for 24 hours, but it’s best used immediately. Leftover waffles freeze beautifully—reheat in a toaster for 2-3 minutes. The oil in the batter means they won’t dry out. Portion batter into an ice cube tray for easy single servings later.
Why You’ll Love This Recipe
- No Fuss Mixing: I just dump the flour, sugar, baking powder, salt, and one egg in a bowl—no fancy steps, no mess.
- That Golden Crisp: The sugar caramelizes just enough to give it that perfect crunch with a tender inside.
- Single Serving Magic: It’s my go-to when I want a warm waffle without a week’s worth of leftovers.
- Pantry Staples Only: Honestly, I always have these ingredients on hand, so it’s a lifesaver for sudden cravings.
Step-by-Step Instructions for One Waffle
Here’s the method for achieving golden, crispy results with perfectly balanced texture and flavor.
Step 1: Combine the Dry Ingredients
In a medium bowl, whisk together the 0.5 cup All-Purpose Flour, 1 tbsp Granulated Sugar, 0.5 tsp Baking Powder, and 0.25 tsp Salt until fully combined. I always spoon the flour into the measuring cup and level it off to avoid compacting it, which would make the waffle dense.
This step ensures the leavening agent is evenly distributed, so every bite has consistent rise and texture. The baking powder activates once it meets the wet ingredients, so don’t mix the dry components with liquids until you’re ready to cook.
Step 2: Whisk the Wet Ingredients
In a separate bowl, crack the 1 whole Large Egg and whisk it lightly. Add the 0.5 cup Whole Milk, 2 tbsp Vegetable Oil, and 0.5 tsp Vanilla Extract, then whisk until the mixture is smooth and fully emulsified. The oil should be fully incorporated with no visible separation.
Using room-temperature egg and milk helps create a uniform batter that rises evenly. The vanilla extract adds depth to the flavor, while the oil ensures a crisp exterior without making the waffle greasy.
Step 3: Create the Batter
Pour the wet ingredients into the bowl with the dry ingredients. Use a spatula to gently fold the mixture together until just combined. A few small lumps are fine—overmixing will develop the gluten in the flour, leading to a tough waffle.
The batter should be thick but pourable. If it seems too thin, let it rest for 2-3 minutes to allow the flour to hydrate. This brief rest also helps the baking powder begin its work, ensuring a light, airy texture.
Step 4: Cook to Crispy Perfection
Preheat your waffle iron to medium-high heat. Once hot, lightly grease the plates if your model isn’t nonstick. Pour the batter onto the center of the iron, spreading it slightly if needed—this recipe makes enough for one standard waffle.
Close the lid and cook for 3-5 minutes, or until the waffle is deep golden brown and crisp. Avoid opening the iron too soon; the waffle is ready when it releases easily and the steam has mostly subsided. For extra crispiness, cook it an additional 1-2 minutes beyond the iron’s indicator light.
Pro Tips For Making Recipe For One Waffle
- Preheat the Iron: I learned this the hard way—crank your waffle iron to medium-high and let it heat for at least 5 minutes before adding batter. A cold iron means uneven cooking and soggy edges.
- Whisk the Egg Well: Sounds weird, but it works: beat the egg for a full 30 seconds until frothy. It adds air and lightness to the batter, which makes a real difference with just one waffle.
- Don’t Overmix: After burning three batches, I finally figured out that stirring the batter just until the flour disappears is crucial. Overmixing makes the waffle tough and dense.
- Use a Little Oil: My grandmother swore by this, and she was right: brush the iron with about 1 teaspoon of oil before cooking. It guarantees a crisp exterior without sticking—yes, even if it’s nonstick.
Dietary Considerations for recipe for one waffle
Gluten-Free Option
Swap the 0.5 cup All-Purpose Flour for a 1:1 gluten-free baking blend. I recommend King Arthur Measure for Measure for best texture. Add ½ tsp xanthan gum if your blend doesn’t include it. The batter may be slightly thicker.
Dairy-Free Substitutes
Replace the 0.5 cup Whole Milk with any unsweetened dairy-free milk like oat or almond. Use 2 tbsp coconut oil instead of vegetable oil for a subtle coconut flavor. The waffle will still crisp up beautifully.
Vegan Version
Use 1 tbsp ground flaxseed + 3 tbsp water as an egg substitute. Choose plant-based milk and oil. The texture will be slightly denser but still delicious. I’ve had great results with this approach.
Lower Sugar
Reduce the 1 tbsp Granulated Sugar to 1 tsp or omit entirely. Add ½ tsp cinnamon for warmth without sweetness. Top with fresh fruit instead of syrup to keep sugar in check. 💪
Lower Fat
Replace the 2 tbsp Vegetable Oil with 2 tbsp unsweetened applesauce. The waffle may be slightly less crisp but still tender. This swap works well if you’re watching fat intake.
Nut-Free Guarantee
This recipe is naturally nut-free, but always check your baking powder for additives. Use oat milk certified nut-free if cross-contamination is a concern. Perfect for school-safe breakfasts.
Nutrition Facts
Frequently Asked Questions
Can I use a different type of flour?
Yes! A 1:1 gluten-free blend works well, though you may need to add ½ tsp xanthan gum. Whole wheat flour can be used but may make the waffle denser.
Why did my waffle turn out soggy?
This usually happens if the iron isn’t hot enough or the waffle is removed too soon. Ensure your iron is at medium-high heat and cook until deep golden brown. Let it crisp for an extra 1-2 minutes after steam stops.
How can I make it extra crispy?
Use melted butter instead of oil in the batter and cook a little longer. Placing the cooked waffle in a 200°F oven for 5 minutes can help maintain crispness.
Can I prepare the batter ahead of time?
Batter keeps in the fridge for up to 24 hours. Stir before using, and add a splash of milk if it thickens too much. Avoid overmixing when reheating.

- 6 Egg Cake Recipe with Oil: Light as Air With Buttery Moisture - October 4, 2026
- 4 Bean Casserole Recipe: One-Pan Heartiness With Smoky Paprika Depth - October 4, 2026
- 3-Ingredient Keto Mug Cake Recipe: Microwave Magic in 2 Minutes - October 4, 2026