
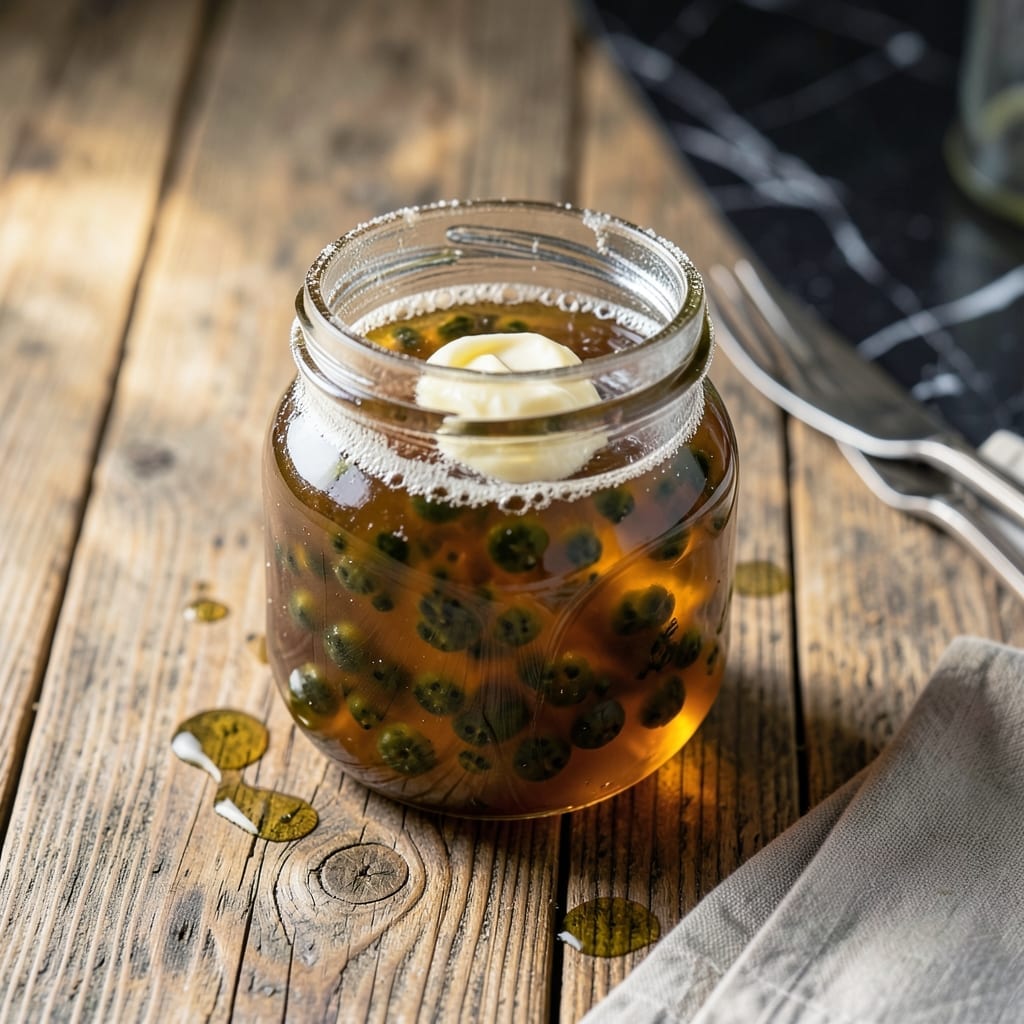
There’s a special satisfaction in making your own jelly, and gooseberry jelly might just be the most rewarding of all. This tart, glossy spread captures the bright essence of fresh gooseberries, balanced perfectly with sugar to create a versatile condiment.
The process is simpler than you might think—just simmer the berries with sugar, strain, and let it set. The result is a vibrant, jewel-like jelly that’s ideal for toast, pastries, or pairing with cheeses.
Unlike store-bought versions, homemade gooseberry jelly has a depth of flavor that’s hard to match. Its natural tanginess makes it a standout addition to both sweet and savory dishes.
Once you try this, you’ll never go back to commercial spreads. Here’s how to make it at home.
Ingredients for Recipe Gooseberry Jelly
Six simple ingredients transform into this vibrant, jewel-toned homemade spread.
| Ingredient | Amount | Notes |
|---|---|---|
| Fresh Gooseberries 🫐 | 4 cups | Rinsed, stems and tails removed |
| Granulated Sugar 🍚 | 3 cups | White sugar preferred for clarity |
| Lemon Juice 🍋 | ¼ cup | Freshly squeezed for brightness |
| Water 💧 | ½ cup | For initial simmering |
| Pectin 🥄 | 1 package | Powdered pectin for setting |
| Vegan Butter 🧈 | ½ tsp | Optional, prevents foam |
The gooseberries are the soul of this jelly. Farmers markets are your best bet for fresh, firm berries (avoid the soft, mushy ones). If you’re foraging, pick them slightly underripe for more pectin. I once found a great stash at Whole Foods—small but perfectly tart. Sugar is non-negotiable here; don’t skimp or the jelly won’t set properly.
No fresh gooseberries? Frozen works in a pinch—just thaw and drain them first. Out of lemon juice? Bottled works at half the amount. For a sugar-free version, pectin designed for low-sugar recipes is a must. The vegan butter is totally optional, but it does help reduce foam if you’re making a big batch.
Jelly keeps beautifully. Once set, store in sterilized jars for up to 1 year unopened, or 3 months in the fridge after opening. Always use a clean spoon to prevent mold. A dark cupboard is best for unopened jars.
Why You’ll Love This Recipe
- No-Fuss Cooking: I just dump gooseberries, sugar, and lemon juice in a pot and let the pectin do its magic.
- Tart & Sweet: The sharp gooseberry tang balanced with sugar hits that perfect sweet-tart spot every time.
- Endless Uses: It’s my go-to for toast, cheese boards, or even stirred into yogurt.
- Pantry Hero: One batch makes jars I can gift or stash for months—no waste, all reward.
Step-by-Step Instructions for Gooseberry Jelly
Here’s your foolproof method for achieving that perfect glossy, jewel-toned spread every time.
Step 1: Prepare and Cook the Gooseberries
Rinse the 4 cups Fresh Gooseberries and remove any remaining stems and tails. Place them in a large, heavy-bottomed pot with the 0.5 cup Water. Bring to a boil over medium-high heat, then reduce to medium and simmer for 10-12 minutes, stirring occasionally, until the berries burst and soften completely.
You’ll know they’re ready when they’ve broken down into a thick, pulpy mixture. I use a potato masher to help break them up if needed. This step extracts all that tart, vibrant flavor that defines gooseberry jelly.
Step 2: Strain and Measure the Pulp
Transfer the cooked gooseberries to a fine-mesh sieve or jelly bag set over a large bowl. Let it drip naturally for 15-20 minutes—don’t press or squeeze, as this can make your jelly cloudy. You should end up with about 3 cups of clear, deep pink juice.
Discard the solids and return the juice to your pot. This is where the magic happens—the clear juice ensures your final jelly will have that beautiful, transparent quality that makes it so appealing on toast or scones.
Step 3: Add Pectin and Sugar
Stir the 1 package Pectin into the gooseberry juice until fully dissolved. Then add the 3 cups Granulated Sugar all at once. Stir well to combine, making sure there are no sugar crystals left on the bottom of the pot.
Bring the mixture to a full rolling boil over high heat, stirring constantly. A full rolling boil is one that can’t be stirred down—this is crucial for proper setting. Add the 0.25 cup Lemon Juice and the 0.5 tsp Vegan Butter to prevent foaming.
Step 4: Boil and Test for Doneness
Once you’ve reached a full rolling boil, start your timer and boil hard for exactly 1 minute, stirring constantly. Then remove from heat. To test for doneness, place a small spoonful on a chilled plate and let it sit for 30 seconds. Push the edge with your finger—if it wrinkles, it’s ready.
If it doesn’t wrinkle, return the pot to the heat and boil for another 30-60 seconds, then test again. This wrinkle test is more reliable than temperature for jelly, as it shows you’ve reached the perfect gel point.
Step 5: Jar and Seal
Ladle the hot jelly into sterilized jars, leaving ¼-inch headspace. Wipe the rims clean with a damp cloth, then apply lids and rings. Process in a water bath for 10 minutes to seal, or let cool completely before refrigerating for short-term storage.
As the jelly cools, you’ll hear the satisfying “ping” of the lids sealing. The jelly will continue to set as it cools, reaching its final, perfect consistency. Store in a cool, dark place and enjoy that tart, glossy spread on toast, scones, or even as a glaze for meats.
Pro Tips For Making Recipe Gooseberry Jelly
- Test for Ripeness: Press a few gooseberries before cooking—if they burst easily under gentle pressure, they’re ready. Underripe ones will make your jelly tart and slow to set.
- Skim the Foam: As it boils, a thick foam will rise to the top; skim it off with a spoon for a crystal-clear jelly. I learned this the hard way after my first batch looked cloudy.
- Use a Candy Thermometer: Cook the jelly to 220°F for the perfect set, or it’ll stay runny. After burning three batches, I finally bought one and never looked back.
- Add Lemon Last: Stir in the lemon juice in the final 5 minutes of cooking to preserve its bright flavor. Sounds weird, but it works—otherwise, the acidity can interfere with pectin setting.
Common Mistakes When Making Perfect Results
Overcooking Berries
Don’t let the gooseberries simmer too long in the initial cooking step. Overcooking breaks down the natural pectin that helps your jelly set. I stick to 10-12 minutes max, just until they burst and soften. Any longer and you risk a runny final product. 🌡️
Skipping the Strain
Never press or squeeze the cooked berries in the strainer. This forces pulp into the juice, making your jelly cloudy instead of that beautiful, clear jewel tone. Let it drip naturally for 15-20 minutes—patience pays off here.
Sugar Shortcuts
Using less than 3 cups sugar for this recipe will prevent proper gelling. Sugar isn’t just for sweetness; it’s essential for the chemical reaction with pectin. If you want a lower-sugar version, use special low-sugar pectin and follow its specific instructions.
Boiling Faux Pas
A gentle simmer won’t cut it for the final boil. You need a full rolling boil that can’t be stirred down for exactly 1 minute. If you don’t hit this, your jelly won’t set properly. I use a wide pot to prevent boil-overs.
Testing Too Soon
Don’t test for doneness until after the hard boil. Place your test spoonful on a chilled plate and wait the full 30 seconds before pushing the edge. If it doesn’t wrinkle, boil for another 30-60 seconds and retest. 💡
Jar Prep Neglect
Always sterilize your jars before filling. I run mine through the dishwasher’s hottest cycle or boil them for 10 minutes. Even a speck of bacteria can spoil your beautiful jelly. Wipe the rims thoroughly before sealing to ensure a proper vacuum.
Nutrition Facts
Frequently Asked Questions
What if my jelly doesn’t set properly?
It likely needs more boiling time. Return it to the pot and boil for another 1-2 minutes, then retest. If it still won’t set, you may need to add a bit more pectin next time.
Can I reduce the sugar in this recipe?
Sugar is crucial for gelling, but you can use low-sugar pectin and follow its specific instructions. Expect a softer set and tangier flavor with less sweetness.
How long will homemade gooseberry jelly last?
Unopened jars keep for up to 1 year in a cool, dark place. Once opened, store in the fridge and use within 3 months. Always use a clean spoon.
Why did my jelly turn out cloudy?
Cloudiness usually comes from pressing the berries during straining. Next time, let the juice drip naturally for 15-20 minutes without squeezing.

- 6 Egg Cake Recipe with Oil: Light as Air With Buttery Moisture - October 4, 2026
- 4 Bean Casserole Recipe: One-Pan Heartiness With Smoky Paprika Depth - October 4, 2026
- 3-Ingredient Keto Mug Cake Recipe: Microwave Magic in 2 Minutes - October 4, 2026