
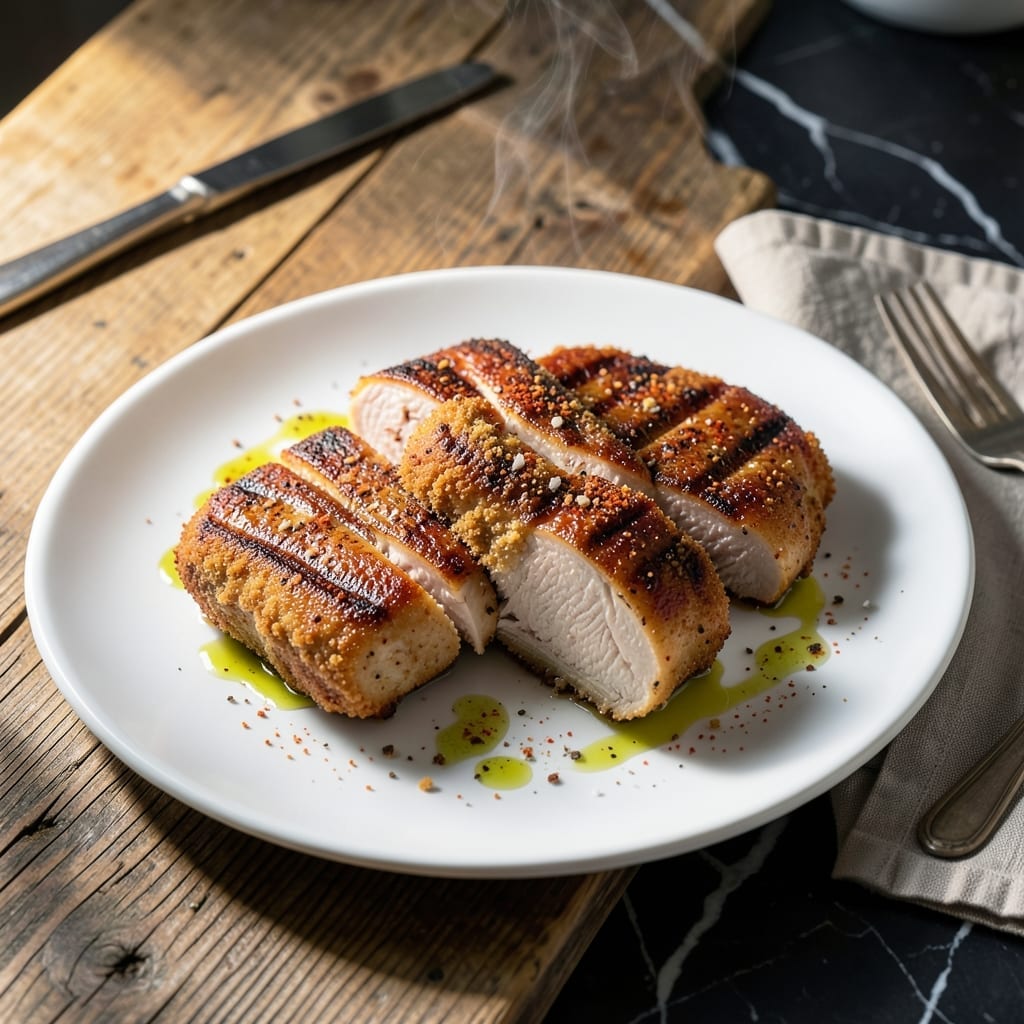
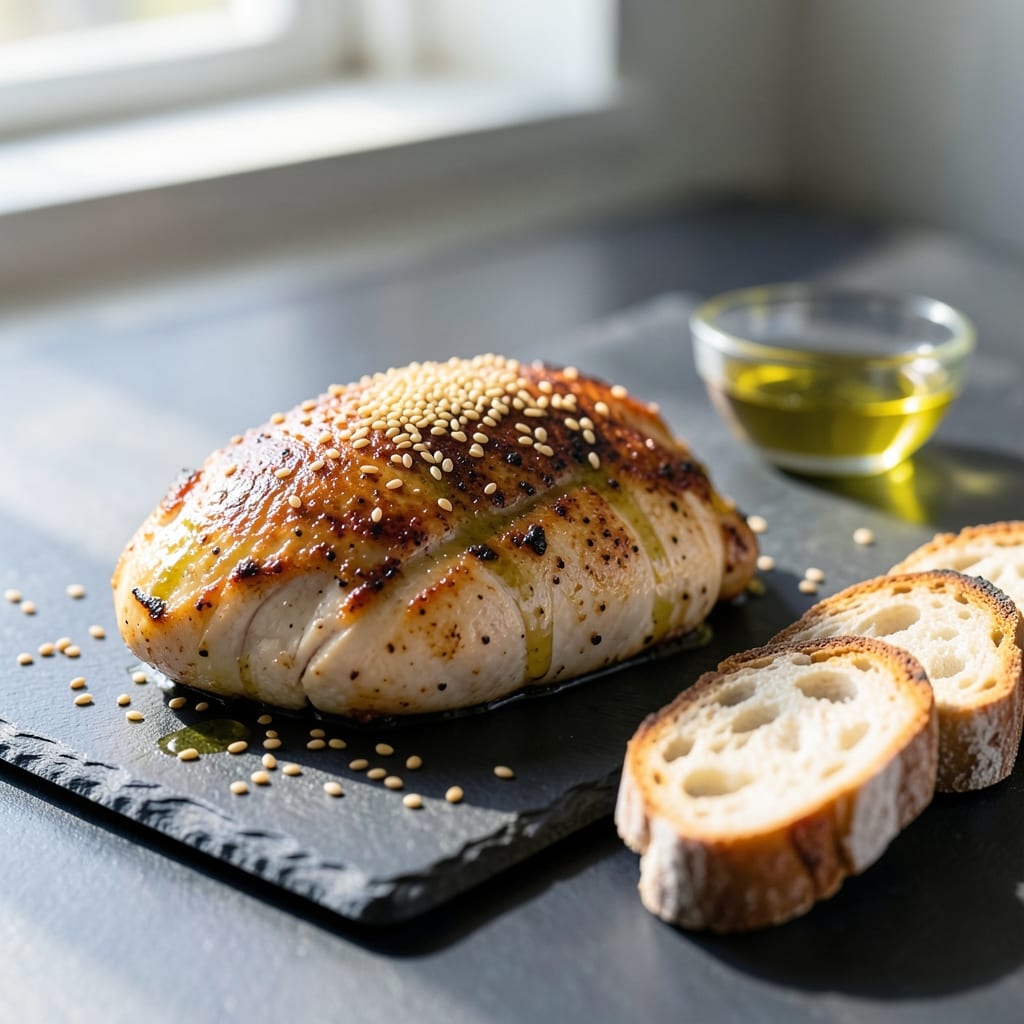
Mastering pan-fried chicken breast starts with the right technique. This method delivers juicy centers every time.
High heat, precise timing, and proper resting ensure golden crust and tender meat. Simple ingredients, professional results.
Ingredients for Recipe of Chicken Breast Pan Fried
Simple ingredients deliver professional pan-fried chicken breast with juicy centers and golden crust.
| Ingredient | Amount | Notes |
|---|---|---|
| Boneless Skinless Chicken Breast 🍗 | 1 ½ lb | Even thickness for consistent cooking |
| All-Purpose Flour 🌾 | ½ cup | For light dredging |
| Kosher Salt 🧂 | 1 ½ tsp | Diamond Crystal preferred |
| Freshly Ground Black Pepper 🌶️ | ½ tsp | Coarse grind ideal |
| Garlic Powder 🧄 | 1 tsp | Not garlic salt |
| Paprika 🌶️ | 1 tsp | Sweet or smoked variety |
| Vegetable Oil 🫒 | 3 tbsp | High smoke point required |
| Unsalted Butter 🧈 | 2 tbsp | For finishing and basting |
| Fresh Thyme Sprigs 🌿 | 4 pieces | Optional for aroma |
| Fresh Rosemary Sprigs 🌿 | 2 pieces | Optional for aroma |
| Lemon Wedges 🍋 | 4 pieces | For serving |
[recipeingredientscaler]
The chicken breast quality is paramount. Opt for air-chilled, organic if possible—this yields superior texture and flavor. Ensure uniform thickness by pounding with a meat mallet (the thick end tends to cook unevenly). Whole Foods or Costco carry reliable options. For the flour, all-purpose works perfectly; no need for specialty types. The spices should be freshly opened within 6 months for optimal potency.
No garlic powder? Fresh minced garlic at double the amount works, but may burn more easily. Swap paprika for cayenne for heat or omit entirely. Vegetable oil can be replaced with avocado oil (higher smoke point) or clarified butter for richer flavor. For dairy-free, use olive oil instead of butter. The herbs are optional but fresh thyme and rosemary elevate the aroma significantly.
Store raw chicken in the coldest part of the fridge and use within 2 days of purchase. Leftovers keep for 3-4 days refrigerated or 3 months frozen. Reheat gently in a skillet with a splash of water to prevent drying. Always bring chicken to room temperature before cooking for even doneness.
Why You’ll Love This Recipe
- One Pan Wonder: I love that it’s just chicken, flour, and a few spices—no fuss, no extra dishes.
- Garlic-Kissed Crisp: Honestly, the garlic powder in the flour gives it that golden, savory crust I crave.
- Weeknight Savior: Between us, this is my go-to for quick dinners or meal prep—ready before the rice finishes.
- Budget Friendly: A pound of chicken breasts, some pantry staples, and I’ve fed four for less than a takeout run.
Step-by-Step Instructions for Chicken Breast Pan Fried
Master the technique for a perfect golden crust and juicy interior every time.
Step 1: Prepare and Season the Chicken Breasts
Begin by slicing the 1.5 lb boneless skinless chicken breast horizontally into even ½-inch thick cutlets. This ensures uniform cooking and prevents dry, overcooked edges. Place each piece between plastic wrap and pound lightly to an even thickness with a meat mallet.
Pat the cutlets completely dry with paper towels—moisture is the enemy of a good sear. Season both sides generously with the 1.5 tsp kosher salt, 0.5 tsp freshly ground black pepper, 1 tsp garlic powder, and 1 tsp paprika. This dry brine will enhance flavor and moisture retention.
Step 2: Dredge and Rest for Crispy Coating
Spread the 0.5 cup all-purpose flour on a large plate. Lightly dredge each seasoned cutlet in the flour, pressing gently to adhere and shaking off any excess. The flour creates a delicate crust that browns beautifully without becoming gummy.
Let the dredged cutlets rest on a wire rack for 10 minutes. This brief rest allows the flour to absorb some surface moisture, creating a tighter bond to the chicken and preventing it from flaking off during cooking.
Step 3: Pan-Fry to Golden Perfection
Heat the 3 tbsp vegetable oil in a large, heavy skillet over medium-high heat until it shimmers but doesn’t smoke. Carefully place the cutlets in the pan, leaving space between each piece to prevent steaming. Cook undisturbed for 4-5 minutes per side until the coating is deep golden brown and crisp.
Resist the urge to move the chicken—this is how you achieve that coveted crust. The cutlets are ready to flip when they release easily from the pan. For the final 2 minutes of cooking, add the 2 tbsp unsalted butter, along with the 4 pieces fresh thyme sprigs and 2 pieces fresh rosemary sprigs, to the pan. Tilt slightly and baste the chicken with the foaming butter and herbs continuously.
Step 4: Rest and Serve with Bright Acid
Transfer the cooked chicken to a wire rack set over a plate to maintain crispness. Tent loosely with foil and let rest for 5 minutes. This allows the juices to redistribute throughout the meat, ensuring every bite is moist and flavorful.
Serve immediately with the 4 pieces lemon wedges on the side. The bright acidity cuts through the richness of the buttery crust. Each piece should have a shatteringly crisp exterior giving way to tender, juicy meat within—no dry edges, no rubbery texture.
Pro Tips For Making Recipe Of Chicken Breast Pan Fried
- Pound Evenly: Use a meat mallet or rolling pin to pound the chicken breasts to an even ½-inch thickness—this guarantees they cook through at the same rate and prevents dry, overdone edges.
- Season the Flour: Mix the kosher salt, black pepper, and garlic powder directly into the flour before dredging; it sticks better and gives every bite consistent flavor.
- Skip the Overcrowding: I learned this the hard way—fry only one or two pieces at a time so the pan stays hot and the chicken gets a proper crust instead of steaming in its own juices.
- Rest Before Serving: Give the chicken a solid 5 minutes on a warm plate after cooking; it redistributes the juices so they don’t all spill onto the cutting board.
Essential Equipment for This Recipe
Must-Have Tools
To achieve that perfect golden crust on your pan-fried chicken breast 🍖, start with a heavy-bottomed skillet—like a cast-iron or stainless steel pan. These distribute heat evenly, preventing hot spots that can burn your chicken. A tongs is also essential for flipping the chicken without piercing it, keeping those juices locked in.
Don’t forget a meat thermometer to ensure your chicken reaches a safe 165°F internally. This tool takes the guesswork out of cooking and guarantees juicy, tender results every time.
Nice-to-Have
For extra convenience, consider a splatter screen to keep your stovetop clean while frying. A paper towel holder nearby is handy for quickly blotting excess oil from the pan or patting the chicken dry before cooking.
A kitchen scale can also help with portioning your chicken breasts evenly, ensuring uniform cooking. If you love crispy edges, a meat mallet helps tenderize and even out the thickness of the chicken for consistent results.
Budget Alternatives
No cast-iron skillet? A non-stick pan works in a pinch, though it may not sear as well. If you don’t have tongs, a spatula can work, but be gentle to avoid piercing the meat.
Skip the meat thermometer? Use the finger test—firm but springy to the touch means it’s done. For a splatter screen, a large lid placed partially over the pan can reduce mess while still allowing steam to escape.
Nutrition Facts

- 6 Egg Cake Recipe with Oil: Light as Air With Buttery Moisture - October 4, 2026
- 4 Bean Casserole Recipe: One-Pan Heartiness With Smoky Paprika Depth - October 4, 2026
- 3-Ingredient Keto Mug Cake Recipe: Microwave Magic in 2 Minutes - October 4, 2026