
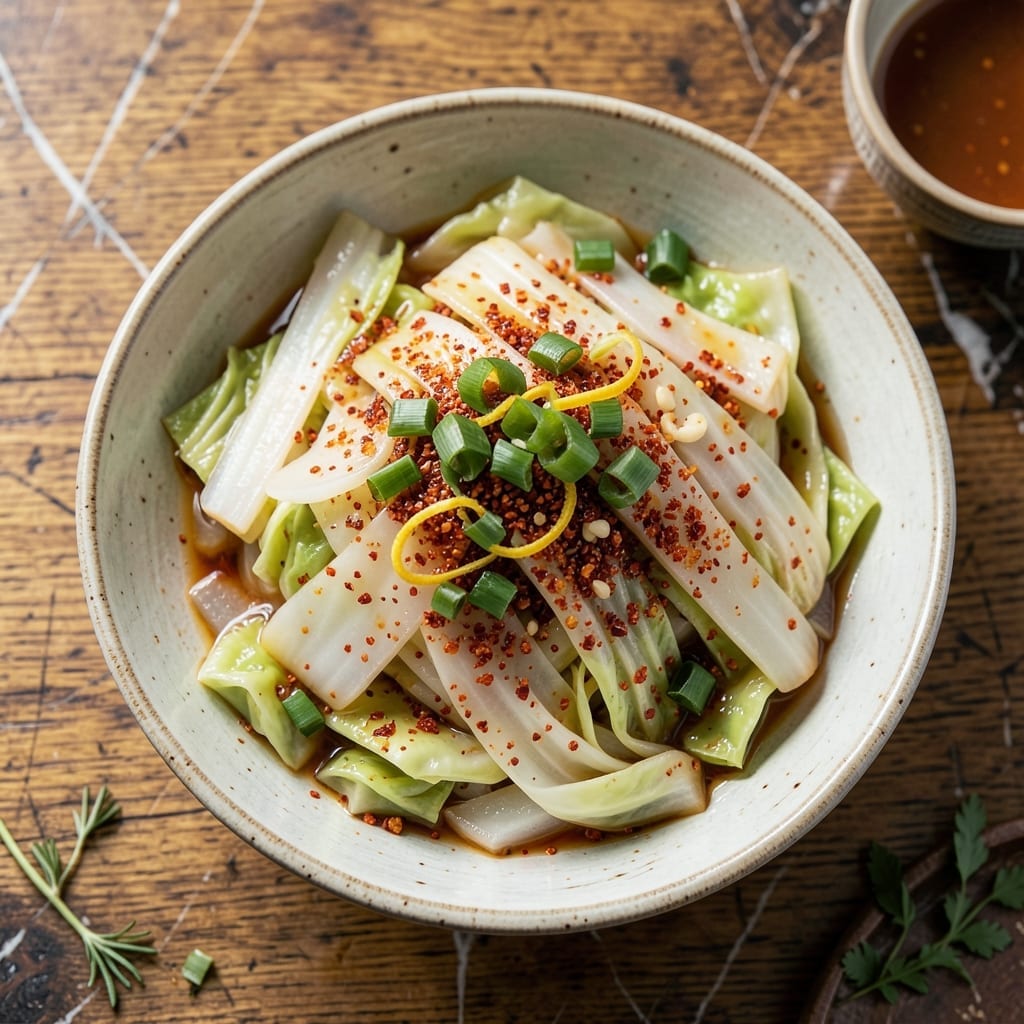
This traditional method delivers authentic Korean kimchi with its signature spicy, tangy flavor. The fermentation process transforms simple cabbage into a complex, probiotic-rich condiment.
Using precise techniques and quality ingredients ensures the proper balance of heat, acidity, and umami. The result is a crisp, vibrant kimchi that enhances any meal.
Ingredients for Recipe to Make Kimchi
Authentic fermentation starts with fresh cabbage, vibrant spices, and a few key supporting ingredients.
| Ingredient | Amount | Notes |
|---|---|---|
| Napa Cabbage 🥬 | 2 lb | Cored and quartered lengthwise |
| Kosher Salt 🧂 | ½ cup | Diamond Crystal preferred for consistency |
| Daikon Radish 🥕 | 8 oz | Julienned into matchsticks |
| Scallions 🧅 | 6 whole | Cut into 2-inch pieces |
| Korean Red Pepper Flakes 🌶️ | 1 cup | Gochugaru, coarse and vibrant |
| Minced Garlic 🧄 | ¼ cup | About 12 cloves, freshly minced |
| Fresh Ginger 🌿 | 1 tbsp | Peeled and finely grated |
| Fish-Free Korean Fish Sauce 💧 | ¼ cup | Vegan alternative for umami depth |
| Cane Sugar 🍚 | ¼ cup | Organic preferred for fermentation |
| Rice Flour 🌾 | ¼ cup | For porridge to thicken paste |
| Asian Pear 🍐 | ½ whole | Peeled, cored, and grated |
| Korean Chives 🌱 | ½ cup | Cut into 2-inch pieces |
| Water 💧 | 2 cups | For brine and porridge |
The cabbage is non-negotiable—Napa cabbage with crisp, unblemished leaves yields the best texture. Korean markets often carry the best gochugaru (look for coarse flakes, not fine powder). For the salt, Diamond Crystal kosher salt is the gold standard for kimchi-making due to its clean flavor and consistent grain size. Daikon radish adds crunch, so select firm, unbruised roots. The fish-free sauce is critical for vegan authenticity—Red Boat or Ocean’s Halo brands are excellent.
No Korean radish? Substitute with regular radish or carrot for color and texture. If gochugaru is unavailable, combine cayenne with sweet paprika at a 1:1 ratio (though the flavor won’t be identical). Fresh ginger and garlic are essential—powdered versions lack the brightness. For the porridge, all-purpose flour works in a pinch, but rice flour gives the traditional slightly chewy texture. The pear adds natural sweetness; Bosc or Anjou pears are ideal alternatives.
Fermented kimchi keeps for 1-2 weeks in the fridge, developing deeper flavor over time. Store in glass jars with airtight lids to prevent oxidation. The fermentation smell can be strong, so consider a dedicated kimchi fridge or a well-ventilated spot. Always use clean utensils when handling to avoid contamination.
Why You’ll Love This Recipe
- Minimal Effort: I just salt the cabbage, let it sit, and mix in the rest—no fancy techniques.
- Flavor Bomb: That punch of Korean red pepper flakes with the crisp daikon and scallions? Ridiculously good.
- Fridge Staple: I keep a jar in my fridge for fried rice, tacos, or straight from the container.
- Budget Friendly: Napa cabbage and daikon stretch far, and a little kimchi goes a long way in dishes.
Step-by-Step Instructions for Fermented Spicy Cabbage
Master this traditional technique to create vibrant, tangy kimchi with authentic Korean character.
Step 1: Salt the Napa Cabbage for Proper Fermentation
Begin by dissolving the 0.5 cup Kosher Salt in the 2 cups Water to create a brine. Submerge the 2 lb Napa Cabbage quarters in this solution, ensuring the leaves are fully coated. I use Diamond Crystal salt for consistent results—other brands may alter the salinity.
Let the cabbage soak for 1-2 hours, flipping the quarters halfway through. You’ll know it’s ready when the thickest stems bend easily without snapping. Rinse thoroughly under cold water to remove excess salt, then drain in a colander for 20 minutes. Proper salting prevents spoilage while maintaining crunch.
Step 2: Prepare the Kimchi Paste with Authentic Flavors
In a large bowl, whisk the 0.25 cup Rice Flour with 1 cup Water and cook over medium heat until it thickens into a smooth porridge. This creates the base for your paste. Cool completely before mixing with other ingredients.
Combine the cooled porridge with 1 cup Korean Red Pepper Flakes, 0.25 cup Minced Garlic, 1 tbsp Fresh Ginger, 0.25 cup Fish-Free Korean Fish Sauce, and 0.25 cup Cane Sugar. The paste should be thick and vibrant—adjust with a splash of water if needed. I find freshly grated ginger releases more aroma than powdered.
Step 3: Incorporate Vegetables for Texture and Depth
Add the 8 oz Daikon Radish (julienned), 6 whole Scallions (cut into 2-inch pieces), 0.5 whole Asian Pear (grated), and 0.5 cup Korean Chives to the paste mixture. The daikon provides crunch while the Asian pear adds natural sweetness that balances the heat.
Fold in the drained cabbage quarters, working the paste between each leaf. Wear gloves for this step—the capsaicin in the gochugaru can irritate skin. The mixture should coat every surface without being watery. Pack everything into clean glass jars or airtight containers, pressing down to remove air pockets.
Step 4: Ferment for Optimal Flavor Development
Leave the containers at room temperature for 1-2 days, depending on your preferred tang. You’ll notice bubbles forming and a sour aroma developing—this is fermentation in action. Taste after 24 hours; the kimchi should be slightly effervescent with a bright, spicy flavor.
Transfer to the refrigerator after initial fermentation. The flavors will continue to develop, becoming more complex over 1-2 weeks. For best results, wait at least 1 week before eating to allow the flavors to meld completely. The kimchi is ready when it has a pleasant sourness and the cabbage retains a slight crispness.
Pro Tips For Making Recipe To Make Kimchi
- Salt the Cabbage Right: Use 1/2 cup kosher salt per large Napa cabbage head and let it sit for 1-2 hours, flipping halfway—this draws out the right amount of water for crisp kimchi.
- Wear Gloves: Korean red pepper flakes will stain your hands and burn for hours; I learned this the hard way after skipping gloves my first three times.
- Rinse Thoroughly: After salting, rinse the cabbage under cold water 2-3 times to remove excess salt, or your kimchi will taste like the ocean.
- Use Fresh Daikon: Older daikon radish gets woody and bitter; pick firm, heavy roots for the best crunch in your kimchi.
Serving Suggestions for This recipe to make kimchi
Plating Styles 🥘
Kimchi can be served in various ways depending on the occasion. For casual meals, place it in a simple, rustic bowl or directly on the table as a shared side. For formal settings, use a sleek ceramic dish or a small banana leaf for an elegant touch. If serving at a buffet, arrange it in a large, shallow dish with serving utensils for easy access.
Garnishing Techniques ✨
Enhance the presentation with a sprinkle of toasted sesame seeds or finely chopped green onions on top. For a vibrant look, add a drizzle of sesame oil or a few slices of red chili peppers. A small side of extra kimchi juice can also be offered for those who enjoy a tangier kick.
Portion Sizes
For individual servings, a small bowl or ramekin works well, especially as a banchan (side dish) in a Korean meal. For family-style dining, a larger communal dish encourages sharing. Adjust portions based on the meal—smaller amounts for light snacks, larger for hearty feasts.
Serving Temperature ⏰
Kimchi is best served chilled or at room temperature to preserve its crisp texture and bold flavors. If fermenting at home, allow it to rest in the fridge for at least 24 hours before serving. For a refreshing twist, serve it cold straight from the fridge, or let it sit out for 10-15 minutes to soften slightly.
Nutrition Facts

- 6 Egg Cake Recipe with Oil: Light as Air With Buttery Moisture - October 4, 2026
- 4 Bean Casserole Recipe: One-Pan Heartiness With Smoky Paprika Depth - October 4, 2026
- 3-Ingredient Keto Mug Cake Recipe: Microwave Magic in 2 Minutes - October 4, 2026