
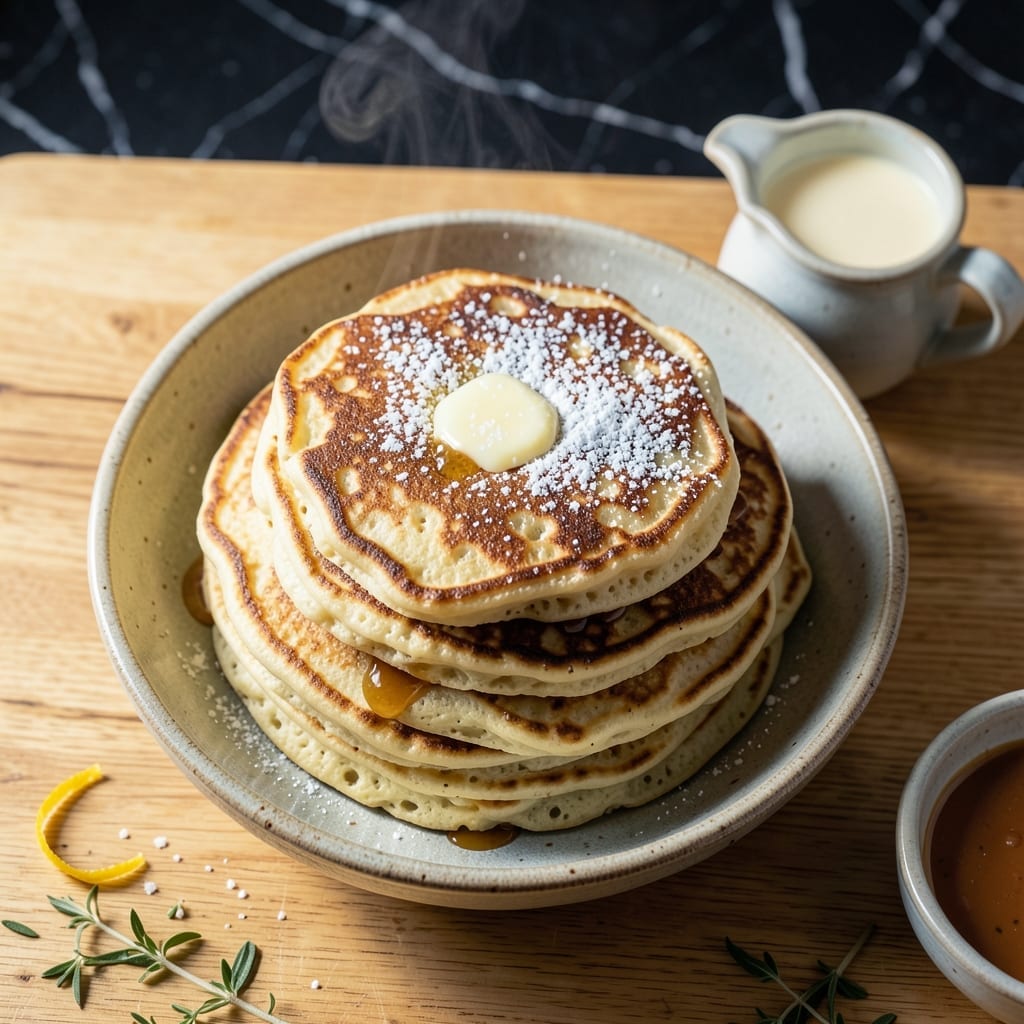
Don’t toss that sour milk—it’s the secret to creating incredibly tender baked goods. The acidity reacts with baking soda to produce a light, fluffy texture that’s hard to achieve with fresh milk.
This method delivers moist, flavorful results with a subtle tang, perfect for cakes, biscuits, or pancakes. It’s a no-waste solution that transforms a kitchen staple into something special.
Ingredients for Recipe Using Sour Milk
Sour milk transforms into tender baked goods with these pantry staples and a few extras.
| Ingredient | Amount | Notes |
|---|---|---|
| Sour Milk 🥛 | 1 ½ cups | Room temperature, slightly thickened |
| All-Purpose Flour 🌾 | 2 cups | Sifted for lightness |
| Granulated Sugar 🍚 | ¾ cup | Fine grain preferred |
| Baking Soda 🧂 | 1 tsp | Reacting with acidity |
| Salt 🧂 | ½ tsp | Balances sweetness |
| Large Eggs 🥚 | 2 whole | Room temperature for binding |
| Unsalted Butter 🧈 | ½ cup | Melted, cooled slightly |
| Vanilla Extract 💧 | 1 tsp | Pure extract for best flavor |
| White Vinegar 🍋 | 1 tbsp | Enhances tang if needed |
| Lemon Zest 🍋 | 1 tsp | Optional, for brightness |
| Baking Powder 🧂 | 1 tsp | Ensures rise |
| Cinnamon 🌿 | ½ tsp | Ground, for warmth |
The sour milk is the star here—its acidity reacts with baking soda for that signature fluffiness. Whole milk that’s just turned works best (slightly thick, tangy smell). If you’re short, mix 1 tbsp vinegar or lemon juice into fresh milk and let sit 5 minutes. Most bakers swear by King Arthur Flour for consistent results, but any all-purpose works as long as it’s fresh.
No sour milk? Buttermilk at a 1:1 ratio is the closest swap. Need a dairy-free option? Almond milk plus vinegar does the trick. The butter can be salted (reduce added salt), or coconut oil for a subtle flavor change. For extra depth, swap vanilla for almond extract—use half the amount though, it’s potent.
Baked goods stay moist for 3 days at room temperature in an airtight container. Freeze for up to 3 months—slice first for single servings. The sour milk trick also works for pancakes or waffles (same ratio).
Why You’ll Love This Recipe
- Mix & Forget: I dump the sour milk, flour, sugar, and a pinch of baking soda in one bowl—no mixer, no fuss, just stir and bake.
- Tangy Sweetness: That slight sour milk twang cuts through the sugar for a taste that’s rich, not cloying.
- Breakfast or Snack: I’ve served these as muffins for breakfast and as a quick dessert with tea—same batter, two wins.
- Pantry Hero: Sour milk means I use up what’s left, and the ingredients are all shelf-stable staples I already have.
Step-by-Step Instructions for Tangy Baked Treats
This method leverages the acidity of sour milk for a tender crumb and complex flavor.
Step 1: Prepare the Wet Ingredients
In a large mixing bowl, whisk together the 1.5 cups Sour Milk, 2 whole Large Eggs, 0.5 cup Unsalted Butter, 1 tsp Vanilla Extract, and 1 tsp Lemon Zest until smooth and emulsified. The butter should be cooled slightly but still liquid to prevent curdling the sour milk.
If using the 1 tbsp White Vinegar, add it now to enhance the tang. The mixture should appear slightly thickened with a uniform, pale yellow color. This acidic base will react with the leavening agents to create lift in your baked goods.
Step 2: Combine the Dry Components
In a separate bowl, sift together the 2 cups All-Purpose Flour, 0.75 cup Granulated Sugar, 1 tsp Baking Soda, 1 tsp Baking Powder, 0.5 tsp Salt, and 0.5 tsp Cinnamon. Sifting aerates the flour, ensuring a lighter texture in the final product.
Stir until the dry ingredients are evenly distributed and no lumps remain. The cinnamon adds a subtle warmth that complements the tang of the sour milk, while the baking soda and baking powder work in tandem for optimal rise.
Step 3: Incorporate Wet and Dry Mixtures
Gradually add the dry ingredients to the wet mixture, folding gently with a spatula until just combined. Avoid overmixing—stop as soon as you no longer see streaks of flour. The batter should be thick but pourable, with a few small lumps acceptable.
The chemical reaction between the sour milk and baking soda will begin immediately, so work efficiently. You’ll notice a slight fizzing, which indicates the leavening process has started. This ensures a tender, airy crumb in your finished bake.
Step 4: Bake to Golden Perfection
Pour the batter into a greased or lined baking pan, spreading it evenly. Preheat your oven to 375°F and bake for 25-30 minutes, or until a toothpick inserted into the center comes out clean or with a few moist crumbs.
The top should be golden brown with a slight spring when pressed lightly. If the edges begin browning too quickly, tent the pan loosely with foil. The combination of leaveners and acid ensures even rising and a fine, moist texture.
Step 5: Cool and Serve
Remove the pan from the oven and let it cool in the pan for 10 minutes to set the structure. Then, transfer the baked treat to a wire rack to cool completely. This prevents sogginess by allowing steam to escape.
Serve at room temperature for the best texture. The tang from the sour milk will be most pronounced once fully cooled, balancing the sweetness and warmth of the cinnamon beautifully.
Pro Tips For Making Recipe Using Sour Milk
- Mix Dry First: Whisk the flour, baking soda, and salt together before adding the wet ingredients—this prevents little pockets of baking soda from ruining the texture.
- Use Fresh Sour Milk: If your milk isn’t tangy enough, stir in 1 tablespoon of lemon juice or vinegar per cup and let it sit for 5 minutes to guarantee the right acidity.
- Fold, Don’t Stir: Once the batter comes together, use a spatula to fold just until combined—overmixing makes the final result dense and tough.
- Bake Immediately: Get the batter in the oven right after mixing, or the baking soda will start reacting with the acid and lose its lift.
Dietary Considerations for This Recipe
Keto-Friendly Options
Sour milk can fit into a keto diet with a few tweaks. Use almond flour or coconut flour instead of traditional wheat flour to reduce carbs. Pair with low-carb sweeteners like erythritol or stevia for a sugar-free treat. 💡
Gluten-Free Modifications
For gluten-free cooking, swap regular flour with gluten-free all-purpose flour or oat flour. Ensure all other ingredients, like baking powder, are certified gluten-free to avoid cross-contamination.
Allergen Information
This recipe contains dairy (sour milk). For a dairy-free version, use unsweetened almond or soy milk with lemon juice as a substitute. Always check labels for hidden allergens in other ingredients.
Nut allergies? Skip almond-based substitutions and opt for oat or coconut milk instead. 🎯
Vegetarian Modifications
This recipe is naturally vegetarian. To enhance protein, add Greek yogurt or a flaxseed egg for binding. Ensure all add-ins, like chocolate chips, are vegetarian-friendly.
Low-Sodium Options
Reduce sodium by using unsalted butter and omitting added salt. Boost flavor with herbs like cinnamon or vanilla extract instead. ✨
Nutrition Facts

- 6 Egg Cake Recipe with Oil: Light as Air With Buttery Moisture - October 4, 2026
- 4 Bean Casserole Recipe: One-Pan Heartiness With Smoky Paprika Depth - October 4, 2026
- 3-Ingredient Keto Mug Cake Recipe: Microwave Magic in 2 Minutes - October 4, 2026