
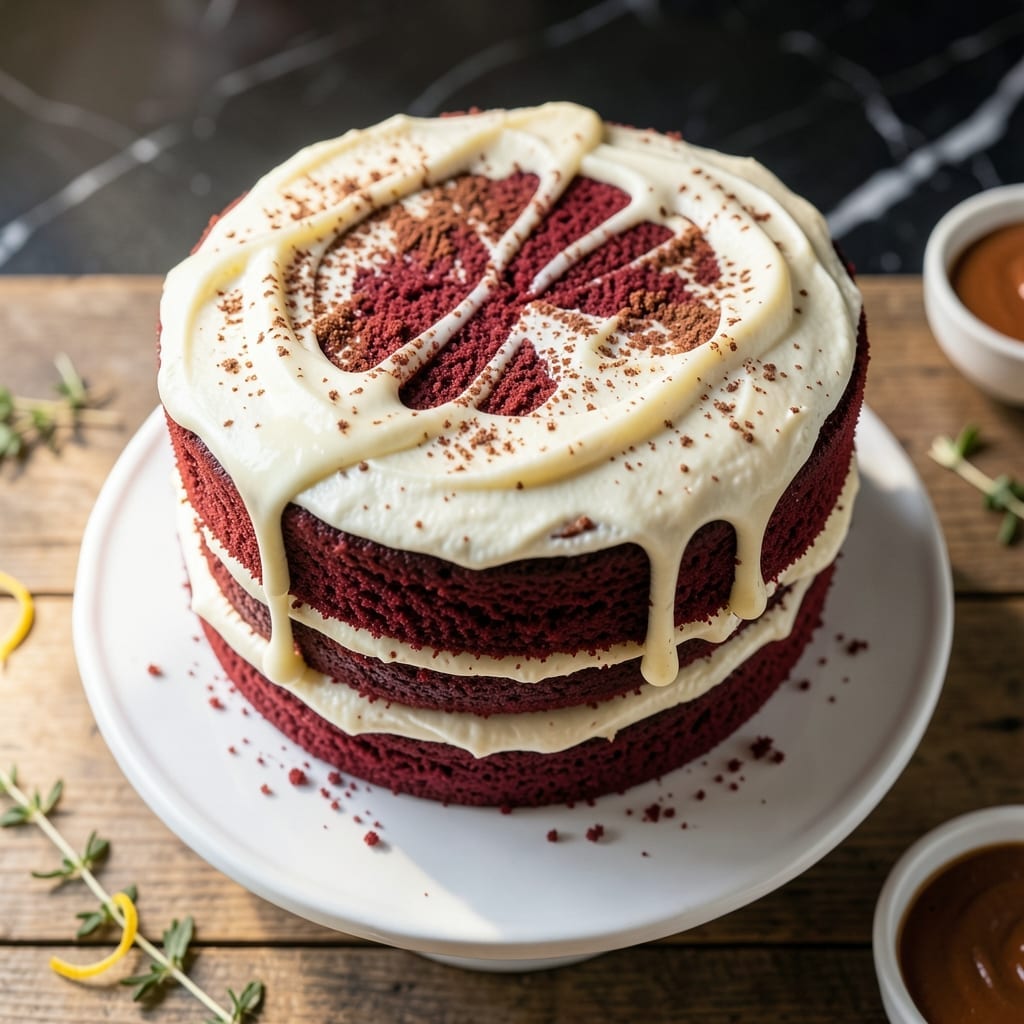
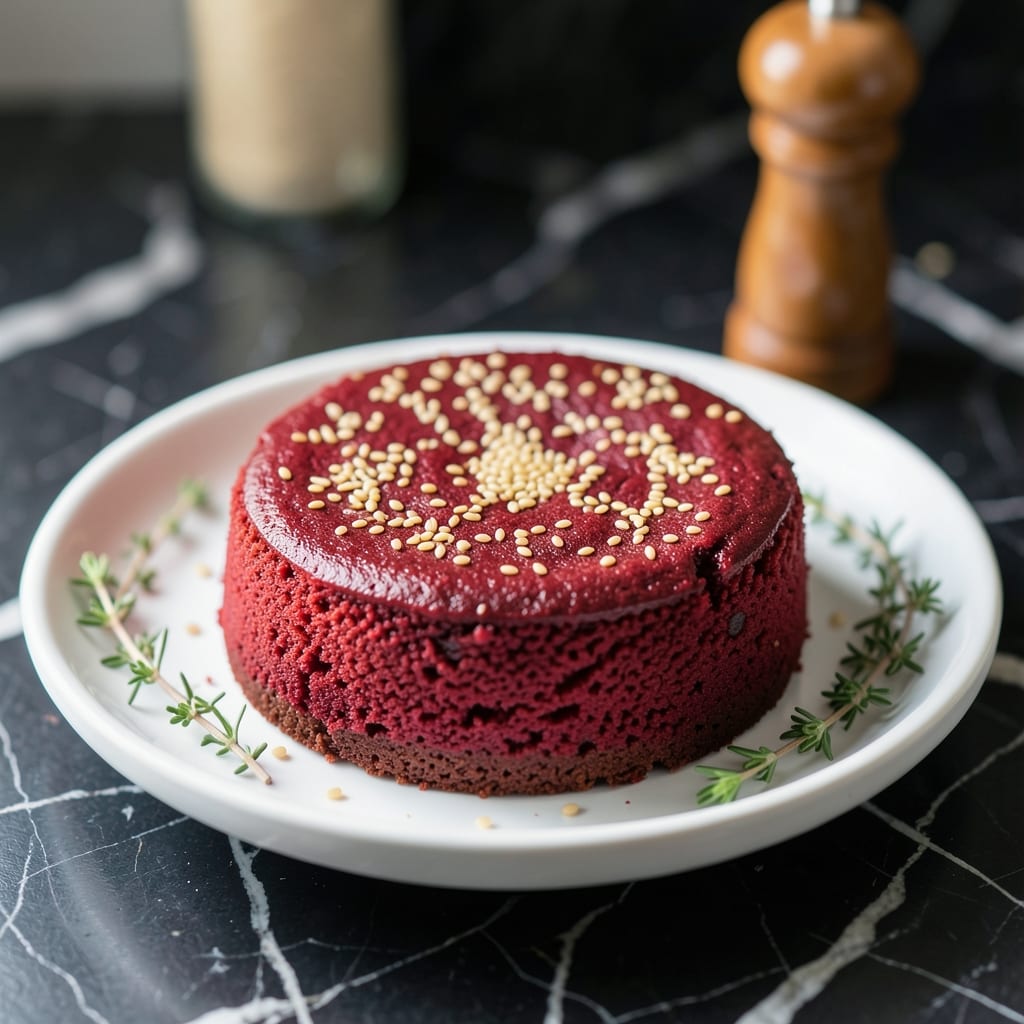
This homemade red velvet cake delivers on its promise of moist, tender layers every time. The secret lies in the balance of ingredients and precise baking technique.
With its subtle cocoa flavor and signature color, this cake pairs perfectly with tangy cream cheese frosting. The result is a classic dessert that’s sure to impress.
Ingredients for Red Velvet Cake Recipe from Scratch
Classic ingredients for a timeless cake with signature color and moist texture.
| Ingredient | Amount | Notes |
|---|---|---|
| All-Purpose Flour 🌾 | 2 ½ cups | Sifted for lighter texture |
| Granulated Sugar 🍚 | 1 ½ cups | Fine grain for even mixing |
| Unsweetened Cocoa Powder 🍫 | 2 tbsp | Dutch-process preferred |
| Baking Soda 🧂 | 1 tsp | Ensures proper rise |
| Salt 🧂 | ½ tsp | Fine sea salt |
| Vegetable Oil 🫒 | 1 ½ cups | Neutral flavor like canola |
| Buttermilk 🥛 | 1 cup | Room temperature for blending |
| Large Eggs 🥚 | 2 whole | Room temperature, separated |
| Red Food Coloring 🎨 | 2 tbsp | Liquid gel for vibrant color |
| Vanilla Extract 🌿 | 1 tsp | Pure extract for best flavor |
| White Vinegar 💧 | 1 tsp | Balances sweetness and color |
| Cream Cheese 🧀 | 8 oz | Full-fat, softened for frosting |
| Unsalted Butter 🧈 | ½ cup | Softened for frosting |
| Powdered Sugar ❄️ | 4 cups | Sifted for smooth texture |
[recipeingredientscaler]
The cocoa powder here is subtle but essential—Hershey’s Special Dark gives the best balance of depth without overpowering. For buttermilk, full-fat is non-negotiable for that tender crumb. Most supermarkets carry it, but you can make a quick substitute with milk and vinegar if needed. The red food coloring is the signature element—liquid gel (like Wilton) gives the most vibrant hue without altering the batter’s consistency.
No buttermilk? Stir 1 tbsp vinegar or lemon juice into 1 cup milk and let it sit for 5 minutes. Dutch-process cocoa is ideal, but regular unsweetened works in a pinch. The vinegar might seem odd, but it reacts with the baking soda for lift and enhances the red color—don’t skip it. For the frosting, Philadelphia cream cheese is the gold standard, but any full-fat brand will do.
Baked layers keep 3 days at room temperature in an airtight container. The frosting can be made 2 days ahead and refrigerated—bring to room temperature and re-whip before using. For long-term storage, freeze unfrosted layers wrapped tightly for up to 3 months.
Why You’ll Love This Recipe
- Pantry Staples: I always have these basics on hand—flour, sugar, cocoa—so I can bake this on a whim.
- Velvety Richness: The cocoa and buttermilk combo gives it that signature depth, not too sweet, just right.
- Crowd Pleaser: Birthdays, potlucks, or just because—this cake disappears fast every single time.
- Keeps Well: Honestly, it tastes even better the next day. I’ve stored slices for up to three days with zero complaints.
Step-by-Step Instructions for Red Velvet Cake
Here’s the method. Straightforward, tested, works every time.
Step 1: Combine Dry Ingredients and Create the Red Batter
In a large bowl, whisk together the 2.5 cups All-Purpose Flour, 2 tbsp Unsweetened Cocoa Powder, 1 tsp Baking Soda, and 0.5 tsp Salt until fully combined. This ensures even distribution of leavening agents and prevents any bitter cocoa clumps in your finished cake.
In a separate large bowl, beat the 1.5 cups Granulated Sugar with the 1.5 cups Vegetable Oil until smooth. Add the 2 whole Large Eggs one at a time, mixing well after each. Stir in the 2 tbsp Red Food Coloring and 1 tsp Vanilla Extract until the mixture turns a vibrant, uniform red.
This color development is crucial—it should look deeply hued before adding the dry ingredients. The oil base helps create that signature velvety texture this dish is known for.
Step 2: Finish the Batter and Prepare for Baking
Alternate adding the dry ingredients and 1 cup Buttermilk to the red mixture, beginning and ending with the dry ingredients. Mix just until combined after each addition—overmixing develops gluten and makes the cake dense rather than tender.
Stir in the 1 tsp White Vinegar. This reacts with the baking soda to create a subtle lift and balances the sweetness. The batter should be smooth and slightly thick, with a deep red color throughout. Divide it evenly between two greased and floured 9-inch round cake pans.
Step 3: Bake the Layers to Moist Perfection
Preheat your oven to 350°F. Bake the cakes for 25-30 minutes, or until a toothpick inserted into the center comes out clean. Rotate the pans halfway through baking to ensure even browning and rise.
You’ll know they’re done when the tops spring back lightly when touched and the edges start to pull away from the pans. The cake layers should be moist but not wet in the center. Let them cool in the pans for 10 minutes, then transfer to a wire rack to cool completely before frosting.
Step 4: Prepare the Cream Cheese Frosting
In a large bowl, beat the 8 oz Cream Cheese and 0.5 cup Unsalted Butter together until smooth and creamy. This may take 2-3 minutes—don’t rush this step, as lumps will remain in your finished frosting.
Gradually add the 4 cups Powdered Sugar, mixing on low speed until combined, then increase to medium and beat for 2-3 minutes until light and fluffy. The frosting should hold its shape when lifted with a spoon but still be spreadable. Use it immediately to assemble your cake.
Step 5: Assemble and Serve
Place one cake layer on a serving plate and spread a generous layer of frosting over the top. Add the second layer and cover the entire cake with a thin crumb coat. Chill for 15 minutes to set this layer, which prevents crumbs from mixing into your final frosting.
Apply the remaining frosting to create a smooth finish. For the signature look, pipe swirls or rosettes around the top edge and center. Slice and serve at room temperature for the best texture.
Pro Tips For Making Red Velvet Cake Recipe From Scratch
- Room Temp Ingredients: Take eggs, butter, and buttermilk out 1-2 hours before baking—cold ingredients create dense cake and uneven mixing. I learned this after my first red velvet came out like a brick.
- Measure Flour Right: Spoon flour into your measuring cup and level it off, don’t scoop directly from the bag. Packed flour adds too much, and your cake will taste dry and tough.
- Don’t Overmix: Once you add the dry ingredients, mix just until the flour disappears. Overworking the batter develops gluten, and your cake will be dense instead of tender.
- Vinegar Boost: Add 1 teaspoon of white vinegar to the buttermilk—it reacts with the baking soda for a lighter crumb and that signature deep red color. Sounds weird, but it works.
Pro Cooking Tips for Great red velvet cake recipe from scratch
💡 Perfect Mixing Technique
For a smooth, velvety batter, cream the butter and sugar until light and fluffy—about 3-5 minutes. This step ensures air is incorporated, giving your cake a tender crumb. Alternate adding dry ingredients and buttermilk, starting and ending with the dry mix, to prevent overmixing.
🌡️ Oven Temperature Control
Preheat your oven to 350°F (175°C) and bake the layers in the center rack for even heat distribution. Avoid opening the oven door too soon, as temperature fluctuations can cause the cake to sink. A toothpick inserted should come out clean after 25-30 minutes.
✨ Flavor Boosters
Enhance the signature red velvet taste with a touch of espresso powder or cocoa in the batter—it deepens the chocolate notes without overpowering. A pinch of salt can also balance the sweetness, making flavors pop.
🎯 Texture Tips
To keep your cake moist, brush the warm layers with a sugar syrup or wrap them in plastic wrap while cooling. For extra tenderness, replace a portion of the flour with cake flour, which has a lower protein content.
Nutrition Facts

- 6 Egg Cake Recipe with Oil: Light as Air With Buttery Moisture - October 4, 2026
- 4 Bean Casserole Recipe: One-Pan Heartiness With Smoky Paprika Depth - October 4, 2026
- 3-Ingredient Keto Mug Cake Recipe: Microwave Magic in 2 Minutes - October 4, 2026