
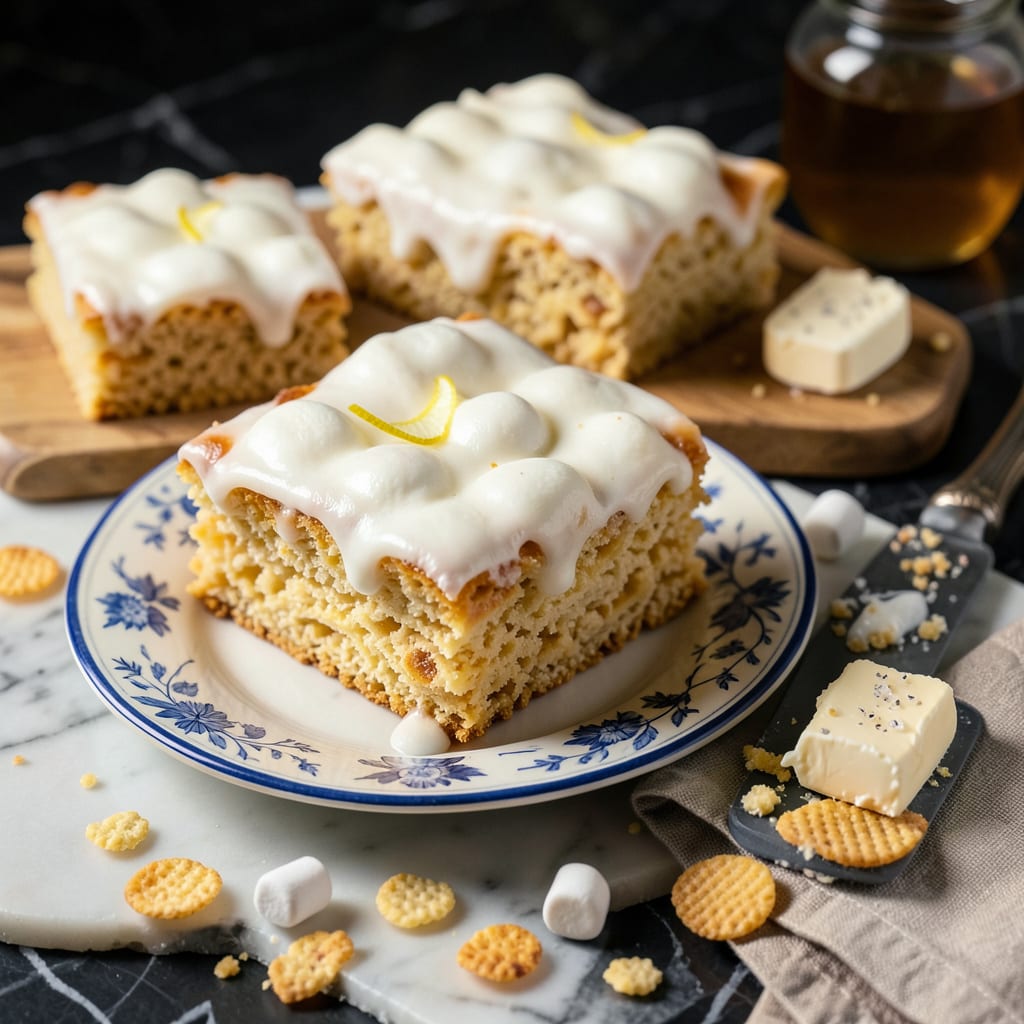
There’s a reason Rice Krispie treats remain a beloved classic—they deliver perfect gooey-sweet satisfaction with minimal effort. This recipe transforms simple ingredients into chewy, marshmallow-bound squares that disappear faster than you can make them. The secret lies in achieving the ideal balance between crispy cereal texture and melted marshmallow elasticity.
With just 10 minutes of active preparation and no baking required, this is the ultimate no-fuss dessert. The technique ensures evenly coated cereal without scorching the marshmallows, while proper pressing creates clean cuts and professional presentation. Whether for school lunches, potlucks, or midnight cravings, these treats deliver consistent results every time.
Ingredients for Rice Keispie Treat
Six quality ingredients transform into the ultimate no-bake dessert with perfect gooey-crisp texture balance every time.
| Ingredient | Amount | Notes |
|---|---|---|
| Rice Krispies cereal 🍚 | 6 cups | Original variety recommended |
| Miniature marshmallows 🍬 | 10 oz | Fresh for optimal melt |
| Unsalted butter 🧈 | ¼ cup | European-style preferred |
| Vanilla extract 🌿 | 1 tsp | Pure extract for best flavor |
| Fine sea salt 🧂 | ¼ tsp | Balances sweetness precisely |
| Light corn syrup 💧 | 2 tbsp | Prevents crystallization |
The marshmallows are critical—Kraft Jet-Puffed or store-brand miniatures melt most evenly. For butter, Plugrá European-style yields superior flavor due to its higher fat content (82% minimum). The Rice Krispies must be freshly opened; stale cereal absorbs moisture unevenly, compromising texture. Vanilla extract should be pure Madagascar bourbon for optimal aromatic profile (avoid imitation).
For dietary adaptations, vegan butter (Miyoko’s or Earth Balance) substitutes 1:1, though texture may soften slightly. Dandies vegan marshmallows work but require 1 additional minute of melting time. Light corn syrup can be replaced with agave nectar at equal volume, though the final product will be marginally stickier. Salt quantity is non-negotiable—it enhances marshmallow flavor without tasting salty.
Store treats in a single layer at room temperature for up to 3 days in an airtight container (parchment between layers prevents sticking). For longer storage, freeze individual squares wrapped in wax paper for 6 weeks. Reheat briefly in microwave at 50% power to restore gooeyness. Cereal and marshmallows keep separately for 6-12 months in pantry.
Why You’ll Love This Recipe
- One-Bowl Magic: I melt the butter, dump in the marshmallows, stir in the cereal—all in the same pot. No colander, no extra bowls, just my trusty wooden spoon and one less dish to wash later.
- That Golden Crunch: Honestly, the contrast gets me every time: buttery, vanilla-flecked marshmallow goo clinging to crispy Rice Krispies, with just a pinch of salt to cut the sweetness. My kid calls it “crunchy clouds,” and I’m not arguing.
- Last-Minute Hero: I’ve brought these to potlucks, packed them for school lunches, and even served them as “dessert” after grilled cheese night. They’re the only thing I can make at 9 p.m. when I remember I signed up for the bake sale.
- Pantry Staple Win: Between us, I keep these ingredients on hand just for emergencies. A stick of butter, a bag of mini marshmallows, and cereal? That’s a $5 treat that feeds eight—and stays fresh in a tin for days. No sad, stale leftovers here.
Step-by-Step Instructions for Rice Krispie Treats
Master the technique for perfectly gooey, evenly textured treats with this precise method.
Step 1: Prepare the Marshmallow Mixture
In a large saucepan, melt the 0.25 cup unsalted butter over low heat until completely liquid. I prefer European-style butter for its higher fat content, which creates a richer flavor profile. Add the 10 oz miniature marshmallows and 2 tbsp light corn syrup, stirring constantly with a silicone spatula.
Continue stirring until the mixture becomes completely smooth and glossy, with no visible marshmallow lumps remaining. This typically takes 5-7 minutes on low heat. The corn syrup prevents sugar crystallization, ensuring your treats stay perfectly chewy. Remove from heat immediately once smooth to prevent scorching.
Step 2: Incorporate Flavor Enhancers
Stir in the 1 tsp vanilla extract and 0.25 tsp fine sea salt while the mixture is still hot. I use pure vanilla extract for its superior aromatic qualities, and the fine sea salt precisely balances the sweetness without any grainy texture. Mix thoroughly for 30 seconds until fully combined.
The mixture should appear uniform with a high-gloss sheen. At this stage, you’ll notice the aroma transform from simple sweetness to a more complex, vanilla-infused profile. This flavor development is crucial for achieving that classic Rice Krispie treat taste that everyone recognizes and loves.
Step 3: Combine with Cereal
Add all 6 cups Rice Krispies cereal to the marshmallow mixture at once. Using a sturdy wooden spoon or silicone spatula, fold the cereal into the marshmallow mixture with quick, decisive strokes. The goal is to coat every piece of cereal evenly without crushing it – you want to maintain the cereal’s signature crisp texture.
Work quickly but gently for about 1-2 minutes until you achieve uniform coating. You’ll know it’s properly mixed when the cereal takes on a consistent glossy appearance and the mixture holds together when pressed. The Original variety works best here as it maintains its structure while absorbing the marshmallow coating perfectly.
Step 4: Press and Set the Mixture
Transfer the mixture to a 9×13-inch baking dish that’s been lightly greased with butter or lined with parchment paper. Using a greased spatula or your hands (lightly coated with butter or cooking spray), press the mixture evenly into the pan. Apply firm, consistent pressure to create a uniform layer about 1-inch thick.
The key here is even compression – press down firmly but don’t compact it too tightly, which would make the treats dense rather than light and chewy. Let the treats set at room temperature for 30 minutes until completely cooled and firm to the touch. This resting period allows the marshmallow to fully bind with the cereal for clean cutting.
Step 5: Cut and Serve
Once completely set, use a sharp chef’s knife to cut the treats into 12 equal squares. For clean cuts, dip the knife in hot water and wipe it clean between each cut. The treats should hold their shape perfectly while still offering that signature gooey resistance when bitten into.
Serve immediately for the best texture, or store in an airtight container at room temperature for up to 3 days. The ideal treat will have crisp edges from the cereal, a slightly sticky exterior from the marshmallow, and a perfect balance of sweetness cut by the fine sea salt. Each bite should deliver that nostalgic combination of crunch and chew that makes these treats universally beloved.
Troubleshooting This Recipe
Grainy Texture Issues
If your treats turn out grainy instead of smooth, the marshmallows likely crystallized during melting. This happens when heat is too high or you stop stirring. Always melt over low heat and stir constantly with a silicone spatula. I’ve found that adding the 2 tbsp corn syrup at the beginning helps prevent this issue completely. 💡
Treats Too Hard
Over-pressing or using too much butter can make treats rock-hard. Press the mixture just until uniform—don’t compact it. If they’re already hard, place a damp paper towel over treats and microwave for 10 seconds to soften. The ideal texture should yield slightly when pressed with your finger.
Sticky Mess
When treats stick to everything, your butter-to-marshmallow ratio might be off. Use exactly 0.25 cup butter for 10 oz marshmallows. I always butter my spatula and hands lightly before pressing. For easy release, line your pan with parchment paper with overhang for simple removal.
Uneven Coating
If some cereal pieces are bare while others are clumped, you didn’t mix quickly enough. Work fast once you combine cereal and marshmallow mixture—the mixture thickens as it cools. I use a large bowl and fold with a wooden spoon for even distribution. The cereal should glisten uniformly when properly coated.
Too Sweet
The 0.25 tsp salt is crucial for balancing sweetness. If you omitted it, sprinkle a pinch over the finished treats. For next time, consider using half salted butter or adding 1 extra tbsp corn syrup which cuts sweetness slightly. The salt enhances flavor without tasting salty.
Won’t Hold Shape
If treats crumble when cut, they didn’t set long enough. Let them cool at room temperature for the full 30 minutes before cutting. For humid climates, extend setting time to 45 minutes. The marshmallow needs time to fully bind with the cereal for clean squares. ✨
Nutrition Facts

- 6 Egg Cake Recipe with Oil: Light as Air With Buttery Moisture - October 4, 2026
- 4 Bean Casserole Recipe: One-Pan Heartiness With Smoky Paprika Depth - October 4, 2026
- 3-Ingredient Keto Mug Cake Recipe: Microwave Magic in 2 Minutes - October 4, 2026