
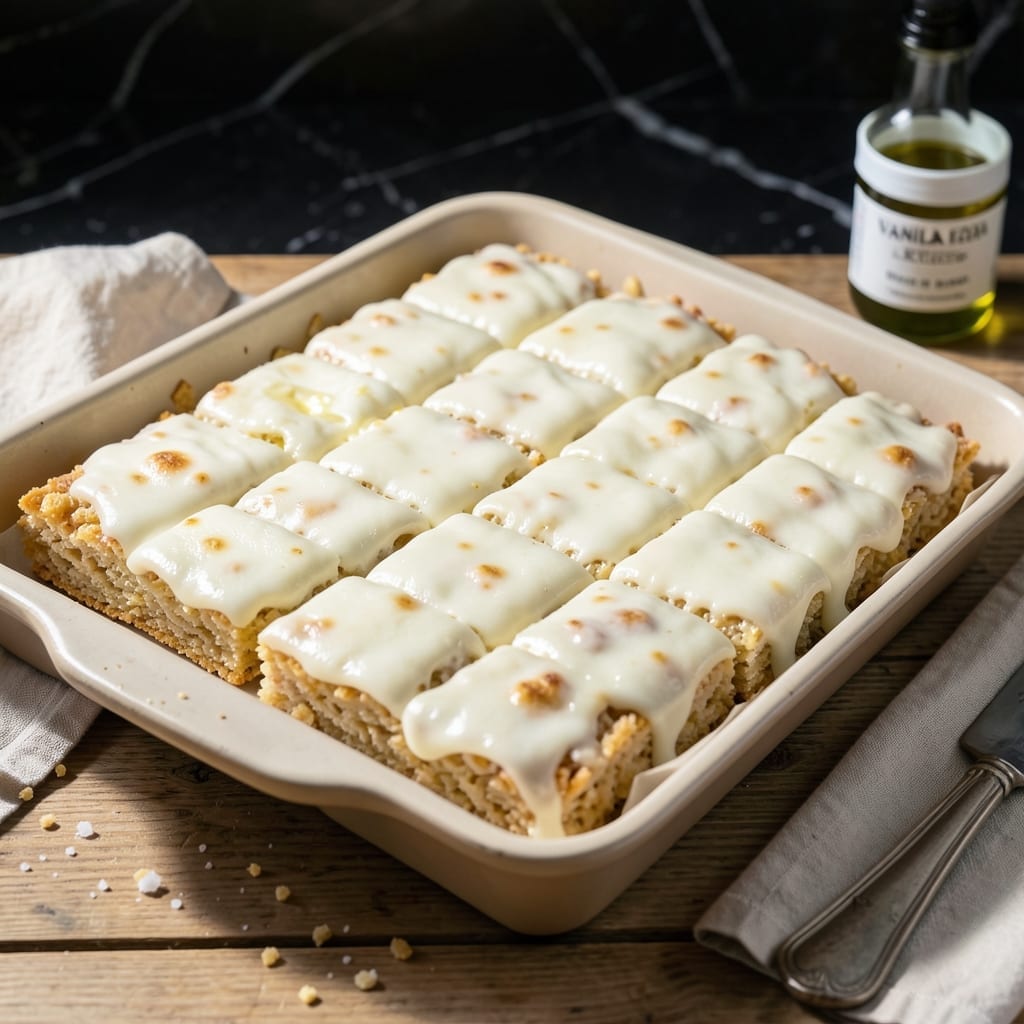
This classic treat brings back childhood memories with its perfect balance of crispy and chewy textures. The secret lies in using the right marshmallows to achieve that signature gooey consistency every time.
With just a few simple ingredients and 10 minutes of active time, you can create a batch that’s impossible to resist. The process is straightforward, but timing is everything when combining melted marshmallows with cereal.
What you’ll get is a pan of golden, perfectly set squares with that familiar crunch and softness in every bite. They’re ideal for parties, lunchboxes, or a quick sweet fix when cravings strike.
No special equipment required—just a pot, a spoon, and a little patience while they cool. Here’s how to make them just right.
Ingredients for Rice Krispie Treats Recipe Jet Puffed
Five simple ingredients for that nostalgic crunch and gooey perfection you remember.
| Ingredient | Amount | Notes |
|---|---|---|
| Jet-Puffed Marshmallows 🍬 | 10 oz | Mini or regular size |
| Rice Krispies Cereal 🥣 | 6 cups | Fresh for best crunch |
| Unsalted Butter 🧈 | 3 tbsp | For melting with marshmallows |
| Vanilla Extract 🌿 | 1 tsp | Pure for best flavor |
| Pinch of Salt 🧂 | 1 pinch | Balances sweetness |
The marshmallows are everything here. Jet-Puffed melts smoother than store brands (I’ve tested them all). Mini marshmallows dissolve faster, but regular work just fine—just keep the heat low. Walmart or Target usually have the best prices on bulk bags. Pro tip: check the expiration date, stale marshmallows get gummy instead of gooey.
No Jet-Puffed? Kraft marshmallows are your next best bet. Out of Rice Krispies? Corn Flakes or Froot Loops (for color!) work in a pinch. Salted butter is fine, but unsalted lets you control the sweetness. Want extra flavor? A dash of cinnamon or almond extract pairs beautifully with the vanilla.
These keep fresh for 3 days at room temp in an airtight container (if they last that long). For longer storage, wrap individual squares in parchment and freeze for up to 6 weeks. Let them thaw slightly before serving for that perfect texture.
Why You’ll Love This Recipe
- No-Bake Magic: I just melt butter, toss in Jet-Puffed marshmallows, and stir in Rice Krispies—no oven, no fuss.
- Vanilla Cloud: The vanilla extract turns the gooey marshmallow mix into something ridculously good, like a sweet, crispy cloud.
- Feeds the Crowd: One batch makes 24 squares, so it’s my go-to for school bake sales and last-minute potlucks.
- Stays Fresh: Between us, they taste even better the next day, and they keep perfectly for up to three days in an airtight container.
Step-by-Step Instructions for Rice Krispie Treats
Here’s the method I use that guarantees perfectly gooey, crispy-edged treats every time.
Step 1: Melt the Butter and Prepare the Pan
Start by greasing a 9×13-inch baking dish with a thin layer of the unsalted butter. I use the wrapper from the butter stick for this—it’s the perfect tool. Make sure to coat the bottom and sides evenly so the treats don’t stick later.
In a large pot, melt the remaining 3 tbsp unsalted butter over low heat. You want it fully melted but not browned—just until it turns into a clear, golden liquid. This gentle heat prevents the butter from separating and ensures even melting.
Step 2: Melt the Marshmallows Completely
Add the entire 10 oz Jet-Puffed Marshmallows to the melted butter. Stir constantly with a silicone spatula or wooden spoon until they melt completely. This takes about 5-7 minutes on low heat.
Watch for the mixture to become smooth and glossy with no visible marshmallow lumps. If you rush this step with higher heat, the marshmallows can burn or turn grainy. Once melted, stir in the 1 tsp Vanilla Extract and pinch of Salt—this is where the magic happens, balancing the sweetness perfectly.
Step 3: Fold in the Cereal
Remove the pot from heat and immediately add all 6 cups Rice Krispies Cereal. Using the same spatula, fold gently but thoroughly until every piece is coated in the marshmallow mixture. You’ll notice the cereal starts to make that signature crackling sound as it meets the warm marshmallow.
Work quickly here—the mixture thickens as it cools. If it becomes too stiff to stir, return the pot to very low heat for 30 seconds to loosen it. You want every piece of cereal evenly coated but not crushed.
Step 4: Press and Set the Treats
Transfer the mixture to your prepared baking dish. Using the buttered spatula or your buttered fingers, press it down firmly and evenly into the pan. I press the edges first, then work my way to the center to create an even layer.
For that classic look, avoid over-compressing—just enough pressure to shape the treats. Let them cool at room temperature for 30-45 minutes until fully set. You’ll know they’re ready when the top is firm to the touch and no longer sticky.
Step 5: Cut and Serve
Once completely set, use a sharp knife to cut into 16 equal squares. For clean cuts, dip the knife in warm water between each slice. The treats should hold their shape perfectly with crispy edges and a gooey center.
Store in an airtight container at room temperature for up to 3 days, though they’re best enjoyed fresh. The texture is at its peak when the edges are just slightly crisp and the centers are still soft and stretchy.
Pro Tips For Making Rice Krispie Treats Recipe Jet Puffed
- Melt Butter Slow: Use low heat when melting the butter to keep it from browning—Jet-Puffed marshmallows will melt evenly without scorching, and you won’t end up with burnt bits in your treats.
- Use Fresh Marshmallows: I learned this the hard way—old Jet-Puffed marshmallows get dry and tough, so check the bag’s date; soft, fresh ones melt smoothly and bind the Rice Krispies perfectly.
- Press Lightly Only: Resist the urge to pack the mixture into the pan too firmly—it makes the treats dense and hard instead of light and crispy.
- Butter Your Spatula: Rub a little extra butter on your spatula or hands before pressing the mixture into the pan; it keeps everything from sticking and makes cleanup a breeze.
Common Mistakes When Making This Dish
Overheating the Marshmallows
High heat is the enemy here. Melting marshmallows too quickly over medium-high heat causes them to burn or turn grainy, ruining that signature smooth texture. Always use low heat and stir constantly for 5-7 minutes. I learned this the hard way with my first batch!
Using Stale Cereal
Fresh Rice Krispies make all the difference—they provide that perfect crispy snap. Old cereal loses its crunch and turns soggy when mixed with melted marshmallows. Check the expiration date and store cereal in an airtight container before using. 🥣
Under-Buttering the Pan
Skipping the butter on the pan leads to treats that stick and tear apart when you try to remove them. Coat your 9×13-inch baking dish thoroughly, including the sides, with the wrapper from your butter stick. This simple step ensures clean removal.
Pressing Too Hard
Over-compressing the mixture while pressing it into the pan results in dense, hard treats instead of light and airy ones. Press just enough to shape them—about 30 seconds of gentle pressure. Let the mixture do the work as it cools.
Cutting Too Soon
Patience is key. Slicing before the treats are fully set (30-45 minutes) causes them to fall apart. Wait until the top is firm to the touch and no longer sticky. For clean cuts, dip your knife in warm water between slices.
Skipping the Salt
A pinch of Salt balances the sweetness and enhances all the flavors. It’s a small addition that makes a big difference. I always add it with the 1 tsp Vanilla Extract for even distribution. 💡
Nutrition Facts
Frequently Asked Questions
Can I use mini marshmallows instead of regular?
Yes! Mini marshmallows melt faster, so reduce cooking time by 1-2 minutes. They create the same gooey texture with less stirring. Just ensure they’re fresh for best results.
Why are my treats too hard or dense?
Over-pressing the mixture or using too much butter can cause this. Press gently for 30 seconds and stick to 3 tbsp of butter for the perfect texture.
Can I add mix-ins like chocolate chips?
Stir in up to 1 cup of mix-ins after folding in the cereal. Chocolate chips, sprinkles, or nuts work well. Let them cool slightly before adding to prevent melting.
How do I store leftovers?
Keep treats in an airtight container at room temperature for up to 3 days. For longer storage, freeze for up to 6 weeks and thaw before serving.

- 6 Egg Cake Recipe with Oil: Light as Air With Buttery Moisture - October 4, 2026
- 4 Bean Casserole Recipe: One-Pan Heartiness With Smoky Paprika Depth - October 4, 2026
- 3-Ingredient Keto Mug Cake Recipe: Microwave Magic in 2 Minutes - October 4, 2026