
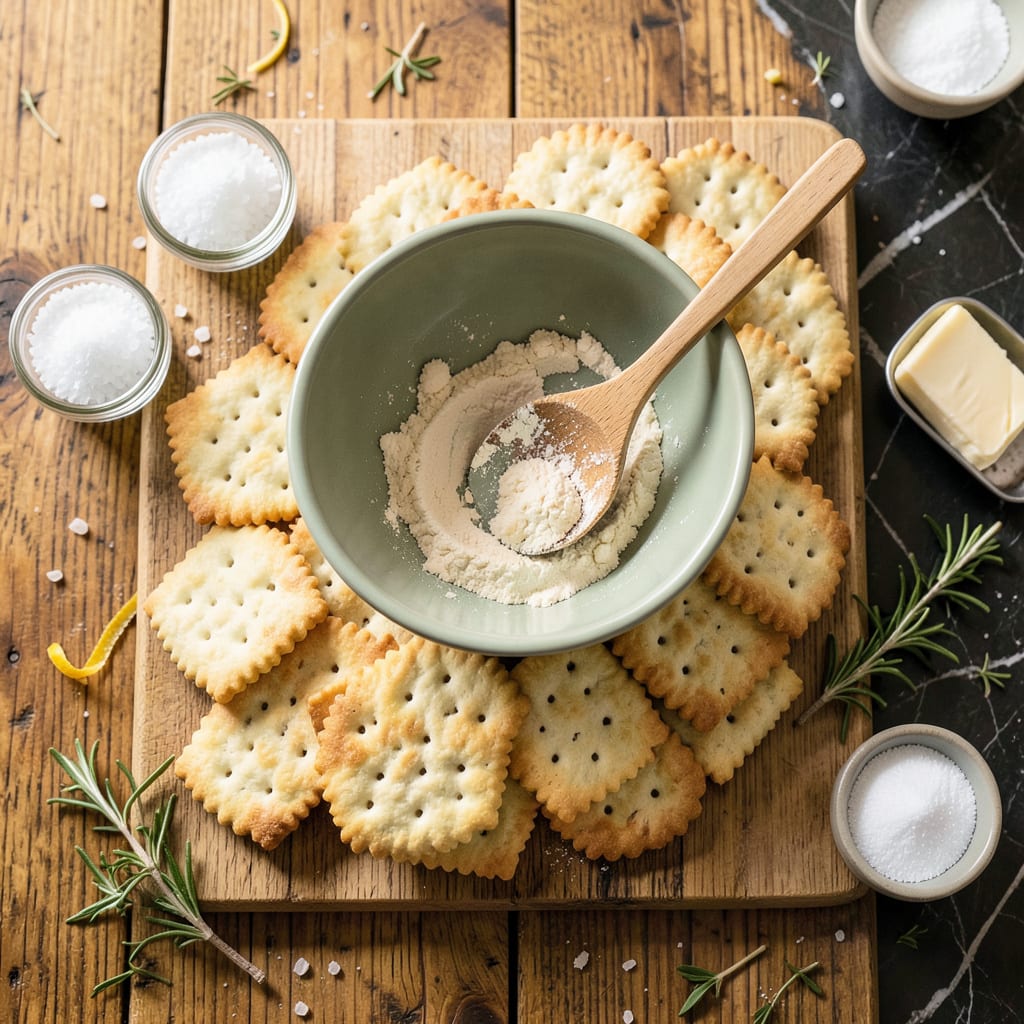
There’s something deeply satisfying about making saltine crackers from scratch—achieving that perfect balance of crispiness and delicate saltiness. This recipe delivers professional-quality results with simple ingredients and precise techniques. The key lies in rolling the dough paper-thin and baking at high heat to create that signature snap.
In just 30 minutes, you’ll transform basic pantry staples into golden, uniform crackers with the ideal texture. No specialized equipment needed—just attention to detail during rolling and baking. The result is far superior to store-bought versions, with a cleaner flavor and satisfying crunch in every bite.
Ingredients for Saltine Crackers
Seven precise ingredients transform into professional-quality saltine crackers with signature crispness and delicate saltiness.
| Ingredient | Amount | Notes |
|---|---|---|
| All-Purpose Flour 🌾 | 2 cups | Unbleached, sifted for lightness |
| Unsalted Butter 🧈 | 6 tbsp | Cold, cubed for flakiness |
| Fine Sea Salt 🧂 | 1 ½ tsp | Plus extra for sprinkling |
| Ice Water 💧 | ⅓ cup | Precisely measured for dough consistency |
| Baking Powder 🧂 | ½ tsp | Ensures proper rise and texture |
| Granulated Sugar 🍚 | ½ tsp | Balances saltiness subtly |
| Flaky Sea Salt 🧂 | 1 tbsp | For finishing (Maldon preferred) |
[recipeingredientscaler]
The flour quality is paramount for achieving the ideal texture. Opt for unbleached all-purpose flour—King Arthur or Bob’s Red Mill brands deliver consistent results. The butter must be cold (60°F or below) to create flaky layers; European-style butter with higher fat content (like Plugrá) yields superior crispness. Measure the ice water precisely—too much compromises the dough’s structural integrity. For the salt, Diamond Crystal kosher salt provides the cleanest flavor profile during mixing, while Maldon flaky salt offers the perfect finishing crunch.
Substitutions require careful consideration to maintain texture. Bread flour can replace all-purpose (reduce by 2 tbsp) for slightly chewier crackers. Vegan butter (like Miyoko’s) works in a 1:1 ratio but may alter browning. Table salt can substitute for sea salt in the dough (use 25% less), though it lacks the nuanced flavor. For a gluten-free version, a 1:1 gluten-free flour blend (like Cup4Cup) works, but the dough requires additional 1-2 tbsp water for proper hydration. Always chill gluten-free dough 30 minutes longer before rolling.
Store the baked crackers in an airtight container at room temperature for up to 2 weeks, though they’re best consumed within 5 days for maximum crispness. The dough can be refrigerated (wrapped tightly) for 48 hours or frozen for 1 month—thaw overnight in the fridge before rolling. For optimal freshness, include a silica gel packet in the storage container to absorb moisture. Re-crisp softened crackers by baking at 350°F for 5-7 minutes before serving.
Why You’ll Love This Recipe
- No Fancy Tools: I’ve made these with just a rolling pin, a fork for docking, and a pizza cutter—no stand mixer, no special gadgets. If you can roll out pie dough, you’re already overqualified.
- Buttery Crisp Magic: Here’s what sold me—the melt-in-your-mouth layers from cold butter folded into the dough, then that snap when you bite in. The sea salt isn’t just seasoning; it’s the star.
- Snack or Sidekick: These aren’t just for soup. I’ve crushed them over salads for crunch, packed them with cheese for lunchboxes, and even used the scraps as a breadcrumb sub for fried chicken.
- Pantry Lifesaver: Honestly, I keep the ingredients on hand just for this. When the cracker box is empty but I’ve got flour, butter, and salt? Twenty minutes later, crisis averted—no last-minute store run.
Step-by-Step Instructions for Saltine Crackers
Follow this precise method to achieve perfectly crisp, golden crackers with minimal effort and maximum flavor.
Step 1: Combine Dry Ingredients for Optimal Texture
In a large mixing bowl, whisk together the 2 cups All-Purpose Flour, 0.5 tsp Baking Powder, 0.5 tsp Granulated Sugar, and 1.5 tsp Fine Sea Salt until completely homogeneous. The baking powder ensures proper lift during baking, while the sugar subtly balances the saltiness without making the crackers sweet.
Use a fine-mesh sieve if your flour appears lumpy—this guarantees an even distribution of leavening agents and prevents dense spots in the final product. The mixture should feel light and airy when rubbed between your fingers, indicating proper aeration for crisp results.
Step 2: Incorporate Cold Butter for Flaky Layers
Add the 6 tbsp Unsalted Butter (cubed and straight from the refrigerator) to the dry ingredients. Using a pastry cutter or your fingertips, work the butter into the flour mixture until it resembles coarse crumbs with pea-sized butter pieces visible. This technique creates the signature flaky texture through steam pockets during baking.
The butter should remain cold throughout this process—if it begins to soften or stick to your fingers, chill the mixture for 10 minutes before proceeding. Visible butter flecks are essential; they’ll melt in the oven to form distinct, crispy layers in each cracker.
Step 3: Form and Chill the Dough
Create a well in the center of the mixture and pour in the 0.33 cup Ice Water all at once. Using a fork, gradually incorporate the liquid until the dough just comes together. It should feel slightly shaggy but hold its shape when pressed—overworking develops gluten, which makes crackers tough rather than crisp.
Divide the dough into two equal portions, flatten each into a ½-inch thick disk, and wrap tightly in plastic. Refrigerate for 30 minutes (or up to 24 hours). This resting period hydrates the flour evenly and relaxes the gluten, ensuring the dough rolls out smoothly without springing back.
Step 4: Roll, Cut, and Bake to Golden Perfection
Preheat your oven to 375°F and line two baking sheets with parchment paper. On a lightly floured surface, roll one dough disk to ⅛-inch thickness—use a ruler for precision. The thinner the dough, the crispier the crackers, but don’t go below ⅛ inch or they’ll burn before cooking through.
Using a pizza cutter or sharp knife, score the dough into 1.5-inch squares (traditional saltine size). Prick each square twice with a fork to prevent puffing, then sprinkle evenly with flaky sea salt. Bake for 12-15 minutes, rotating pans halfway, until the edges are deep golden brown and the centers are firm to the touch.
Step 5: Cool Completely for Maximum Crispness
Transfer the baked crackers to a wire rack and let cool for 20 minutes before breaking along the scored lines. They’ll continue crisping as they cool—this is when the residual steam escapes, transforming the texture from soft to snappy. Store completely cooled crackers in an airtight container for up to 5 days.
For serving, the ideal cracker should shatter cleanly when bitten, with a delicate crunch that gives way to a light, airy interior. The flaky salt should provide bursts of briny contrast against the buttery base. Repeat with the second dough disk for a full batch of 6 servings.
Common Mistakes When Making saltine crackers
Overworking the Dough
One of the biggest mistakes I see is handling the dough too much. Once you add the ice water, mix just until the dough comes together—it should look shaggy, not smooth. Overworking develops gluten, which makes your crackers tough instead of crisp. I stop mixing the moment the dough holds its shape when pressed. 💪
Incorrect Thickness
Rolling the dough too thick or unevenly ruins the texture. Use a ruler to ensure ⅛-inch thickness—this is the sweet spot for that perfect snap. Go thinner and they’ll burn; go thicker and they’ll be chewy. I roll between two sheets of parchment for even results without sticking.
Skipping the Chill
Rushing straight to rolling without chilling the dough is a recipe for frustration. The 30-minute rest in the fridge relaxes the gluten and prevents springback when rolling. I’ve tried skipping this step, and the dough fights me every time, resulting in uneven crackers.
Uneven Salt Distribution
The flaky sea salt should be sprinkled evenly just before baking—not mixed into the dough. Use your fingers to lightly crush the flakes as you sprinkle for better coverage. I measure out 1 tbsp and divide it between both baking sheets for consistency.
Improper Baking Temperature
Baking at too low a temperature makes crackers greasy instead of crisp. Your oven must be fully preheated to 375°F before the pans go in. I use an oven thermometer to verify—many home ovens run 25°F cooler than their dials indicate.
Cutting Before Cooling
Breaking the crackers while still warm leads to crumbly edges. Let them cool completely on a wire rack—this final step is when they develop their signature crispness. I wait the full 20 minutes before separating, even when they smell irresistible. ✨
Nutrition Facts

- 6 Egg Cake Recipe with Oil: Light as Air With Buttery Moisture - October 4, 2026
- 4 Bean Casserole Recipe: One-Pan Heartiness With Smoky Paprika Depth - October 4, 2026
- 3-Ingredient Keto Mug Cake Recipe: Microwave Magic in 2 Minutes - October 4, 2026