
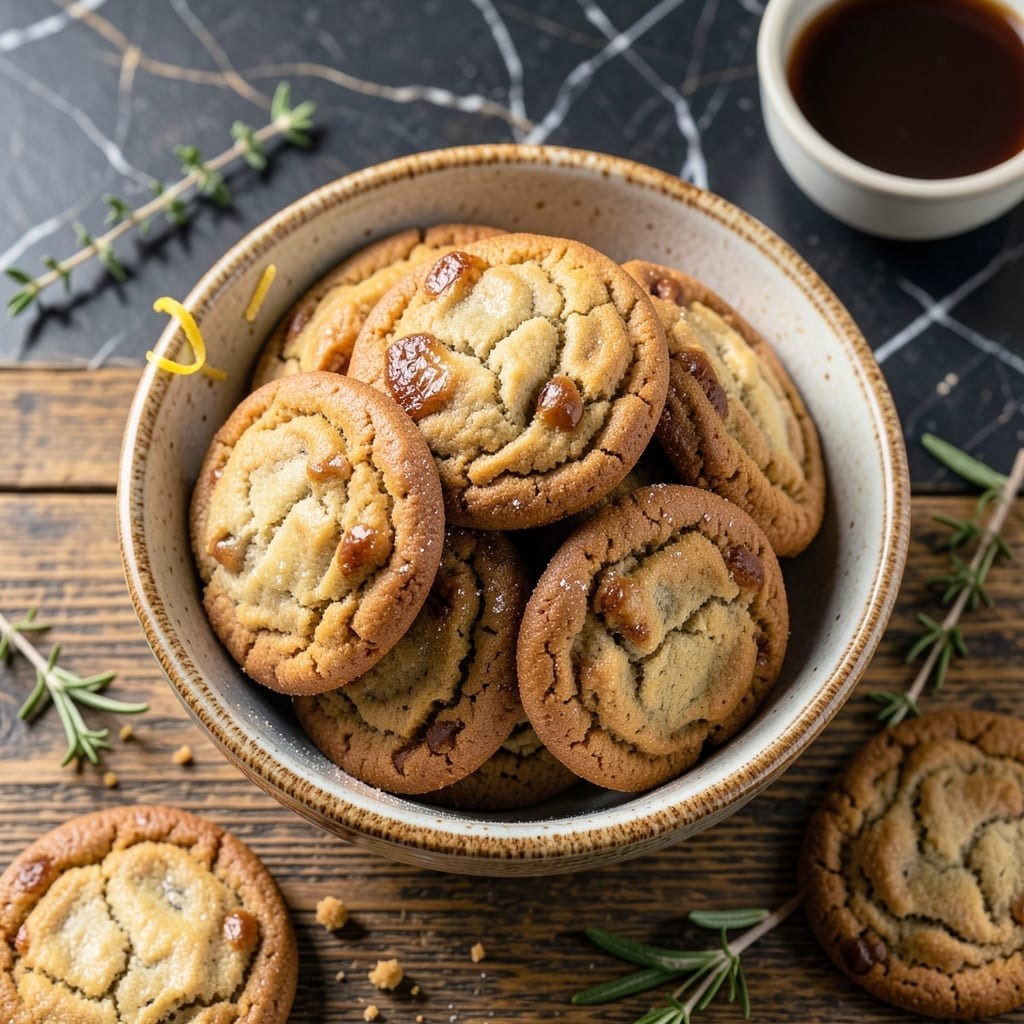
These dogbone-shaped cookies capture the playful spirit of Scooby-Doo’s favorite treat with a nostalgic crunch. The recipe transforms classic sugar cookie dough into fun, bone-shaped bites perfect for parties or snack time.
What makes this version special is the attention to detail—each cookie is shaped to resemble the iconic Scooby Snack, complete with a golden-brown finish. The dough comes together quickly with basic pantry staples, and the baking process ensures a satisfying snap with every bite.
The result is a batch of cookies that look as good as they taste, with a slightly crisp exterior and a tender center. They’re just sweet enough to satisfy without being overpowering, making them ideal for both kids and adults.
Serve them at a themed gathering or package them as gifts for fellow Scooby-Doo fans. Here’s how to bring this playful creation to life.
Ingredients for Scooby Snack Recipe Cookie
Basic pantry staples and a fun cookie cutter bring this nostalgic treat to life.
| Ingredient | Amount | Notes |
|---|---|---|
| All-Purpose Flour 🌾 | 2 ½ cups | Spoon and level for accuracy |
| Granulated Sugar 🍚 | ¾ cup | Fine white sugar preferred |
| Unsalted Butter 🧈 | 1 cup | Room temperature, softened |
| Large Egg 🥚 | 1 whole | Room temperature preferred |
| Vanilla Extract 💧 | 1 tsp | Pure vanilla for best flavor |
| Baking Powder 🧂 | 1 tsp | Ensures proper rise |
| Salt 🧂 | ½ tsp | Fine sea salt works well |
| Dog Bone Cookie Cutter 🦴 | 1 piece | Approximately 3-inch size |
| Powdered Sugar 🍚 | ¼ cup | For dusting (optional) |
| Milk 🥛 | 1 tbsp | If dough is too dry |
The butter needs to be at room temperature—take it out about 1 hour before starting. Use real vanilla extract, not imitation, for that classic sugar cookie flavor. Most grocery stores carry dog bone cutters in the baking aisle, but Amazon has great options if you want to go themed. All-purpose flour is standard here, but bread flour works if that’s what you have on hand.
No dog bone cutter? Any 3-inch shape works—just adjust baking time slightly for different sizes. Swap the vanilla for almond extract if you prefer a different flavor profile. The dough freezes beautifully, so make a double batch and save some for later. Margarine can replace butter in a pinch, but the texture won’t be quite the same.
Cookies stay fresh in an airtight container for 1 week. For longer storage, freeze the dough balls and bake straight from frozen, adding 2-3 minutes to the baking time. Dust with powdered sugar just before serving for that bakery look.
Why You’ll Love This Recipe
- One-Bowl Wonder: I mix everything in a single bowl—no fancy tools, just butter, sugar, and vanilla coming together effortlessly.
- Buttery Vanilla Bliss: The unsalted butter and vanilla extract create that classic, rich flavor that reminds me of childhood baking.
- Weekend Bake Sale Hero: These hold up perfectly in a container, so I can prep a batch on Saturday and still have fresh-tasting cookies for Sunday’s event.
- Budget-Friendly Batch: Flour, sugar, and butter are pantry staples I always have, so whipping these up never breaks the bank.
Step-by-Step Instructions for Scooby Snack Cookies
This method ensures crisp edges, tender centers, and that iconic dogbone shape.
Step 1: Cream Butter and Sugar to Light Perfection
In a large mixing bowl, beat the 1 cup unsalted butter and 0.75 cup granulated sugar together using an electric mixer on medium speed for 2-3 minutes. The mixture should become light in color and fluffy in texture, nearly doubling in volume.
This creaming step is crucial—it incorporates air that creates those signature tender crumbles. Scrape down the bowl sides halfway through to ensure even mixing. The butter must be properly softened at room temperature to achieve the right consistency.
Step 2: Incorporate Wet Ingredients for Flavor Base
Add the 1 whole large egg and 1 tsp vanilla extract to the butter mixture. Beat on medium speed for 1 minute until fully combined. The egg should be at room temperature to prevent the butter from seizing up.
At this stage, the mixture will look slightly glossy and hold its shape when the beaters are lifted. The vanilla extract adds that nostalgic depth of flavor that makes these cookies instantly recognizable.
Step 3: Combine Dry Ingredients and Form Dough
In a separate bowl, whisk together the 2.5 cups all-purpose flour, 1 tsp baking powder, and 0.5 tsp salt. Gradually add this to the wet ingredients, mixing on low speed until just combined. The dough will be thick and slightly crumbly.
If the dough doesn’t come together, add the 1 tbsp milk and mix for 15-20 seconds until cohesive. Be careful not to overmix—this develops gluten, which can make the cookies tough rather than tender.
Step 4: Roll, Cut, and Chill for Perfect Shape
Divide the dough in half and roll each portion to ¼-inch thickness on a lightly floured surface. Use the dog bone cookie cutter to cut out shapes, pressing firmly to create clean edges. Gather and re-roll scraps as needed.
Place the cut-out cookies on a parchment-lined baking sheet and refrigerate for 30 minutes. Chilling firms up the dough, which prevents spreading during baking and helps maintain that classic dogbone silhouette. This step is non-negotiable for professional results.
Step 5: Bake to Golden Crispness
Preheat oven to 350°F. Bake the chilled cookies for 12-15 minutes until the edges are just beginning to turn light golden brown. Rotate the pan halfway through for even baking.
Remove from oven and let cool on the baking sheet for 5 minutes before transferring to a wire rack. Once completely cool, dust with 0.25 cup powdered sugar if desired. The cookies will crisp up as they cool, achieving that perfect snap with every bite.
Pro Tips For Making Scooby Snack Recipe Cookie
- Chill the Dough: After mixing, let the dough rest in the fridge for at least 30 minutes—this keeps the butter from melting too fast and helps the cookies hold their shape.
- Cream Butter Longer: Beat the butter and sugar for a full 3-4 minutes until it’s fluffy and pale; I learned this the hard way when my first batch came out dense.
- Skip Warm Butter: Use room-temperature butter, not melted or warm, or you’ll end up with flat, greasy cookies instead of thick, chewy ones.
- Use Real Vanilla: Splurge on pure vanilla extract—it actually changes the outcome compared to imitation, giving the cookies a richer, more complex flavor.
Storing and Reheating This Dish
Room Temperature Cooling
Let your Scooby Snack cookies cool completely on a wire rack at room temperature—this takes about 1 hour. The cooling process allows them to develop that perfect crisp texture we love. I always wait until they’re fully cool before dusting with powdered sugar to prevent it from melting into the surface. 💡
Airtight Container Storage
Once cooled, store the cookies in an airtight container with parchment paper between layers to prevent sticking. They’ll stay fresh at room temperature for up to 1 week. I use a glass cookie jar for easy access and visibility.
Freezing the Dough
For make-ahead convenience, roll and cut the dough as directed, then freeze the uncooked shapes on a baking sheet for 1 hour before transferring to a freezer bag. They’ll keep for up to 3 months. Bake straight from frozen, adding 2-3 minutes to the baking time.
Reheating for Warm Treats
If you prefer warm cookies, preheat your oven to 300°F and bake for 5-7 minutes until just warmed through. This revives the crispness without over-browning. Avoid the microwave—it makes them chewy rather than crisp. ❄️
Freezing Baked Cookies
Baked cookies freeze well too! Place them in a single layer on a baking sheet, freeze for 1 hour, then transfer to a freezer-safe container with parchment between layers. They’ll keep for up to 2 months and thaw beautifully at room temperature.
Powdered Sugar Freshness
If you dust with powdered sugar, add it just before serving to keep the cookies looking their best. Store any leftover dusted cookies in a single layer to prevent the sugar from absorbing moisture and dissolving.
Nutrition Facts
Frequently Asked Questions
What can I use if I don’t have a dog bone cutter?
Any 3-inch shape works—stars, circles, or even squares. Just adjust baking time slightly for different sizes. The flavor stays the same, only the look changes.
Why do my cookies spread too much?
This usually means the dough wasn’t chilled long enough. Always refrigerate for 30 minutes before baking. Also check that your butter was properly softened, not melted.
Can I make these gluten-free?
Yes! Swap the all-purpose flour for a 1:1 gluten-free baking blend. Add ½ tsp xanthan gum if your blend doesn’t include it. The texture will be slightly different but still delicious.
How do I get the perfect golden color?
Bake at 350°F for 12-15 minutes, rotating the pan halfway. Remove when edges are just turning light golden—they’ll continue cooking slightly after removal.

- 6 Egg Cake Recipe with Oil: Light as Air With Buttery Moisture - October 4, 2026
- 4 Bean Casserole Recipe: One-Pan Heartiness With Smoky Paprika Depth - October 4, 2026
- 3-Ingredient Keto Mug Cake Recipe: Microwave Magic in 2 Minutes - October 4, 2026