
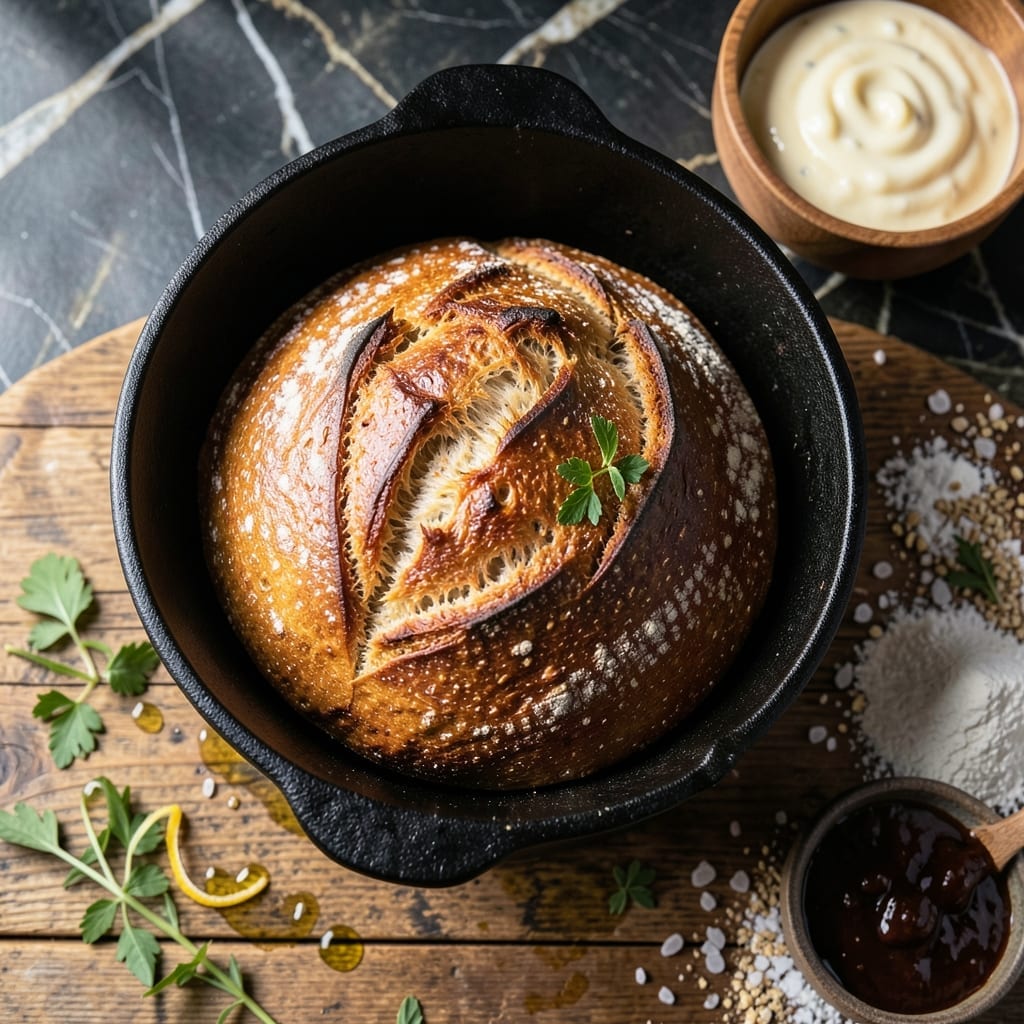
This sourdough method delivers a crispy artisan crust and open crumb with minimal effort. The Dutch oven traps steam, creating bakery-quality results at home.
With precise fermentation and baking at 450°F, you’ll achieve a golden loaf with the perfect chewy interior. No special equipment beyond your oven and patience.
Ingredients for Sourdough Bread Recipe Dutch Oven
Ten simple ingredients transform into that bakery-style loaf you crave. Nothing fancy required.
| Ingredient | Amount | Notes |
|---|---|---|
| Active Sourdough Starter 🍞 | ½ cup | Fed and bubbly, at peak |
| Bread Flour 🌾 | 3 ½ cups | High protein, unbleached preferred |
| Whole Wheat Flour 🌾 | ½ cup | For depth and nutrition |
| Water 💧 | 1 ¾ cups | Filtered, room temperature |
| Fine Sea Salt 🧂 | 2 tsp | Dissolved in water for even distribution |
| Olive Oil 🫒 | 1 tbsp | For greasing the bowl |
| Rice Flour 🌾 | ¼ cup | For dusting banneton |
| Honey 🍯 | 1 tsp | Optional for slight sweetness |
| Cornmeal 🌽 | 2 tbsp | For dusting Dutch oven |
| Ice Cubes ❄️ | 4 pieces | For steam in Dutch oven |
The starter is everything here. Feed it 4-12 hours before baking—it should float in water when ready (the classic test). I keep mine in a glass jar on the counter, feeding daily. Bread flour gives that chewy texture, but King Arthur all-purpose works in a pinch. Whole wheat adds depth, but swap it for rye if you’re feeling adventurous. Just don’t skip it entirely.
No sourdough starter? Commercial yeast at 0.25 tsp gets you a quick loaf, though it won’t have the same tang. Out of bread flour? All-purpose plus 1 tbsp vital wheat gluten per cup mimics the protein content. The honey can be skipped, or swapped for maple syrup. Rice flour for dusting prevents sticking, but regular flour works too (just less effective).
Dough ferments best at 70-75°F—find a warm spot if your kitchen’s cold. Baked loaves keep 3-4 days wrapped in a towel, or freeze for 3 months. Slice before freezing for easy toast. That crust stays crispy if you store it cut-side down on a rack.
Why You’ll Love This Recipe
- One Bowl Wonder: I mix everything in a single bowl, let it rise, then bake—no fancy steps, just simple sourdough.
- Crispy Crust Magic: The dutch oven traps steam, so the crust comes out shatteringly crisp while the inside stays soft and tangy.
- Meal Prep MVP: Honestly, I bake two loaves on Sunday and we’re set for sandwiches and toast all week.
- Pantry Friendly: Flour, water, salt, and my starter—that’s it. No special trips to the store, just good bread.
Step-by-Step Instructions for Sourdough Bread Dutch Oven
This method delivers that coveted artisan crust and open crumb structure with minimal effort.
Step 1: Mix and Autolyse the Dough
In a large mixing bowl, combine the 0.5 cup Active Sourdough Starter, 1.75 cups Water, and 1 tsp Honey (if using). Stir until the starter is mostly dissolved. Add the 3.5 cups Bread Flour, 0.5 cup Whole Wheat Flour, and 2 tsp Fine Sea Salt dissolved in a bit of the water.
Mix with a wooden spoon or your hands until no dry bits remain. The dough will be shaggy and slightly sticky. Cover the bowl with a damp towel and let it rest for 1 hour. This autolyse period hydrates the flour and kickstarts gluten development without kneading.
Step 2: Perform Stretch and Folds
After the autolyse, wet your hands to prevent sticking and grab one side of the dough. Stretch it upward and fold it over to the opposite side. Rotate the bowl 90 degrees and repeat this process 4-5 times total, working your way around the bowl.
You’ll notice the dough becomes smoother and more elastic with each fold. Cover and let rest for 30 minutes. Repeat this stretch-and-fold routine 3-4 times over the next 2 hours. By the end, the dough should feel stronger and more cohesive.
Step 3: Bulk Ferment Until Ready
After the final stretch and fold, cover the dough and let it ferment at room temperature for 4-6 hours. The exact time depends on your kitchen’s warmth—you’re aiming for the dough to rise by about 50-75% in volume.
It should look slightly puffy with bubbles visible on the surface and at the edges of the bowl. If you gently press the dough with a wet finger, the indentation should slowly spring back but not completely disappear. This indicates it’s ready for shaping.
Step 4: Shape and Proof Overnight
Turn the dough out onto a lightly floured surface. Shape it into a tight boule by pulling the edges toward the center and tucking them under. Use a bench scraper to help create surface tension. Place the dough seam-side up in a banneton dusted with 0.25 cup Rice Flour.
Cover and refrigerate for 8-12 hours (or overnight). This cold proof develops complex flavors and makes the dough easier to score. The next morning, the dough should have risen further but still hold its shape when turned out.
Step 5: Bake in Preheated Dutch Oven
Preheat your oven to 475°F with the Dutch oven inside for 1 hour. Turn the proofed dough onto parchment paper, score the top with a razor or sharp knife, and carefully transfer it to the hot Dutch oven dusted with 2 tbsp Cornmeal.
Toss the 4 pieces Ice Cubes into the Dutch oven for steam, quickly cover with the lid, and bake for 20 minutes. Remove the lid and bake for another 20-25 minutes until the crust is deep golden brown and the internal temperature reaches 205-210°F.
Transfer the bread to a wire rack and let it cool for at least 1 hour before slicing. This cooling period is crucial—it allows the crumb structure to set and prevents a gummy texture.
Pro Tips For Making Sourdough Bread Recipe Dutch Oven
- Preheat the Dutch Oven: I learned this the hard way—put your Dutch oven in the oven for at least 45 minutes at 475°F before baking. A cold pot will give you a dense, flat loaf instead of that perfect rise.
- Use Room-Temp Starter: Sounds weird, but it works: take your starter out of the fridge 8-12 hours before mixing. Cold starter slows fermentation, and you’ll end up waiting forever for your dough to double.
- Score Deep Enough: Resist the urge to make shallow cuts with your lame or razor. A ½-inch deep score lets the bread expand properly—otherwise, it’ll crack in all the wrong places.
- Add Vital Wheat Gluten: If your loaf feels slack during bulk fermentation, mix in 1 tsp of vital wheat gluten per cup of whole wheat flour. It strengthens the dough without overpowering the sourdough flavor.
Pro Cooking Tips for This Dish
💡 Master the Heat
Preheat your Dutch oven for at least 45 minutes at 475°F (245°C) to ensure even heat distribution. This step is crucial for achieving that coveted crispy crust and proper oven spring. Place the lid on while preheating to trap heat and create a steamy environment for the initial bake.
🌡️ Steam for the Perfect Rise
After loading your dough, cover the Dutch oven with the lid for the first 20 minutes. The trapped steam keeps the surface moist, allowing the bread to expand fully. Remove the lid for the remaining 20-25 minutes to let the crust brown and crisp up beautifully.
✨ Score with Precision
Use a sharp razor or lame to score the dough just before baking. A quick, confident slash (about ½-inch deep) helps control the bread’s expansion and prevents cracks. Angle the blade slightly for a more artistic, bakery-style finish.
🎯 Rest for Best Texture
Let your sourdough cool on a wire rack for at least 1-2 hours before slicing. This allows the crumb to set and the flavors to develop fully. Cutting too soon can result in a gummy interior, so patience is key for that perfect open crumb structure.
Nutrition Facts

- 6 Egg Cake Recipe with Oil: Light as Air With Buttery Moisture - October 4, 2026
- 4 Bean Casserole Recipe: One-Pan Heartiness With Smoky Paprika Depth - October 4, 2026
- 3-Ingredient Keto Mug Cake Recipe: Microwave Magic in 2 Minutes - October 4, 2026