
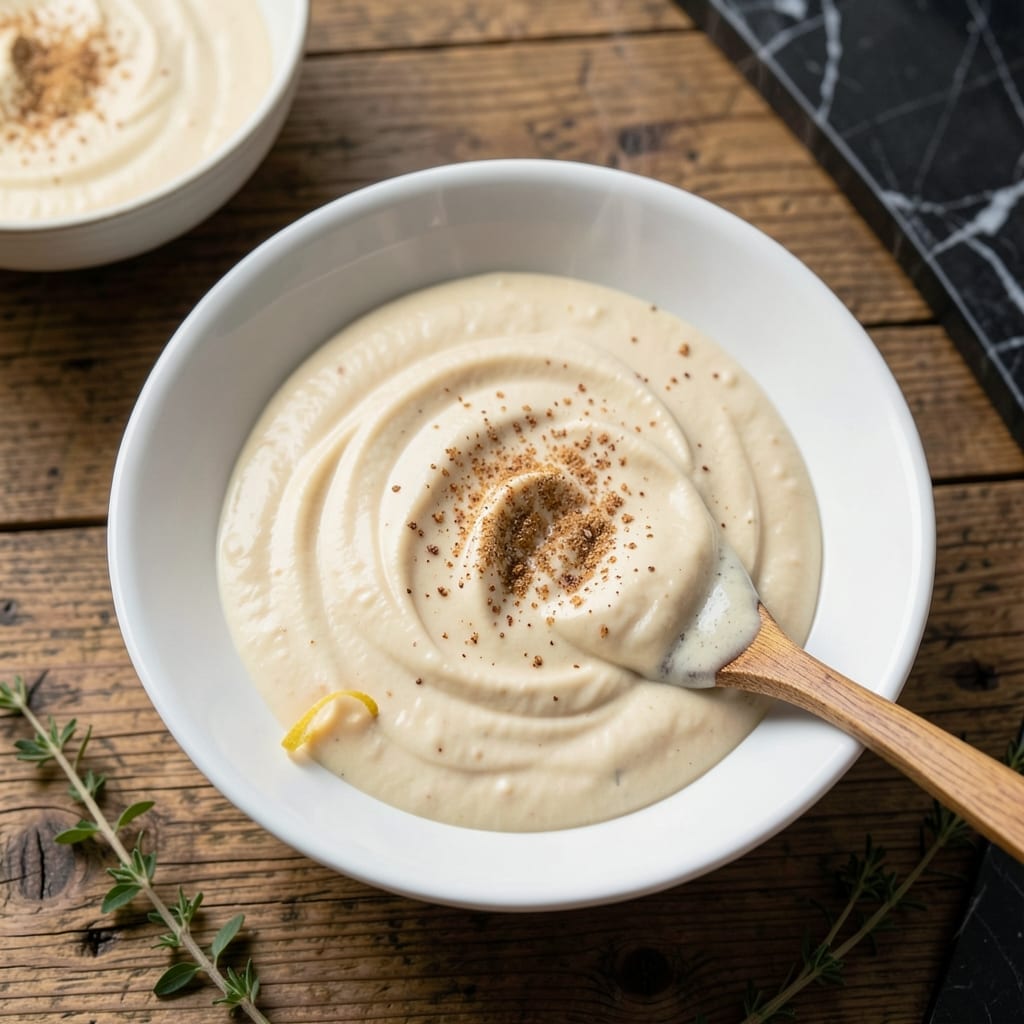
This Philly-style sauce transforms an ordinary sandwich into an authentic steak hoagie experience. I developed this recipe to capture the tangy creaminess that defines the best Philadelphia sandwich shops.
The secret is balancing mayo with tangy elements for that signature flavor. It comes together in 5 minutes with ingredients you likely already have on hand. No cooking required.
You’ll get a smooth, spreadable sauce that’s rich but not overpowering. It clings perfectly to bread and complements the meat without masking its flavor.
Make a batch ahead—it keeps well in the fridge for up to 5 days. Perfect for sandwiches, dips, or even as a burger spread.
Ingredients for Steak Hoagie Sauce
Nine simple ingredients create that iconic Philly tangy creaminess in minutes.
| Ingredient | Amount | Notes |
|---|---|---|
| Mayonnaise 🥫 | 1 cup | Full-fat for creaminess |
| Sour Cream 🥛 | ½ cup | Full-fat variety preferred |
| White Vinegar 💧 | 2 tbsp | For tangy brightness |
| Lemon Juice 🍋 | 1 tbsp | Freshly squeezed preferred |
| Garlic Powder 🧄 | 1 tsp | Not garlic salt |
| Onion Powder 🧅 | 1 tsp | Balances the acidity |
| Dried Oregano 🌿 | 1 tsp | Crushed between fingers |
| Black Pepper 🌶️ | ½ tsp | Freshly ground preferred |
| Salt 🧂 | ½ tsp | Fine sea salt preferred |
| Worcestershire Sauce 🍶 | 1 tsp | Adds depth to flavor |
The mayo is the base here. Duke’s or Hellmann’s give that classic deli taste—avoid the sweet stuff. Sour cream adds richness, and I always use the full-fat version from Kroger or Breakstone’s. The vinegar and lemon juice need to be sharp—Heinz white vinegar and fresh lemon juice work best. Don’t skip the Worcestershire; it’s the secret umami boost that makes this taste authentic.
No sour cream? Greek yogurt at the same amount works in a pinch. Out of white vinegar? Apple cider vinegar is a fine swap. If you’re avoiding garlic powder, fresh minced garlic at half the amount does the trick. The oregano can be fresh if you’ve got it—use one tablespoon chopped. For a smoother sauce, let it sit for 30 minutes before using.
This keeps beautifully in a sealed jar. Stays fresh for 5 days in the fridge. For longer storage, freeze in ice cube trays for up to 3 months. Stir well before using—it’ll thicken up a bit after chilling.
Why You’ll Love This Recipe
- 5-Minute Mix: I just dump everything in a bowl—mayo, sour cream, vinegar, lemon, garlic powder—and stir. No cooking, no fuss.
- Tangy Garlic Punch: The sharp lemon and vinegar cut through the richness, while the garlic powder gives that bold kick every steak hoagie needs.
- Weeknight Rescue: Between us, this sauce turns leftover steak into a restaurant-worthy sandwich in minutes.
- Budget Friendly: Honestly, I save a fortune skipping store-bought sauces—this costs pennies and tastes way better.
Step-by-Step Instructions for Steak Hoagie Sauce
Here’s the method I’ve perfected for a tangy, creamy spread that elevates any sandwich.
Step 1: Combine the Creamy Base
In a medium mixing bowl, add the 1 cup Mayonnaise and 0.5 cup Sour Cream. I always use full-fat versions here—they create a richer, more luxurious texture that clings perfectly to bread and meat.
Whisk the two together until completely smooth and uniform in color. You shouldn’t see any streaks of sour cream. This base provides the creamy foundation that balances the tangy and savory elements we’ll add next.
Step 2: Incorporate the Acidic Elements
Pour in the 2 tbsp White Vinegar and 1 tbsp Lemon Juice. The vinegar gives that sharp, tangy bite characteristic of Philly-style hoagie sauce, while the lemon juice brightens the flavor and prevents it from tasting flat.
Whisk vigorously for 30 seconds until the liquids are fully emulsified into the creamy base. You’ll notice the mixture lightens slightly in color. If it looks a bit thin, don’t worry—the next step will bring everything together.
Step 3: Add the Dry Seasonings
Sprinkle in the 1 tsp Garlic Powder, 1 tsp Onion Powder, 1 tsp Dried Oregano, 0.5 tsp Black Pepper, and 0.5 tsp Salt. I always crush the dried oregano between my fingers before adding it to release its aromatic oils.
Whisk again for another 30 seconds to distribute the seasonings evenly. Taste and adjust the salt if needed, but remember the Worcestershire Sauce we’ll add next contains sodium, so go easy at this stage.
Step 4: Finish with Umami Depth
Add the 1 tsp Worcestershire Sauce and whisk one final time. This ingredient is the secret weapon—it adds a subtle savory complexity that ties all the flavors together. The sauce should now have a smooth, slightly thick consistency.
Let the mixture sit for 10 minutes at room temperature to allow the flavors to meld. You’ll notice the oregano and garlic become more pronounced as it rests. Give it one last whisk before using to ensure everything is perfectly combined.
Step 5: Chill Before Serving
Transfer the sauce to an airtight container and refrigerate for at least 1 hour before serving. Chilling thickens it slightly and allows the flavors to develop fully. I like to make this a day ahead if possible—the taste deepens overnight.
When ready to use, give it a good stir. The sauce should be thick enough to spread easily but still drizzle slightly. This makes enough for 4 generous servings—perfect for a batch of Philly cheesesteaks or hoagies.
Pro Tips For Making Steak Hoagie Sauce
- Chill Before Serving: I learned this the hard way—let the sauce sit in the fridge for at least 30 minutes before using. It thickens slightly and lets the garlic powder mellow out, so it doesn’t taste raw.
- Balance the Tang: Taste as you go and adjust the lemon juice and vinegar carefully. Too much makes it harsh, but just 1 teaspoon of each usually hits that perfect zing.
- Use Full-Fat Ingredients: Skip the light mayo or low-fat sour cream. The full-fat versions hold the sauce together and give it that rich, creamy texture that clings to the steak.
- Skip the Fresh Garlic: Sounds weird, but it works: stick with garlic powder here. Fresh garlic can turn bitter or overpower the sauce, while the powder blends smoothly and adds just the right punch.
Dietary Considerations for These Flavors
Gluten-Free Adaptation
This sauce is naturally gluten-free as written. The only potential concern is the Worcestershire sauce, which often contains malt vinegar. Look for a gluten-free version like Lea & Perrins Gluten-Free to stay safe. Always check labels carefully.
Dairy-Free Version
Swap the sour cream for dairy-free yogurt like Kite Hill or So Delicious. Use vegan mayo such as Just Mayo or Hellmann’s Vegan. The texture will be slightly different but still delicious. 🌱
Lower-Fat Option
Use light mayo and low-fat sour cream to reduce calories. The flavor will be less rich but still tangy and satisfying. I’ve tested this with Kraft Light Mayo and it holds up well in sandwiches.
Vegan Modifications
Combine vegan mayo with unsweetened coconut yogurt for the creamy base. Ensure your Worcestershire sauce is vegan—Annie’s makes a great option. The oregano and garlic powder add plenty of flavor without any animal products.
Allergen Awareness
This recipe contains egg (in mayo) and dairy (in sour cream). For egg allergies, use egg-free mayo like Just Mayo. For soy allergies, check that your Worcestershire sauce doesn’t contain soy. 💡
Sodium Considerations
To reduce sodium, use low-sodium Worcestershire and no-salt-added mayo. You can also cut the added salt in half or omit it entirely. The vinegar and lemon juice will still provide plenty of flavor.
Nutrition Facts
Frequently Asked Questions
Can I make this ahead of time?
Yes! It actually tastes better after 24 hours in the fridge. The flavors meld together beautifully. It stays fresh for up to 5 days in an airtight container.
What can I use instead of sour cream?
Greek yogurt works perfectly as a 1:1 substitute. For a dairy-free option, try coconut yogurt. Both maintain the creamy texture while adding a slight tang.
Why does it need to chill before using?
Chilling for at least 1 hour thickens the sauce and lets the flavors develop. Skipping this step may result in a thinner, less flavorful spread.
Can I freeze leftover sauce?
Portion into ice cube trays for up to 3 months. Thaw in the fridge overnight before using. Stir well as separation can occur.

- 6 Egg Cake Recipe with Oil: Light as Air With Buttery Moisture - October 4, 2026
- 4 Bean Casserole Recipe: One-Pan Heartiness With Smoky Paprika Depth - October 4, 2026
- 3-Ingredient Keto Mug Cake Recipe: Microwave Magic in 2 Minutes - October 4, 2026